
I have been craving a 4th of July craft project but I really haven't seen anything new that I just had to do so I thought I would be letting this year slip away. But then I downloaded a few new pictures and even though I wanted to display them, I TRULY did not want one more 4th of July frame! Once again, Pinterest came to the rescue. I saw a clay flower pot decoration that I knew could easily be turned into a picture holder-and, for no cost. A simple trip out to my potting bench and I had a pot and then into the craft closet and I had everything else except the wooden stars. I only had one unfinished wooden star that would be the correct size and I really didn't want to make a trip to the store for 2 little stars. That was when "brilliance" struck-or maybe more like dumb luck! I passed the arrangement on the kitchen bar that has everything I didn't really know where else to put in it and saw the 3 glittered stars just sitting there bearly visible. Tada! And, I was off and running. I documented my steps although I dare to say, if you have ever done a craft in your life, this is a no-brainer!
I gathered all of the supplies.

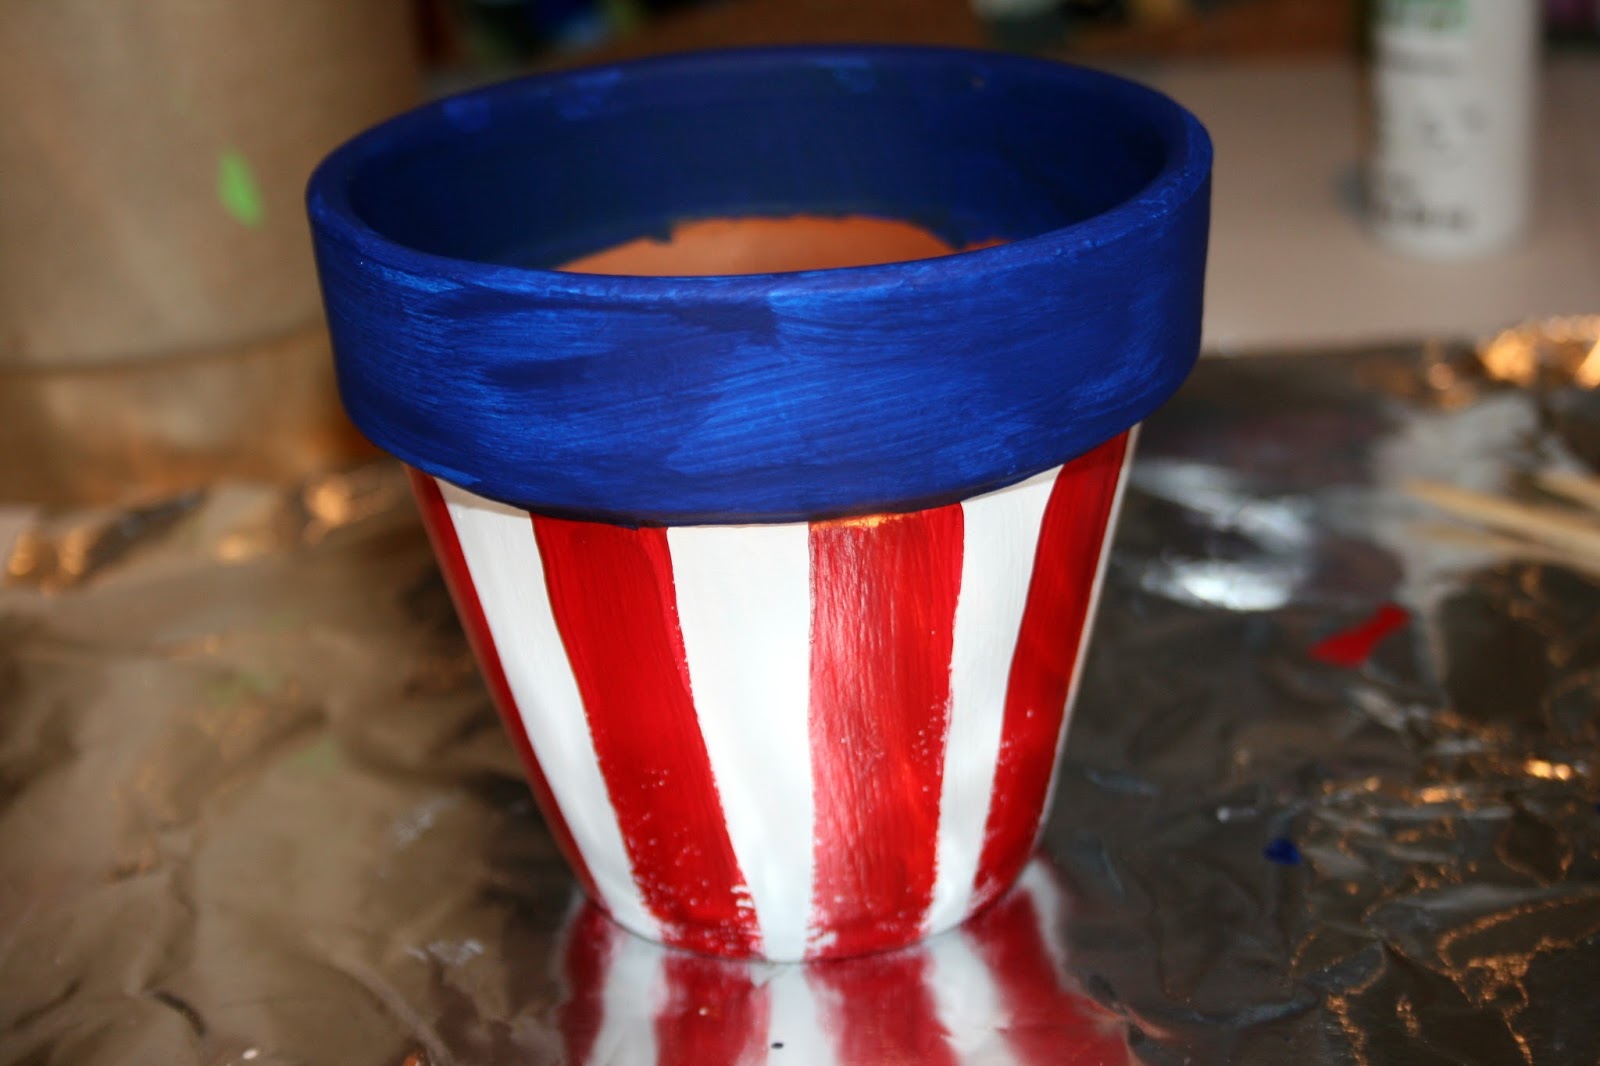
I gave the whole pot a coat of white chalk paint.

Next, I painted on the red stripes. At this point, I am glad that I am a vintage, shabby chic kind of gal and perfection is not a goal-and, that was a lucky accident as painting straight lines on a tapered surface could drive one crazy if you were looking for perfection!

Again, a not perfect coat of blue on the rim.
And then, this is when the magic happens 9in the form of a piece of sand paper) and turns a rather sloppy effort into just what I wanted-old and worn-kind of like me! Lol

Then it was just a matter of painting the dowels (in my case, I had green floral picks so that is what I went with) white, hot gluing them on the back of the star along with a mini-clothespin and inserting them into some floral foam that I had fitted in the pot. I covered the foam with some blue filler, printed the pictures and I was good to go...

...until I walked by it one time too many times and had second thoughts about not putting some stars around the rim. I had actually made the decision not to add the stars. I thought it would keep it less cluttered looking. But, it just spoke out and said "finish me, finish me". Lucky for me, I had a star stamp just the perfect size and in just a minute we were good to go-again.

I'm thinking when I get a minute I might back the pictures with some red or blue paper and I know this is not the best craft project I have ever done, but it kept the juices flowing-and that feels good! Stay tuned.
You knew I would, didn't you? Not only does this look better from the front but now you don't see the "naked" backs of the pictures when you look out from the kitchen!

No comments:
Post a Comment