decorating with dodi

Follow on Bloglovin

Sunday, June 28, 2020

Spoiler Alert...Maybe!?

With the 4th of July looming right around the corner, I am pretty sure I won't be finding any new crafts I still want to try - although, with me, you never know. I have been known to add new treasures right up until the very last moment.

But, assuming I am done - and with no more brilliant new ideas waiting for my "sunflower" decor - AND, with my Halloween gifts for friends and family already done - I am looking ahead to Christmas. I usually make package ties that can be used as ornaments for my girls and my friends. And, now that three of my grand daughters are living in their own homes and have their own trees, I have added them to the list as well. That makes for a lot of ornaments and, as I have said before, I have been crafting for so long, there aren't many new ideas floating around.

I did see something that caught my fancy so I am going to give it a try. My inspiration piece came from "Catherine Scanlon Designs". My only fear is that I may not be able to cut the wood shapes that I will need. I have a saber saw, a circular saw and a chop saw. You would think that would cover it but I no longer have a real workbench or a place to clamp down the wood and I'm just not sure I will be able to hold the wood and cut without my fingers getting much too close to the blades.


I had a scrap piece of wood that I thought would be perfect but it has so many knots that would probably "kick back" on the cuts I need that I ended up picking up two pieces of more appropriately sized wood for the project. Now I am having second thoughts about that as well. I think I can make the narrower wood work but I don't think I will be able to cut all of the way to the end meaning that I then probably won't have enough wood to make as many as I need.

In any case, I am ready for a project - an indoor project - since today's weather forecast has us well into the high 90s. Except for the cutting - which I will do in the garage, I will be in A/C. Here is where I am starting and I will take you along for the ride. Except for the wood, I have reasonable facsimiles of everything else I will probably need.


As I was pulling out supplies, I came across these images that I printed last year and just never got any further. I so remember printing them but I haven't a clue how I had planned to use them. My next big project might just be trying to jog my memory! Lol I do know that I love not only vintage images but postcards as well, so I am sure I will come up with something!


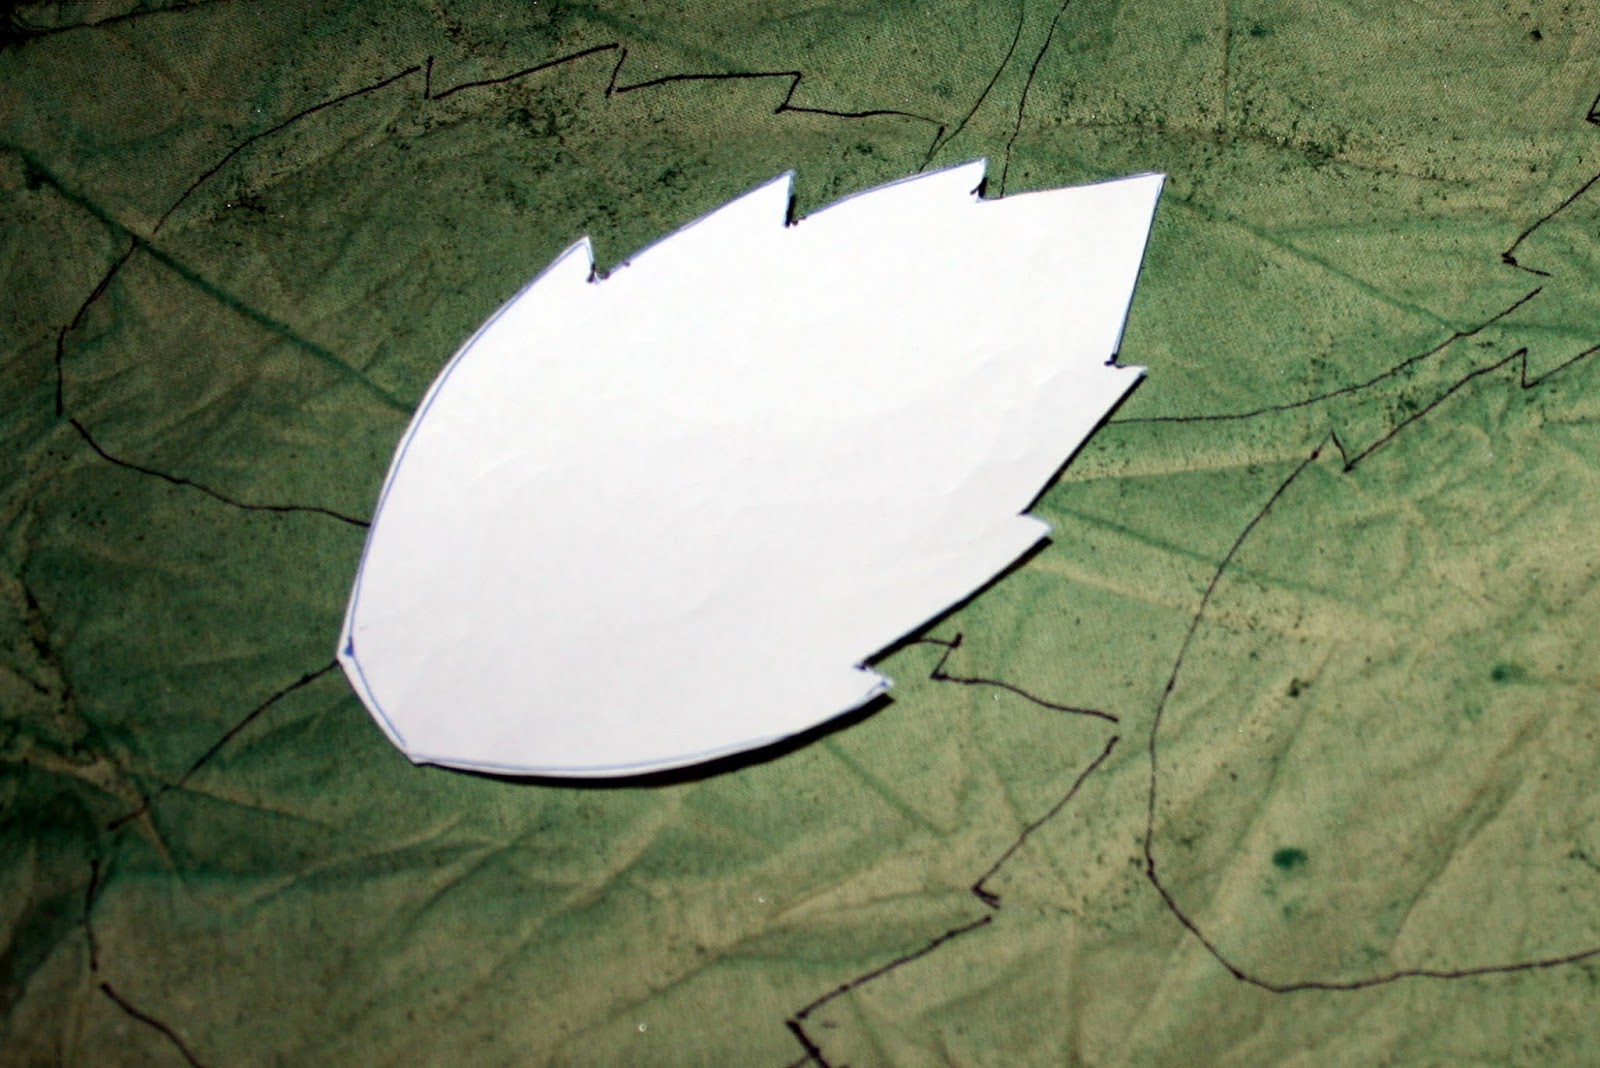
1,2,3....Yep, I've still got all 10 fingers but even I am a bit amazed that I got to get all 5 trees out of a piece of that wood. I got a bit too close to the blade on my chop saw for comfort on the last ones, but I went really slowly and wavered from the lines a bit but, with a bit of sanding, I think I will be good to go.


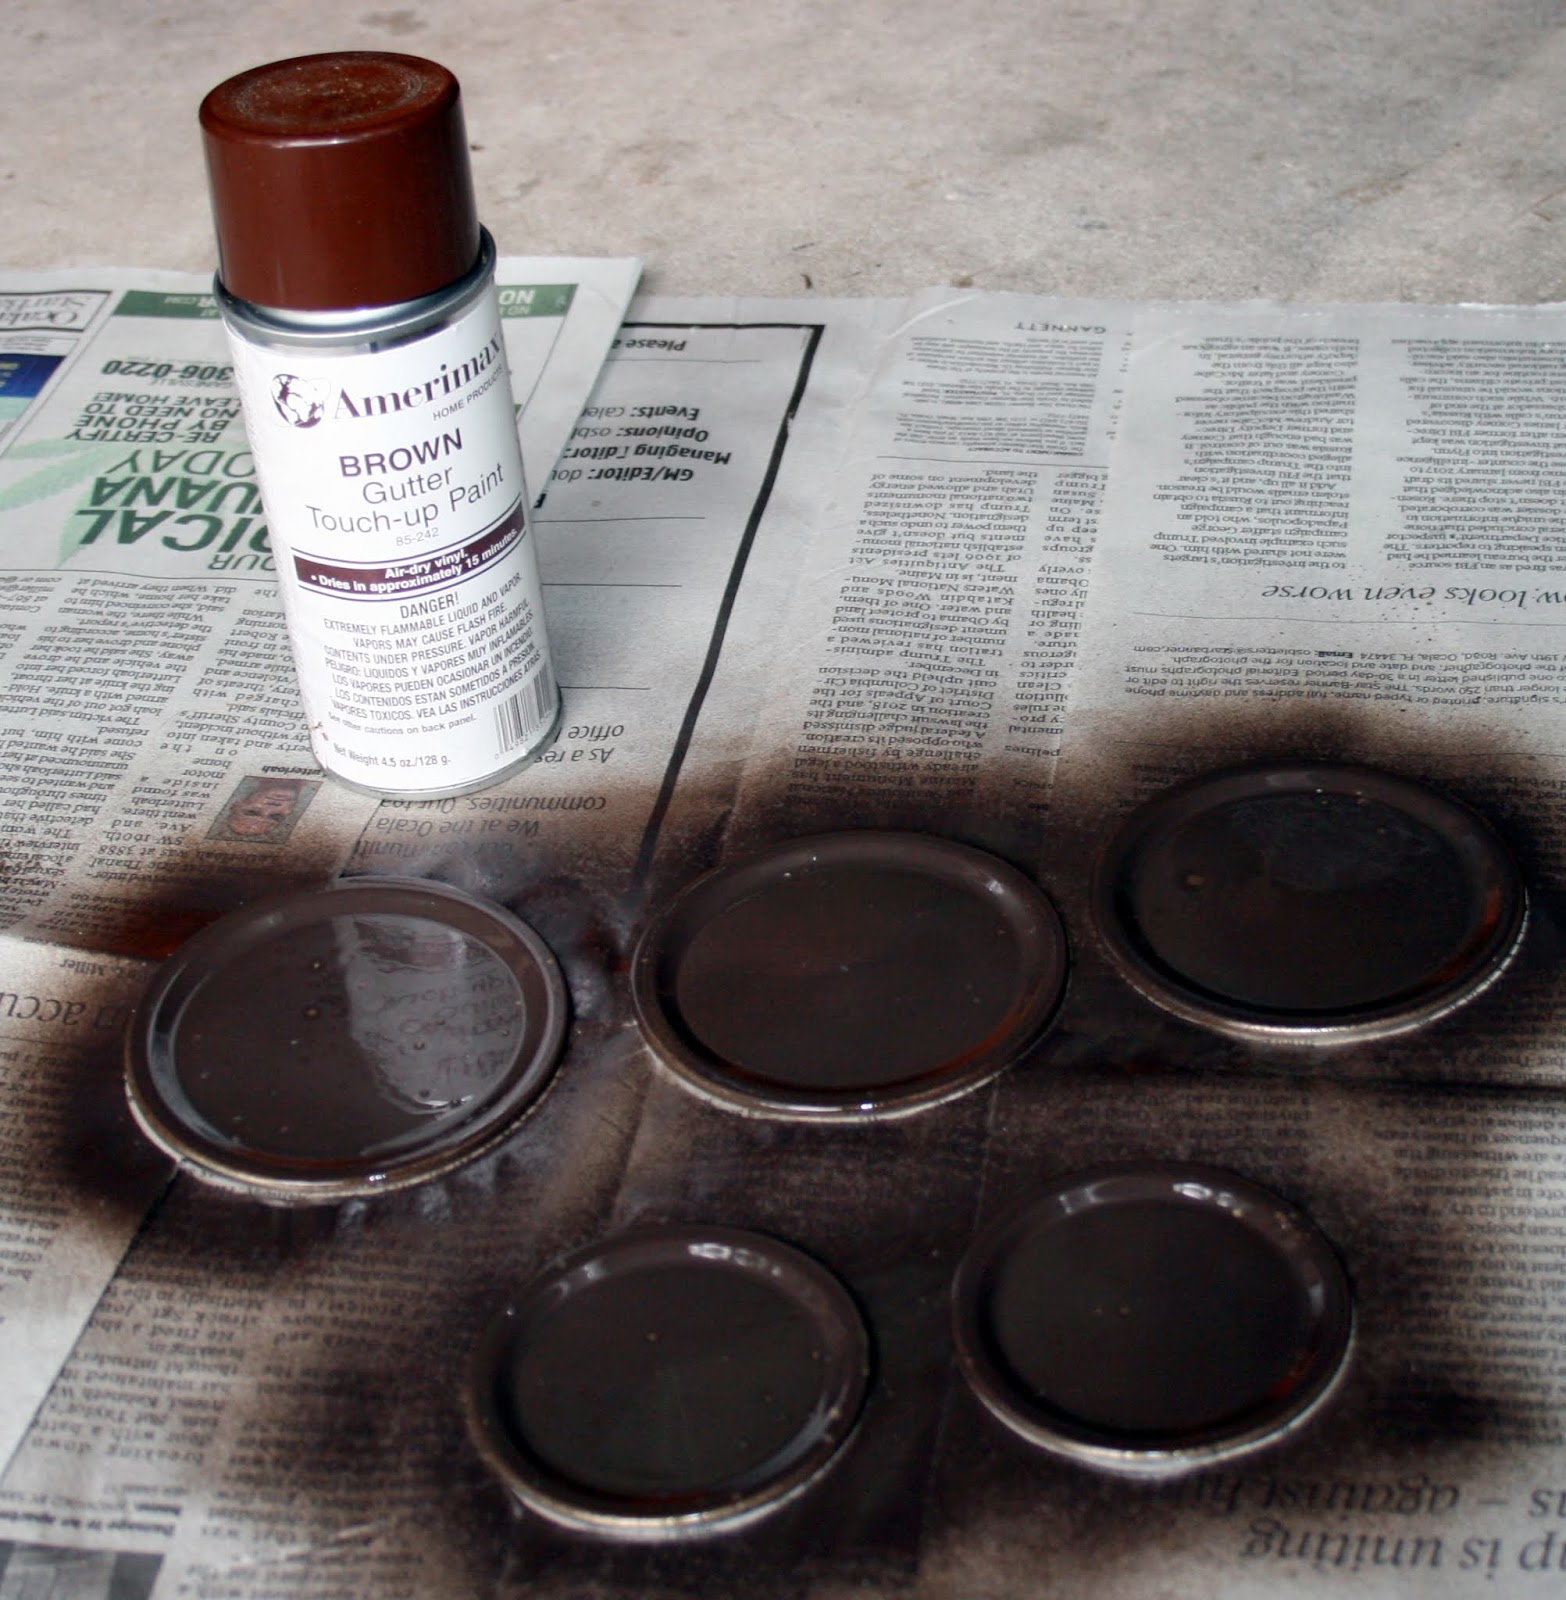
Next came a good bit of sanding followed by some white paint around the edges and a coat on the wooden snowflakes as well. I had these snowflakes left from something else I was going to do. I'm sure I could have found white snowflakes in the stores about now but, not only do I not really want to hang in the stores but I hated to waste them and it doesn't take long to give them a quick coat of paint. It actually took longer to snap off the little buttons that were on them. I don't know what kind of glue they used, but they definitely meant them to stay put!


I decoupaged some vintage Christmas paper on to the fronts.


And then I remembered I needed to drill holes in the bottom for the stems. I was using some cuttings from my bushes and they were about as wide as the tree so drilling was a bit precarious. I had to make a starter hole with an awl, move up to the largest bit on my Dremel and then go to the "big gun". Somehow I made it without breaking through the surface of the trees.


Next, I put more paper on the backs. It is funny how the things that look the simplest are the ones that seem to contain so many steps!


Next came the glitter on both the trees and the stars. Again, I am using things that I had so the glitter is a Martha Stewart yellow gold extra fine (although, honestly, to me it looks like antique silver) ...and it wouldn't be fun if there wasn't glitter all over everything when I got done...including me!


And then I remembered the hangers. I actually had a package of the Tim Holtz photo holders that were recommended so back to my trusty Dremel I went and drilled a hole for the holder to be inserted. I truly don't know what I would do without the Dremel. I know my large drill would do this but it is so heavy and cumbersome. I can hold the Dremel with one hand while holding the project with the other...just right! Lol


Next, it was a simple matter of gluing on the snowflake and a button. I started to put on a thin gold cord as a hanger but decided it needs a prettier ribbon so that will be on hold until I can get out again. Let's see...I have 6 months to go so, fingers crossed, I can do that. These actually were a bit more work than I had anticipated but, like you all know, I love a project...and I got one! Now I just hope I can remember where I will put them so when it's time to pull them out in December, I know where they are. Lol


Stay safe and stay tuned.

Monday, June 22, 2020

Finally!!

I can't believe the weekend is already over! We finally got to have our long awaited family reunion! We finally got the chance to celebrate graduations, birthdays, anniversaries, Father's Day and daughter #3's beautiful home renovation! But, most importantly, we were together...for the first time since Christmas!

Daughter #1 and part of her family arrived on Friday and we got to do lots of catching up before the "real" fun started on Saturday. I had planned to take tons of photos but, once again, I got so invested in the goings on that I really didn't...or, those that I did take were really just not noteworthy. But, we did get the whole group and a few other good ones so I am happy.


My brother and sister-in-law have a tradition of giving the high school graduates in our family a quilt (made by my SIL) that is full of squares each representing the special events of their lives so far. This is Olivia taking a trip down memory lane as she is looking over her gift. These are such special gifts as they will not only keep them company throughout their college years but throughout their lives as well.


This one might just have a future as a chef. She is already a good little cook and a super baker!


I couldn't end this post without showing you these flowers that were a gift from daughter #1. Many, many years ago I started giving my mom flowers on MY birthday as a thank you to her for giving me the gift of my life. Daughter #1 liked that idea so much that she started doing the same for me. The flowers that she arrived at me door with this year are an arrangement that she put together herself...with the help of the florist. She was signed up to take a class but then the virus changed her plans a bit. She was still able to go pick up the supplies and then watch a video of how to arrange all of the flowers. This bouquet is full of mostly peonies and green hydrangeas and is the prettiest thing I have ever seen! And as the peonies continue to open, they are becoming the largest flowers I have ever seen.


I did this to help you see the size of the first peony to open but I still don't think you can really tell how huge it is! And, there are still so many more to come!


So I am going to use today to catch up from the weekend and then I have friends coming tomorrow and Thursday so I am looking forward to a fun week. I also have an idea for this year's Christmas ornament so, when time permits, I will move on to that as well. And, I bought a new nozzle for the pressure cleaner so more of that to come this week too. Can you tell I am a happy camper? Lots of projects in my future. Stay safe and stay tuned.

I almost forgot to share the cute Father's Day gift idea I found on Pinterest. I made one for each of my two sons-in-law and one for my brother. Presley and I made the cookies when she was here last week.


Friday, June 12, 2020

We're Getting There

Even though I am not quite ready to decorate my home for late summer with all of the sunflowers, I somehow couldn't stop thinking about those muslin flowers that I just finished. I have already shared that they were not quite what I had envisioned them being. I couldn't zero in on how I would arrange them or what container I would put them in but, I did mention that I have some old crocks out in the yard that I sometimes use for plants.

And so, with all of that in mind, I headed out into my yard to see what I could find. I actually have two of the shorter crocks and then I found the taller one that I completely forgot about. I brought them in and had to do a good scrub down with the Clorox to get rid of all of the algae covering them.


My favorite is the taller one but, alas, I don't have any floral foam and couldn't find anything else to fill it that would help me put the flowers where they would stay and I could see the end result. That will definitely be on my list the next time I decide to brave heading out. But, I was able to get a bit of a better idea how they would look in the shorter crock and I think I am OK with it if the other doesn't work out. I will need some more greenery too but, at least I think I will end up using them so the three days of my life that I gave to this project will not have been in vain. Lol


With no other craft projects in my immediate future, I am off to do some cleaning of parts of my house that I seem to have forgotten even exist-haha. With so much company arriving next week, I think I need to be sure there are no surprises lurking. Stay busy, stay safe and stay tuned.


Thursday, June 11, 2020

The New Kids on the Block

Do you remember the 4th of July ceramic jars that I picked up the other day? I wasn't sure what I would do with them but knew I could use them in lots of ways. So, here is the no-brainer way to use them. And, since the rains have brought so many blooms to my yard, this is probably how they will be used for awhile.


And then, even though I do not really enjoy shopping online - I like to be out and see and touch what I'm buying, but... - I do follow a site called Decor Steals. They feature mostly farmhouse decor but, every once in awhile I will see something that speaks to me and I just have to have it. That is what happened with this shelf. It reads very European to me and I knew I had to have it. Where it would go was another matter but just a small glitch that I knew I could handle.

I decided on putting it in the guest bath because I have never been much of a fan of the little wood floating shelf that was in there.

But, as usually happens with me, one thing always leads to another. I thought I could just swap one shelf for the other...but, that would have been way too easy. This shelf was larger and it required some strategic moving. It might be hung just a smidge too high but it is where it had to be.

It came with the keyhole hangers on the back which work just fine IF they are put on to the piece you're hanging in the exact right place and put on straight. I find that that isn't usually the case. I will say that this one almost got the better of me. Getting it hung level and centered was a job and a half. I actually walked away from it a number of times but, giving up was not an option so, by the end of the day, it was up. And, I only put the two required holes in the wall. I usually have to try a few times and then do a major patch job. Lol


Of course, once it was up, I realized that the mirror that used to hang over the original shelf was too large to go back. It would have literally touched the ceiling and that looked kind of silly so...I am now walking around looking for any open spots to use the mirror again but, luckily, I came upon some things to move to the new shelf that work just fine, so I am happy. In fact, I am in love with this shelf.

Since my decorator daughters tell me that no one uses towel bars any more, I am thinking of taking down the rack and maybe moving the shelf a little lower and adding two towel hooks instead. I am going to live with it awhile before I decide. Until them, I love it.


My girlfriend is due in a few minutes so I am off for a fun day...who knows what we'll end up doing! I hope to be back soon with more isolation adventures. Stay safe and stay tuned.
 

Wednesday, June 10, 2020

Little Did I know...

When last I posted, I said I was off to find my next project. Little did I know....

I think I have shared that we finally have a date set for our reunion get-together. We have missed so many birthdays and anniversaries while in isolation but, perhaps the most important, we missed 4 graduations...two from college, one from high school and one from elementary school. This is a big deal and even though their schools found alternative ways to recognize the graduates, it isn't quite the same as having your family gathered around cheering you on.

And so, on June 20 we will be doing just that. Some of us haven't seen each other since Christmas so there will be much to catch up on as well as much celebrating to be done.

And so, since daughter #3 is serving as host this time so that we can also break in her newly renovated home, I am just in charge of decor and photo props...and probably some food as soon as we finalize the menu. I did a lot of decor for those of us who could gather to celebrate grand daughter #3 so, I wanted to do the same for the rest of the group. And, since not everyone was able to make it to G'vlle to celebrate Morgan, we will be celebrating her again as well. And so, I set out to do something that I love. I'm not sure why I enjoy doing these props so much but, I do. I start with an image online and then I just do lots of picture piecing...kind of like putting a puzzle together. And, even though I'm never sure where I'm going when I start, I always seem to end up with a reasonable facsimile. Gotta say, the 8th Street Elementary Eagle was definitely the simplest to put together.


This guy nearly did me in!! And, being a Gator having to make a Seminole, I would not have expected anything less!


Here's Morg's lion. I think they're the Saints so I'm not sure why the lion but I just go with it. Lol


And, the beloved Green Devil from St. Pete H.S..


One chore down, lots more fun to come. My girlfriend is coming to spend tomorrow with me. We have talked often but not seen each other since isolation began so you know there will be lots of talking going on...so much to catch up on.

Not sure what my next project will be but you can bet I will bring you along for the ride. Stay safe and stay tuned.

Tuesday, June 9, 2020

And...We're DONE!

OK. The sunflowers are finally done...and, I just kind of stuck them in this container to see what I would think. This is probably not the container I will use when I put them out next month, but it is along the the lines that I have been thinking about. I actually think I will empty one of the old crocks that that I have in the yard to use. I think it needs something with a bit of a wider mouth. But, I am definitely feeling better about them than I was. They are different and, since I know I need at least one more large arrangement since things have moved since the last time I decorated for late summer, I think these are so much better than just another big pot of store bought flowers. I'm really not sure where they will end up, but at least I now know they will NOT end up in the trash. Lol And, believe me, those thoughts were in my mind last night.


And, while I have you, let me show you the 4th of July things I picked up while I was out.

These beads look similar to the ones I made but, at the sale price, are actually less expensive than making more myself. I like them here on the coffee table.


I picked up these two ceramic jars really inexpensively. Right now they're sitting on the ledge in the kitchen but will soon be full of fresh flowers. They might also be cute full of silverware at a party.


I have salad servers for almost every other holiday so when I saw these on sale, I grabbed them for my 4th of July dining.


And, I picked up some blue chalk paint and got the frame repainted. It is amazing how chalk paint sticks to things when acrylic just won't. No one else probably notices this but, it is the little things these days that keep me happy.


We are having another rainy day. I love how green and lush everything is looking but my pool is getting very close to the top so, maybe enough is enough. I'm off to find my next project. Stay safe and stay tuned.

Sunday, June 7, 2020

The Devil Made Me Do It

Yesterday marked 14 weeks since I had been out of my house to go anywhere except quick visits to my daughters' homes or through drive-thrus for banking or to pick up prescriptions. I was pretty proud of myself that I had managed to stay busy and involved and hadn't lost my mind...but then, something happened this week after my pressure cleaner broke and I realized that my big fall-back project has just been taken off of the table. I HAD to get out and get some "stuff" for some new projects to keep me busy.

So, donning my mask ( courtesy of my very talented sister-in-law ), I was off. On day one I hit Target and Publix...mostly for essentials that I just really needed. And when I realized that I had lived through that, I woke up the next day and took off for Hobby Lobby. And, when I lived through that, I headed to Michaels.

I was truly like a kid in a candy shop. I had been seeing on all of the craft sites that I follow that both HL and Michaels were practically giving things away but, that must have been in states that had just opened. I guess our stores have been open for awhile and I must have missed all of the really good bargains.

But, they both still had their regular sales and coupons so I was good. In fact, I was so happy to just be there that I would have been happy no matter.

Now we all know that this isn't my favorite time of year so project ideas are always kind of scarce. I made the few 4th of July things that I wanted while in isolation, so except for picking up a few 4th things that I didn't have or could actually use, I wasn't dwelling on the red, white and blue.

In fact, I had actually looked ahead to my next decorating theme which is sunflowers and will come out about, oh, I don't know, maybe JULY 5!!! Lol

I truly love it when my house goes to sunflowers. I know we will still be in the thick of our Florida summer, and even though I use that theme to represent "SUN" flowers for summer, my mind reads them as the very beginning of hope for autumn to arrive. And, I'm sorry but that can never happen soon enough for me!!!

I will say that I don't have a slew of sunflower crafts in my mind but I had seen one that I thought would be a bit different from everything else that I have so, supplies for that were my first priority.

I will say that I am a bit "rusty" when it comes to craft shopping so I actually forgot two things but I am hoping I can muddle through - we shall see.

In any case, today was the day! Except that this would probably have been a better sunny day project. But, those of you who know me know that I was not going to wait, so a bit of jerry-rigging is taking place and we shall see. It will definitely take me longer than it should have but that is OK. After all, the plan is to stay occupied! So, here we go. Any ideas where this may lead?


I needed a large basin - which apparently I no longer have so I grabbed a shallow but large garbage can lid that covers my outdoor Christmas lights - not garbage. Lol One of the things that I forgot to buy was instant coffee to coffee stain the fabric. I knew it wouldn't be as dark but I ended up just brewing a pot of very strong coffee and going with that.

I poured a lot of paint into the lid and then mixed it with the coffee and some ground cinnamon and cloves to "grunge" it up a bit. Then, in goes the muslin.


I could tell already that this wouldn't be as coffee stained as I wanted but I'm OK with that.

Of course, the rain that I wanted so badly decided right at that moment to pay a visit so operations quickly moved inside.


I left the muslin in the solution until I thought it was as dark as I wanted. Of course this is when the fabric was to be laid out in the sun to dry...but there was no sun nor any dry spots where it could be hung.


 I toyed with throwing it in my dryer but I was afraid some of the paint might find its way into the cracks and crevices and my next load of wash would come out yellow polka dotted so, I found the only spot in the house where I thought it could safely hang and drip.


While that is drying, I sprayed the Mason jar lids with brown paint. This was something else I guess I forgot to buy but, once again, I lucked out. I thought for sure I had some of my hammered bronze spray paint in the garage. I always have a can for pool furniture touch-up but, apparently, the last time I used it up, I never replaced it. Luckily for me, I did have a small can of brown gutter touch-up paint and it had EXACTLY enough in the can to get both sides painted. These are going to get covered with either pebbles or burlap, so it isn't an all-together necessary step but, just in case any should peek through, it won't be as obvious as the unpainted lid.


Once the lids are dry, a hole the size of the wire you are using for the stem needs to be drilled.


And then, a piece of string needs to be tied through the hole so that once your lid is filled with the muslin, you can find the place to insert the wire. This was a tip from "The Crafty Decoraror" (who was my inspiration for this project ) and one I wouldn't have thought of myself but a real time saver for the next step.


 When my fabric was finally dry, it got ripped into strips...


...and tied around the rim.


Then, the lid got inserted.
 

I used E600 to glue on the pebbles.


When they were dry, I thought they were too gray for my liking so I dabbed on some brown paint. And then, I called it a night!


I thought a lot about this project last night. Let's just say it's a good thing I wanted something to keep me busy! Lol There are still so many more steps to go and so far, I am just making my "prototype" so I can see what changes I have to make because I wasn't able to get all of the correct materials.

Day #2 starts with me making up another dye concoction for the bit of fabric left to become leaves.


We are having another day of rain, so once again this will have to be an indoor project.


While that is drying, it's back to the flower. You can see how easy it is to find the right spot for the wire with the string hint.


The wire was one of the things I didn't get. I would have had to go to yet another store and I just didn't want to do that. I knew I had some fairly thick wire and it was the perfect size...but I forgot just how malleable it was. No matter how much floral tape I used, the weight of the flower kept pulling the bloom over. I tried two layers of wire and it wasn't any stronger so, in desperation, I attached a wood skewer. It may not look perfect but, it still needs the leaves and it does hold the bloom up, so I am OK with it. 
 

I really don't know where these will end up when I decorate for late summer. They will definitely be in some kind of arrangement with lots of greenery to fill in, so I think they will work. I stuck this one in the 4th arrangement just to see how it might look. I think I might do a bit of adjusting but, I'm ready to go ahead and finish the rest. 2 yards of fabric is supposed to make 3 large and 2 small flowers. I truly don't think I have enough fabric left to do that but we shall see.


So, I just had enough fabric for the flowers and I got the bloom parts done. The green fabric dried and I moved on to the leaves. They were a simple matter of tracing and cutting...


...gluing in a stem then gluing the two pieces together...


...and covering the wire with floral tape and attaching two leaves to the stem.


So after two days, this is where I am. I do see the end in sight but at this point, I am praying that I like them a whole lot better when I get them into some kind of arrangement because at this point, I'm beginning to doubt my decision to give these a try.


I'll get them done tomorrow but it is just more of the same, so I am signing off for now and I will let you know the verdict as soon as I know. Stay safe and stay tuned.

Oh, by the way, if you are at all interested in seeing my inspiration, go to www.thecraftydecorator.com. She sure made it look a lot easier than this! Lol