decorating with dodi

Follow on Bloglovin

Tuesday, August 28, 2012

Just Do It!!!!


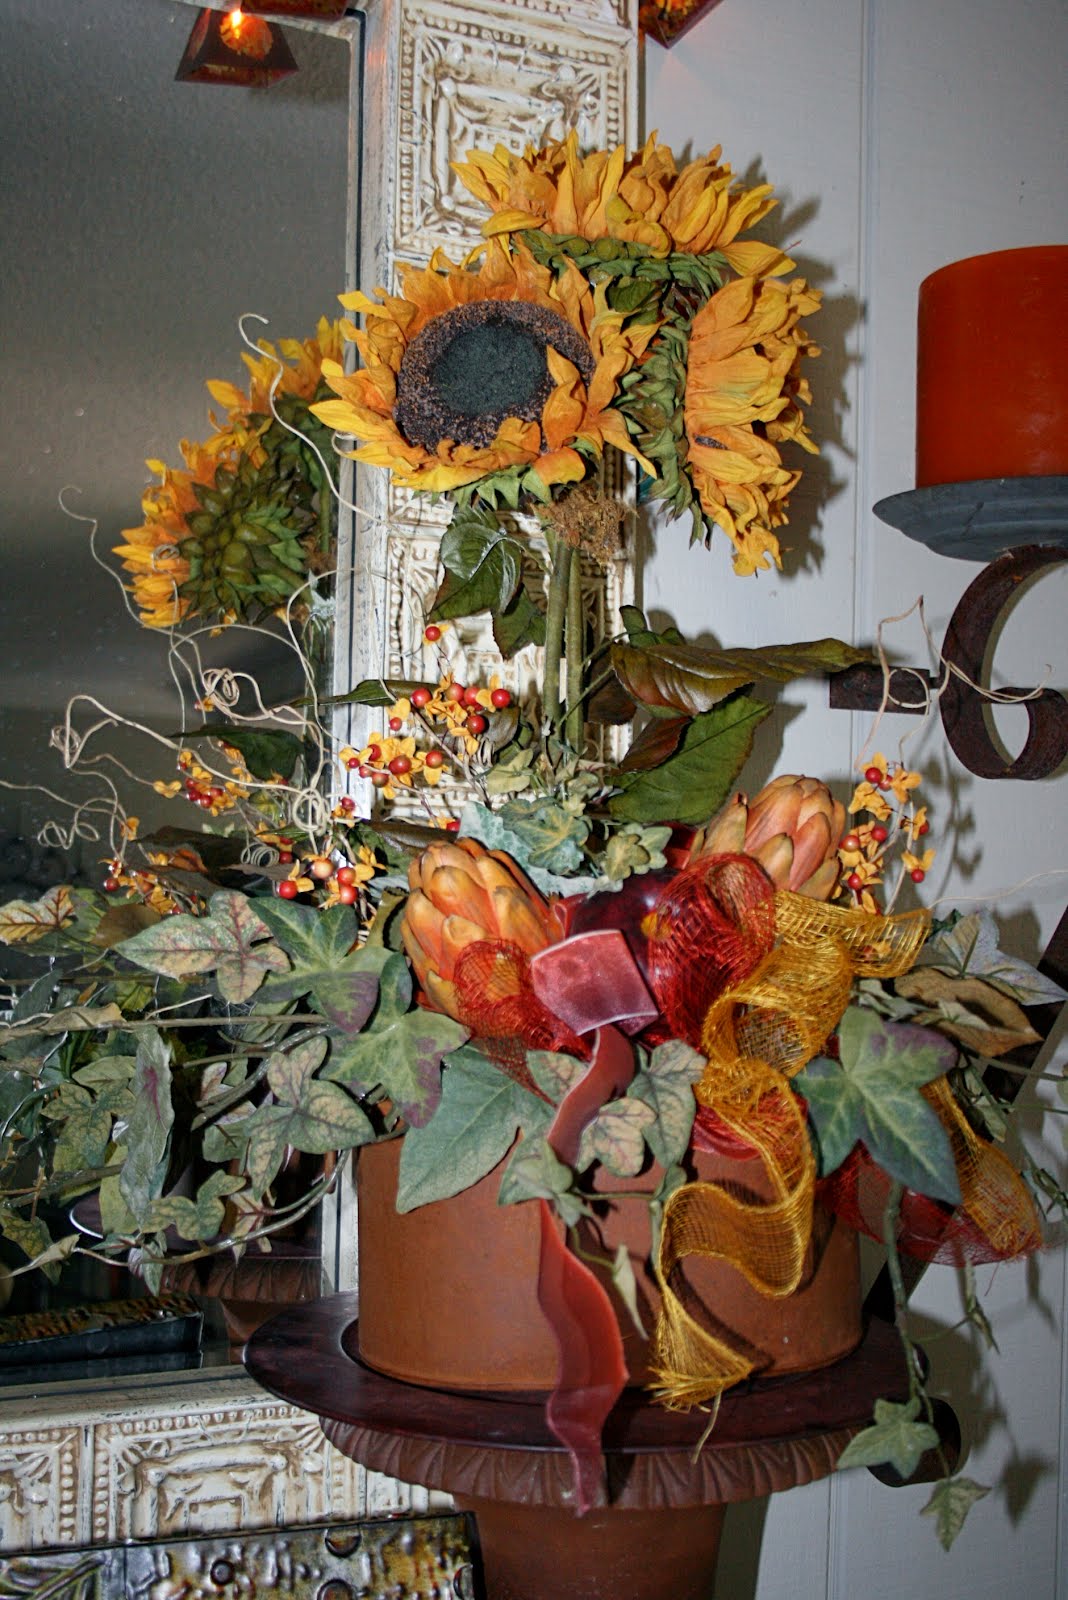
O.K. So you know how every post I have made in many months that has involved the foyer to my home has been prefaced by "I still don't like the way this looks"? Well, after I posted that the last time, I decided I should "just do it". What did I have to lose? After all, the piece of furniture had no family history and the mirror behind it was the remnants of my Tawanded hall tree-which, quite frankly, I am still sort of sorry that I did, but that's another story. Maybe I will feel better if I ever get anything in that area that I like again.

Anyhow, I headed to Lowes (yes, I still love them even though there IS that one employee that I don't LIKE so much) and picked out a color. It makes it kind of easy when you really have no preconceived idea about where you're heading. My thoughts were to go black with this piece, but being the summetrical person that I am, the balance on this wall would really have been "off" if I did that. There are several pieces in this room that are black and the rest are a walnut stained pine. I don't much care for oak-which is what this piece was.

This piece came to us when my husband was trying to help out an elderly woman in our church when she became ill and it was obvious that she needed some help. Somehow he took on more and more as the years passed and when she finally passed away, her family came in and took whatever they wanted and then told him to do what he would with whatever was left. There were a few small pieces I took (vases, decorative bowls, etc. that reminded me of her) and then I thought this piece might help us furnish our 3 guest rooms as all of our girls had recently gone off to college or new jobs. It has been used as a side table in our front guest room all these years and when I was in the mood one day to mix things up, I dragged it in to the foyer where it has been-and I have complained about it-ever since.

My plan was to paint it black and then a camel color coming back to do a lot of sanding to reveal the bottom colors. It was an easy project because the more distressed it looked, the better I would like it. No perfection here-so super easy for me.

The black flat paint that I had used on other pieces went on really easily. The camel is a satin finish and was a bit more temperamental. It needed 2 coats. I still wasn't happy with the look so I just started dry brushing back more black then camel until it was getting closer.

I then remembered the bottle of mocha glaze left in my stock pile that I never used on my kitchen cabinets. I love glaze. It is so easy. I just brushed it on heavily and then removed it until I was happy.

And here is where we are right now. Is it exactly what I would have bought if I had all the money in the world and resources available to me? Probably not. But, is it better than the country looking oak that didn't match anything else in my house? You bet!

I filled in the holes from the old drawer pulls and will be heading back to Lowes to buy some oil rubbed bronze cup pulls similar to this:

And now, of course, my inexpensive make-over takes on its own life as I realize that I also strongly dislike that mirror. Haven't really given much thought to what else I could hang there. Even though there are 3 other mirrors in this room, a mirror just seems right. I am sort of envisioning a LARGE oval mirror perhaps flanked by 2 hanging lanterns (which I could have gotten for 80% off the day I was in HL in a monsoon and hubby was encouraging me to buy and I for some reason didn't think I had a place to use them....but, I digress). My daughter has done a similar display in her new foyer (of course she has the large Ravenswood Vineyard framed poster hanging there which I have coveted since the day I first saw it...but, once again, I digress). In any case, I suspect I will find myself on the hunt for something new to use in this area. We shall see. Stay tuned.


Monday, August 27, 2012

Let There Be Light!

I know so many of you are sitting on the edge of your seats waiting to hear if I ever got my Halloween lamp wired with a new plug. Well, wait no more. Ta-da!!!!


I really am happy with the results. I am a "happy" Halloween decorating kind of girl. I don't go for the gory side of the day as I have lots of little ones in and out of my home during the month and my goal is to celebrate...not send them home with nightmares. I do some of the laboratory vignettes and Edgar Allan Poe, but nothing too sinister. I'm a glitter kind of gal!

Now, I must say that there was one misstep in finishing this project. Let me start by saying that "I love Lowes". It is the first place I will head any time I have a home improvement idea. So, after an exceptionally long day of doctor's appointment and treatment, my husband and I headed out to dinner. We were both exhausted but, as you know, I don't liked unfinished projects. And, since one of our favorite restaurants is right across from Lowes, I convinced my hubby to come with me to get the new plug so I could stay home the next day and maybe accomplish something.

In any case, since I have used this quick plug method many times, I thought I knew right where to head. No luck.....and not a Lowes employee anywhere in sight. After looking up and down many aisles, I finally spied the red vested "expert". Of course, he was talking to a man with another man waiting next. I took my place in the line. Since we were in the light bulb aisle, I figured "how long can each question possibly take?". Well, there must be much more to talk about light bulbs than I could ever have imagined, but when said "expert" (that is what was on his vest) finished with both of the men, he started to walk away as if I was invisible! Now, I am a pretty non-confrontational kind of person, but I have my limits. I stepped forward and got his attention. Apparently he is one of "those men" who thinks that women should remain barefoot and pregnant and not tread in "men's territory". And, either it annoyed him that I knew exactly what I was asking or he really didn't have a clue what I was talking about because he led me to the electrical aisle, picked up a "real" plug, mumbled something about "you just pull the wires through here and then....."-which made absolutely NO sense and I asked him to please repeat those instructions. When he did, I may have said "that makes no sense" or something like that. I then reiterated that I have done this many times before and I just need the quick plug kit. That is when he told me there was no such thing......and I proceeded to Wal-Mart a bit down the road, walked into their hardware section and purchased this!


This is not the first time I have been ignored or talked down to in Lowes. Considering that the majority of home improvement projects are initiated by women and many times, completely accomplished by women, I would think a major store like Lowes would train their employees to treat all customers as equals.

Of yes, when I finally got so annoyed at him that I said, "well, I guess I will have to head to Home Depot", his response was "I guess you will" or something along those lines. I probably should have reported him to someone-if I could have found someone. Plus, again, it had been a looonnnng day and I was ready for it to be over.

Now that my lamp is working and I have had time to calm down, I will head to Lowes again. I hold no grudges-but, I will be on the look-out for that "expert" from here on out and make sure I head as far as possible in the opposite direction when I spy him!

In any case, I am using today to get some indoor projects lined up just in case Isaac makes more of a visit to Ocala than is currently predicted. Stay tuned.

Saturday, August 25, 2012

It's Beginning to Look a Lot Like......


......autumn! At least in my house. I just couldn't wait another day. Everywhere I went I saw glimpses of this beautiful season, so it was time! There is nothing about this season I don't love....the colors, the scents, the food, the mood....I love it all!

So, welcome to the beginning of my autumn. For those of you who are faithful readers, you will notice some things you have seen before. Once again, I am trying to pare down but there are just some things I love so much that I MUST use them where I love them. So, let's start in the livingroom-really a hard room to photograph because of the number of mirrors and large windows-always seems to be a flash-back from somewhere so I find myself going for some shots at very obtuse angles-sorry.


As you see, I still haven't done anything with this entrance area. I am one step closer because I have decided to paint this chest-now if I could just decide what color! I am sure it will come to me-sooner or later!

Until then, this is what you see when you walk in my front door. To your right is the rusty old "welcome" bucket full of autumnal color.


This chest and vignette are pretty much as they have been for a few years. I did add the 2 new, orange velvet pumpkins and the orange mercury glass candle holder. Still totally love my arrangement from Julie's in Indian Rocks Beach and the paper mache' pumpkin with velvet grapes that I made many years ago. I saw the exact same thing in a fancy store somewhere and the price was obscene. When I happened upon the velvet grapes in a little gift shop in Mt. Dora, I knew I could copy the rest of the arrangement quite easily. Hope I never tire of it!


Keeping the rest of the room pretty simple. Thought I liked the wooden box I made until I saw this picture and realized I have it decorated more for Thanksgiving than autumn. Don't think it needs the other gourds I have in there just yet. Am thinking I will re-do this and keep it with just pumpkins and leaves and maybe add some candles. We shall see.


Kept the coffee table very simple as well. Just using 3 candle holders, a lantern and my large copper bowl full of the velvet pumpkins.

That is it for the living room. Trying to get everything else done today so be sure and come back for the rest of the tour....so much more to show you. Stay tuned.


Thursday, August 23, 2012

Just Couldn't Help Myself!!!


So when I was last here, this is where I was heading. If you remember, I was well on my way with the purchase and repainting of an inexpensive buffet lamp that I found at Lowes. My only issue was finding the styrofoam skulls. Off to Michaels I went and they had these exact skulls for $1.49 each. BUT, right next to the very exact skulls were some skulls decked out in all of their glittery fineness-and for the same price. I just couldn't help myself!!! My hand headed to the glittery bin before I could stop it!

I DID ponder for a moment when I realized that my rendition of this lamp would no longer be as sinister or spooky. But did I care? No sireeee! So onward I went.

Let me start by saying either the lady who posted this tutorial (you can find the link on my Pinterest Halloween board-along with my other 1000 pins that I will never live long enough to even think about doing-but I digress) probably had a bit more experience with lamp wiring or her lamp was assembled differently than mine. I had to remove some pieces and rearrange others or my skulls wouldn't fit on or the lamp wouldn't go back together again.

With my limited knowledge, it became evident that I would either have to cut off the plug or re-wire the socket section. I have done plugs before simply by adding on a slip-on replacement, so that was the road I chose.

The picture below shows the left-overs. Probably NOT a good thing when talking about electricity but in this case, most of them were only extensions so I think I am good. I will pick up the plug when I am out later today and let you know if I have "light.


For right now, I just hung some creepy cloth over the shade. I want to see what it actually looks like with light shining from inside before I make the final tweaks.

Must say that as I was waiting for these pictures to download, I began going around and pulling the first of the autumn decorations from closets. I know my blood pressure dropped 20 points just seeing those beautiful colors and leaf and pumpkin shapes. Think this will be the weekend! Stay tuned.

Sunday, August 19, 2012

Next on the List.....

I love these lamps. Ever since I saw this on Pinterest, I knew I would be making one this year. My intent had been to shop around at Goodwill, Salvation Army, etc. to see if I could find any ugly old lamps for $5.98 like this lady did. Unfortunately, I just haven't had the time to go on the search, so when I was at Lowes the other day and saw this beauty on clearance for $15.98, I grabbed it. Not a bargain but certainly not the most I have ever spent for a Halloween decoration either!

Wasn't sure if I could use this lamp shade, but figured I sure couldn't make it any worse than it was, so I gave it a few coats of black spray paint along with the base that was oil rubbed bronze-usually my favorite finish but black was a necessity for this holiday. Think if I drape that shade with "creepy cloth"-which I have LOTS of because I think I bought every last bag I found last year after Halloween- I will be fine.


Here is how it currently looks. I looked for the styrofoam skeleton heads at Dollar Tree when I was there yesterday, but they didn't have any. I was beginning to think maybe I wouldn't be able to find them this year when I read the tutorial (when all else fails, read the instructions) and saw that the lady got them at Michaels. Keeping my fingers crossed that they will still have them this year-off to find out. If not, anybody got 3 left over styrofoam skeleton heads they would like to pass along? Stay tuned.


Dollar Store Decor and Reveal!


This was my daughter's mantle last year and I loved it. I used a lot of photos on my mantle last year as well, but I didn't like mine as much. I think it may be the mirror I have so this year I decided to take down the mirror and go for the pictures running up the wall effect.

I have a lot of these photos but most are in pretty ornate (heavy) frames. Since my fireplace is covered with Venetian plaster (shiny finish and I don't want to use nails), I will probably be adhering these with poster tack. Hence, the lighter, the better.

I was in the Dollar Tree the other day and saw these.

I love the photo of the soldier. He could be one of our long lost relatives. But, I totally disliked the thin plastic frame it was in. Not to worry. A trip to the frame aisle got me this little beauty. Not the world's best frame, but wood, black and light. It was a simple matter of just cutting out the hologram and putting it in the frame. I think it will work perfectly for my purposes. They had others but I want to see if I can't find some in Michaels or JoAnns in other sizes. If I do, I will probably hightail it right back to the Dollar Tree for some more light (cheap!) frames.


Isn't he a handsome devil?

And now, I know you are all on the edge of your seats to see my big reveal. My sign and post are finally done and I am thrilled with them both! This was a big project but I am so glad I finally got around to it. Can't wait to see how it fits in with my outdoor Halloween decorations this year.

The post didn't turn out to be as difficult as I first thought. I had 2 old 4X4s in the back corner of the yard. I think they were removed from our fence when we had a large gate installed. I left one 8' and cut the other as a cross piece. I pre-drilled the holes and then used 8" long lag bolts to hold the 2 pieces together. I gave it a watered down coat of gray paint, added the eye screws and chain and we are good to go.

Right now I have it propped up against the wall of the house just to see how it looks. Very soon, it will make its way out to the front of the house and join all of our other ghostly visitors.


Won't you join us? As you can see, there is room at the inn! Stay tuned!


Friday, August 17, 2012

Full Steam Ahead


Last year I made some of these velvet pumpkins but I couldn't find orange velvet anywhere. Me being the total traditionalist that I am, I was really bothered by the lack of orange pumpkins but, for whatever reason, I was able to let it go! Imagine my delight when I was in JoAnns several months ago shopping for summer fabrics when I looked up and saw the most beautiful orange crushed velvet ever-and on sale to boot! I snatched up a yard and the other day , while sitting and talking to my oldest grandson as he constructed Lego awesomeness, I managed to whip up some. Can't wait to include them in my autumn decorating very soon!


Added a bit more embellishment to the bottles. Still not sure we're "there" yet but I'm liking them better. My thoughts are to add one of those candles that "bleeds"...we will see.


And, here is the beginning of my Dead & Breakfast sign. I cut corners a bit by deciding not to buy quite as much length of wood as the instructions stated. Thought I could just make the sign a bit shorter. Unfortunately, I failed to think of the proportions if I did that and I think I can already tell that it will be too wide for its height. Not a big deal. I will just trim a bit off of the sides but it would have been easier to do this before I got to this point. Oh well, we shall see.

So, when I went to trim this down a bit, I realized I would be cutting right through a knot hole and since I would only be using a jig saw, I decided against that idea. Kind of convinced myself that the proportions were just fine the way they were. I did go in and blow my script up a bit more.

After a loooonnnng trip to Lowes, I returned home with what I hope is all the rest of the stuff I need to finish this project. Here is what it looks like after my distress painting. I love it when instructions tell you to distress something as you really CAN'T go wrong-and painting really isn't one of my talents. In fact, I really try to avoid it at all costs but there was no way to do this sign without picking up a paintbrush or two-or ten! Why do my paint brushes always have a stray bristle or two just making the whole process just that much more stressful!?

And here we are as today draws to a close. I downloaded some of the script from BH&G and typed up the rest on my own. All I can say is thank goodness I have a great copy machine as I am really not so good with word processing and the sizing is always hit and miss with me.

If all goes well and I am at home tomorrow, I will tackle the sign post and putting this all together. Making the post will involve some serious drilling through pressure treated 4X4s, so that should be an adventure. In fact the whole post thing is a bit of an adventure because the instructions are only for making the sign. The last line says "hang from a sign post" and, of course, their's is hanging from a beautiful antique, Victorian post. I'm hoping my jerry rigged 4X4s, finial and 8" lag bolts will get me where I want to be. I have been looking forward to making this since 2010, so we shall see. Stay tuned.


Thursday, August 16, 2012

Trash to Treasure


Since I haven't been around much lately, I'm sure you think I have been super busy crafting and decorating. Unfortunately, that couldn't be further from the truth. Life has once again kept me on the run.

When I finally had a bit of time at home and no new projects really on the horizon simply because I just hadn't had time to get my thoughts together, I decided to see what I could do with my empty bottles. There are so many ideas floating around Pinterest, but I needed something that I could do with the supplies I already had at hand.

So, out came the bottles and a can of matte black spray paint with primer-thought the primer was a good idea because I know paint can peel off of shiny glass rather easily and thought this might solve that problem-so far, so good!

I had to really talk myself through this, but I kept the coats light. I really didn't want any drips and light coats of paint are really the only way to do this. I used this whole can of paint but got 3 light, even coats on 6 large bottles.

While the paint was drying, I hit my Halloween ribbon and embellishment stash. I will have to admit that I have way more of this stuff than the average person - probably because I LOVE Halloween way more than the average person and when I get the notion to Halloween craft, I want to do it then! So, lucky me, no extra trips will be needed for wherever this takes me.

And, I must say, as I started on this project, I wasn't really sure where it was going. But I have a pretty clear idea right now.

I went to my downloaded Halloween file and found a label that I liked, printed it off, cut it out and used my trusty Xyron machine to run them through the adhesive and adhere to the bottles.

Now the fun part will start. I am waiting for the hot glue gun to heat up and the finishing touches will start. Don't know how long I will have before the phone will ring and I will be off again so I want to get going. Promise to show you how they turn out next post. Stay tuned.


Saturday, August 11, 2012

Check!!!!


Remember this? I really don't like projects that I can't see through to fruition but this was one of them. When you last saw my kitchen, this is what it looked like. I didn't like having the recycling out in the open but there was no where else for it to go and be readily accessible.

I headed off to Lowes to purchase a pull out bin holder. I knew I would have to lose a half shelf in this cabinet but it was worth the trade off. I "tawanded" the shelf out of there-amazed actually at how well made my OLD cabinets are. Don't think they make them like that any more-but, I digress once again.

Once the shelf was removed, it "should have been" a simple process of installation, but not in my case. Apparently, some well meaning plumber pulled the copper piping for my ice maker from this cabinet's back wall and it was sticking out just far enough to make installation impossible. Believe me, the temptation to just bend the thing back a few inches was hard to resist, but resist I did. I had visions of it either snapping or kinking and my simple job could turn into a "plumber's retirement fund". So we called our go-to guy and waited until he could get here. And, apparently, a new pull out bin system wasn't as exciting to him as it was to me.

He finally showed up and BENT THE TUBING BACK A FEW INCHES with NO dire consequences. Oh well. At least if it had broken while he was here, he would have known how to fix it! Since my 4 year old grandson was spending the night with us, he helped me with the installation. He is a wonderful flashlight holder and screw picker-upper! It really was just a matter of 4 screws and we were here!

It glides in and out incredibly smoothly and I love that we are now back to this:


A place for everything and everything in its place-just don't look on the other side of this room or around the corner or on top of the refrig..... you get the idea. More projects for another day. Stay tuned. But, for today, I can check one off of the list. Sigh!!!! And big smile!!!!!!