
For quite awhile now I have been seeing craft blogs using a faux tin ceiling tile that people were finding at the Dollar Tree. I have always been drawn to tin ceiling tiles. In fact, one of my favorite finds is a mirror that hangs in my foyer that I purchased made from one.

I was drawn to many of these crafts but, I could not find the tiles in any of my $ Tree stores. Either, as often happens, these craft blogs with literally millions of followers create a run on certain projects and people rush out and buy them all up or, they just never made it to my area. In any case, I screenshot ideas and forgot about it. Until the other day when I was at one of our larger stores and happened upon boxes of them. I bought a few and knew I would have fun experimenting with them when I got a chance...and, today is that day. I have no idea where I am going with it, but I know where I want to start.

The tile is very flimsy so I bought a "wood" pumpkin to use as the backing. I used my heat gun to remove the bow and metal word. I'll save the word because I might be able to use it for something Thanksgiving. If I was going to be painting on the pumpkin, I could have sanded it at this point but that wasn't necessary this time as I am covering it.

Next I traced the pumpkin onto the back of the tile and cut it out. I chose to use Gorilla Clear Grip - my new favorite even over E-6000 - instead of hot glue because I was afraid the hot glue would either melt the plastic tile or harden in lumps underneath it and show through the design. This glue grips really quickly. It takes a bit longer to totally cure but in this case, it didn't matter.


Then, the layering began...one color over the next and then the addition of cinnamon mixed with paint and then for a heavier finish in places, cinnamon mixed with antique wax. The more you add, the better it looks and it really does start to resemble an old, chippy, rusty tin tile. The cinnamon actually gives it that feel of rusted metal and kind of flakes off if you rub it. I'm thinking I should probably give it a quick hit with a clear sealer so it will not be quite as messy to work with. And, just as a side note...cinnamon is expensive but for these craft projects, there is no need to use the good stuff. A big bottle at the Dollar Tree is only $1.25.


So this is kind of as far as I have thought out. I think I will just gather up any autumn supplies I have around and see where we go from here.
So here we are a few hours later. I have tried a number of things as embellishment on this pumpkin and here is where I ended up. I'm still not sure it will be staying like this but I will have to buy a few new things if I want to change it. We shall see if it grows on me.


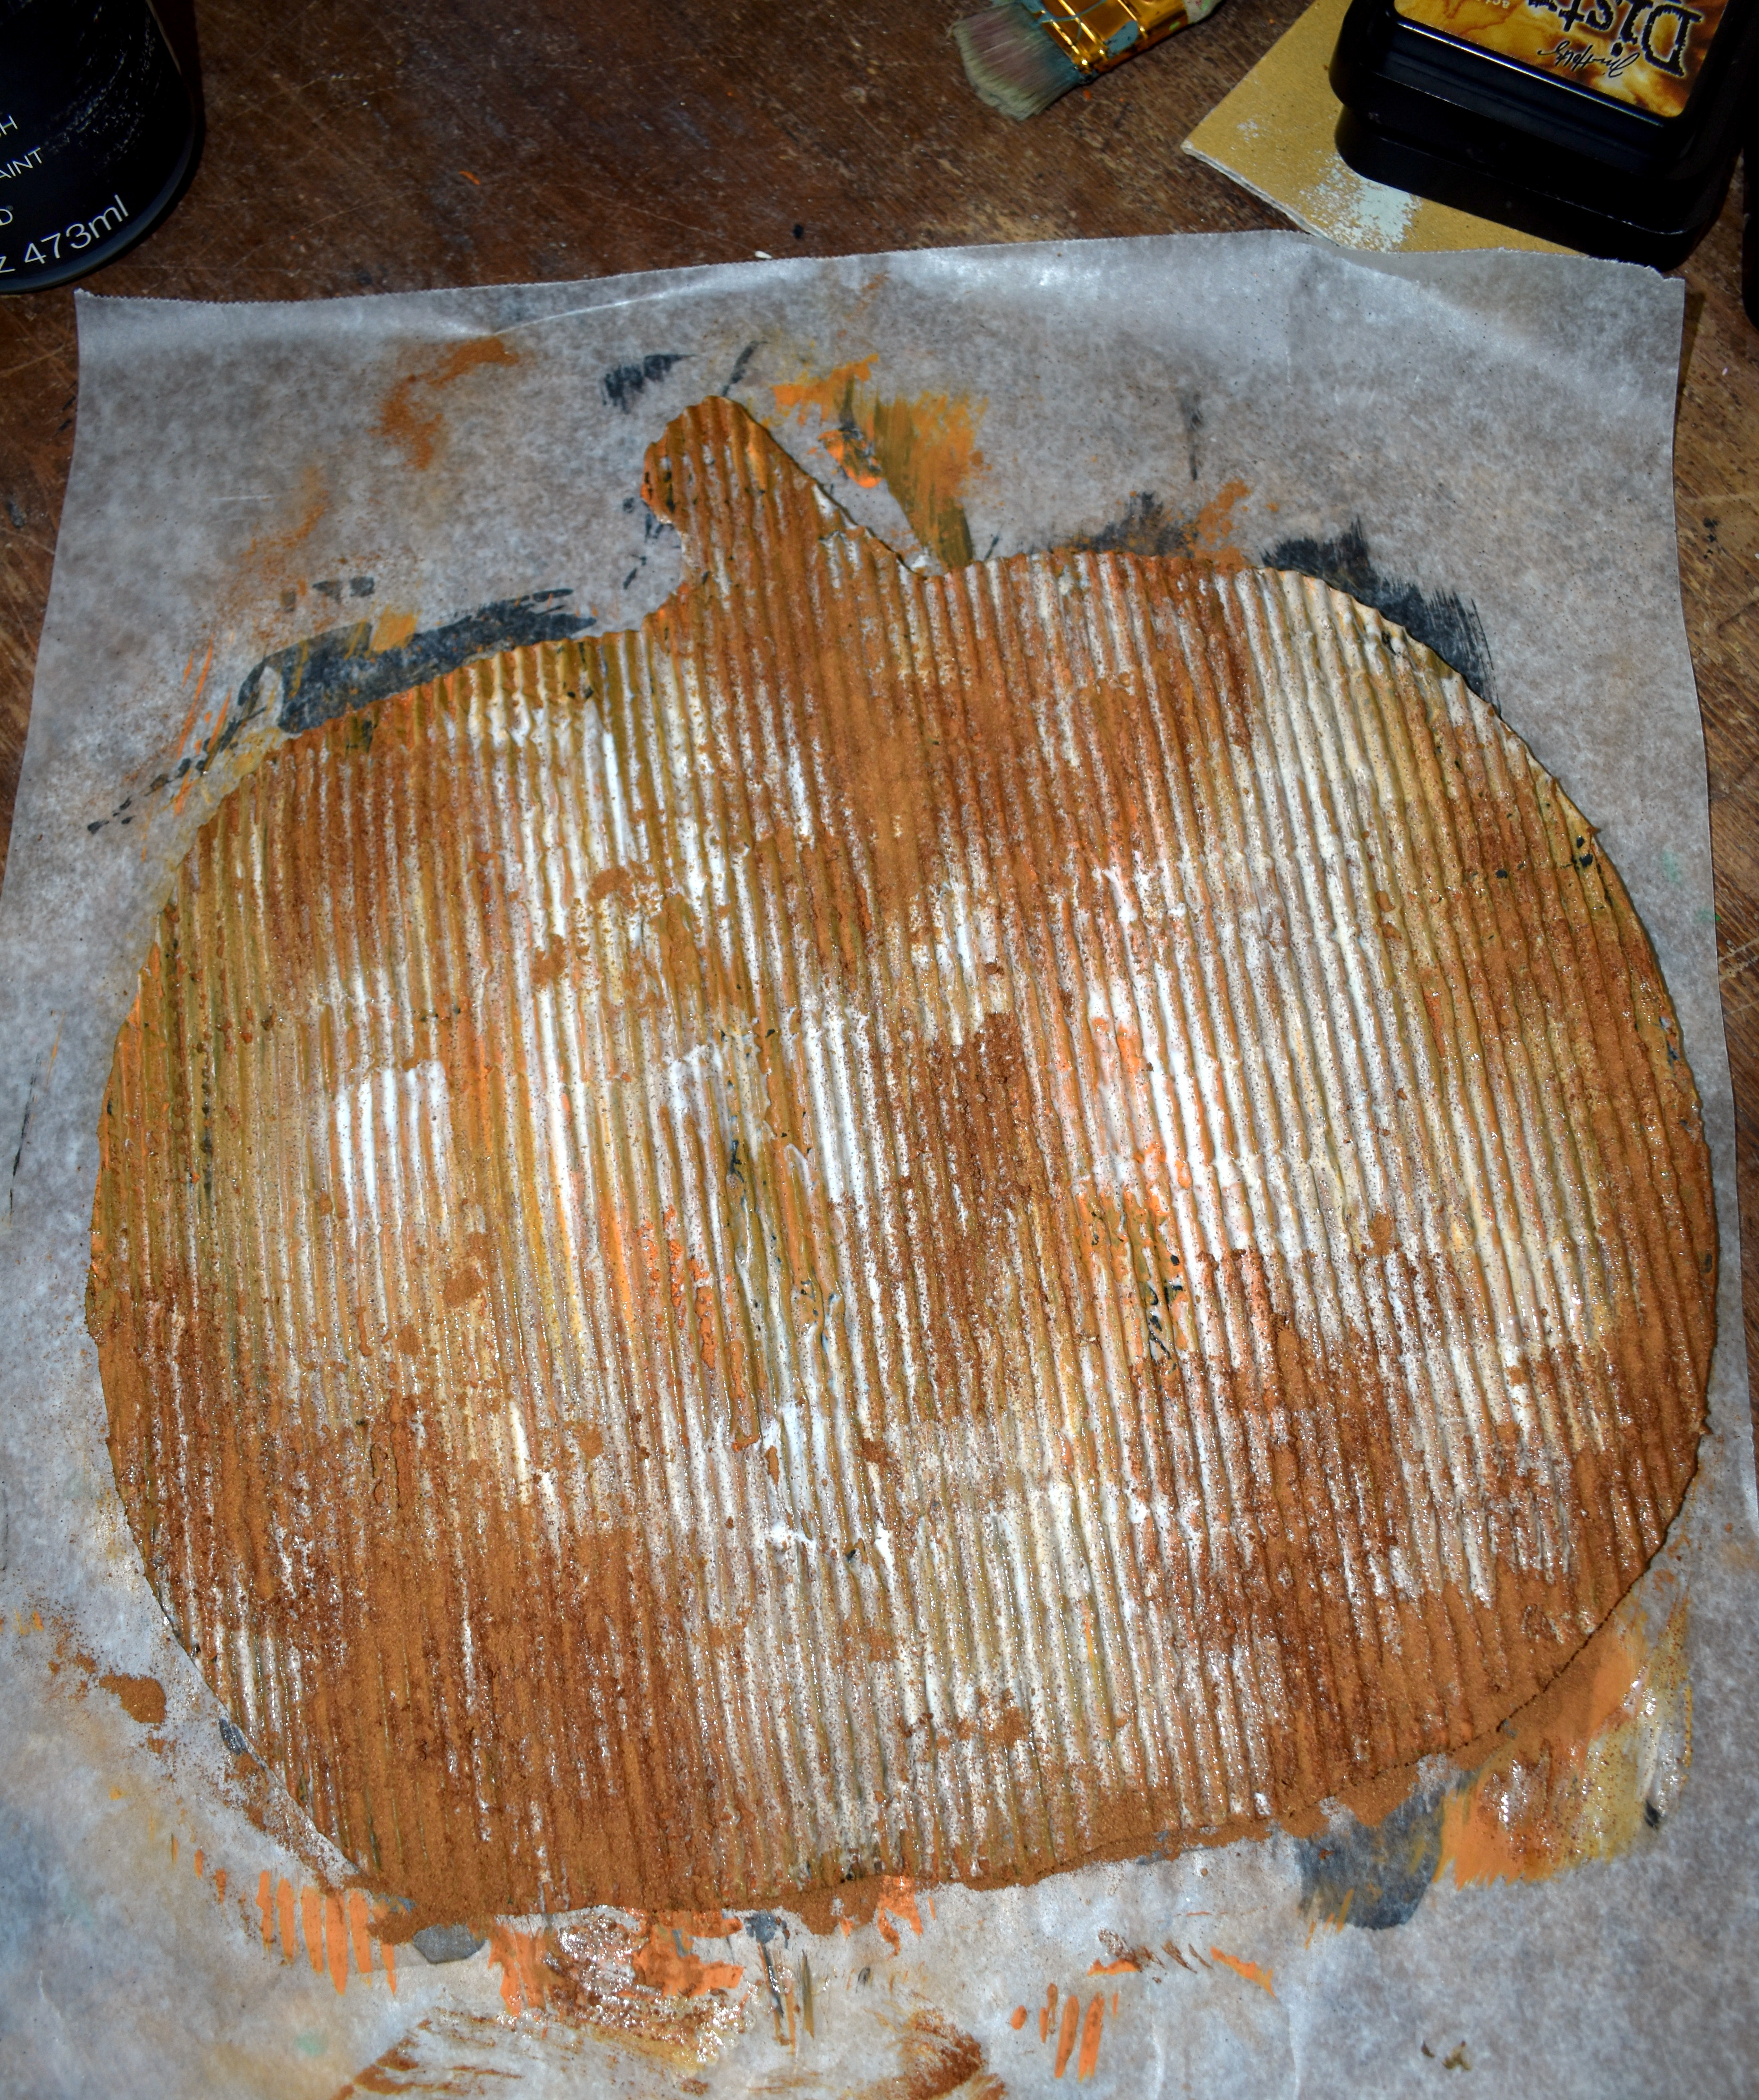
And, since I was on a roll, I actually took a piece of corrugated cardboard that was in one of the calendars and soaked it in the sink to pull off the top layer and leave the corrugated part for me to use. This is very thin paper so I am glad that I didn't put it in to soak and walk away for a few minutes. I tried separating the layers as soon as the piece had sunk and it was a very easy task. And, here is what I had for my next pumpkin.

I had bought a slightly different shaped pumpkin in $ Tree when I was there the other day but this one was just a bit too large for this paper. I thought I might have to try to piece the cardboard and wasn't too sure that would look good when I decided to pull out my trusty tin snips and see if I couldn't cut the pumpkin down a bit...no worries. The "wood" that this pumpkin is made out of was very easy to cut so I just trimmed it down a bit.


Then, I sanded off all of the black glitter. I probably didn't have to but I didn't want it to interfere with the glue.


Again, I wasn't sure where I was going but I was going to try a different rusting technique on this piece so, once again I began with layering colors. First black, then orange onto which I sprinkled the cinnamon and then I went over it all right away with ModPodge. The ModPodge mixed with the dry cinnamon made the rusty effect very quickly. Once it was all dry, I started touching it up with different colors of Tim Holtz Distress ink.
And, again, I'm not sure the embellishments will stay but, for now, there is a messy bow (that is what it is called - lol ) and a hang tag I made by stamping onto a piece of burlap ribbon and cutting and distressing a tag. I wish the pictures were better because in real life, these pieces truly look like rusted metal.


So, except for a bit of weeding and watering, this was pretty much my day - not to mention that I still have half of my craft room to put away. This week has gone quickly for me as I have had two appointments and a few errands that were run. I actually just realized that tomorrow is already Friday. And then, daughter #3 has invited me to drive up to Gainesville with her on Saturday to pick up grand daughter #5 (who has spent the week with my brother and sister-in-law) and then stop for some antique shopping and lunch in Micanopy on our way home. Micanopy is the cutest little town full of antique shops and my favorite seasonal shop ever so, we shall see if I find a treasure or two. You'll be the first to know. Stay safe and stay tuned.
No comments:
Post a Comment