decorating with dodi

Follow on Bloglovin

Wednesday, July 31, 2019

We're Getting There...and Then Thinking Ahead!

It took me three stores but I finally found a saying that spoke to our family...and was the right size...and was the right color. I really felt like I needed to stay in the walnut/shabby white pattern to continue to pull in the two different colors of furniture and make it look intentional.

That saying speaks to me-or at least in the way that I interpret it-because, after so, so many years of all of us always being and doing everything together, we are now at the point where the next generation is beginning their independent lives and our time all together becomes harder and harder to work out. But, when we are together, the amount of love is over whelming!


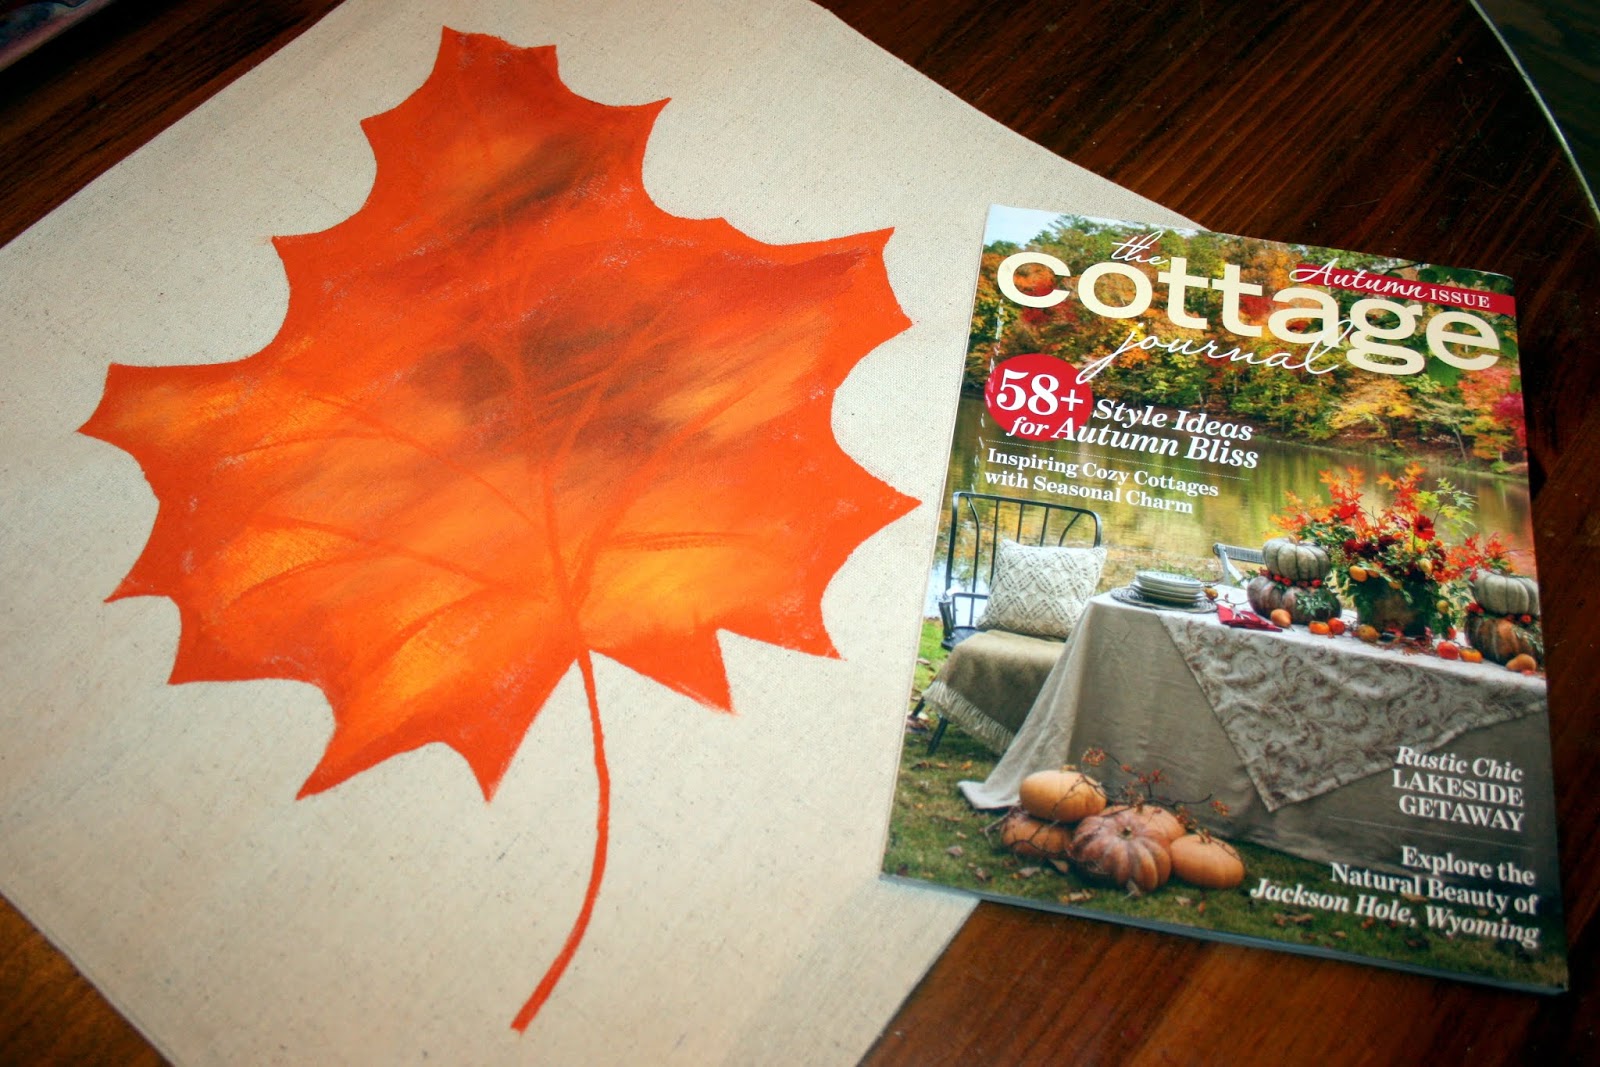
I'm having a pretty quiet week so I have been looking for some Halloween craft ideas so I can get moving on new decor and gifts. The problem with being a crafter from way back when is that I have pretty much done it all! I'm sure I could re-visit some things and just update them a bit but I really get bored doing things I have already done.

And so, I thought I had hit on a great idea when I decided to make pillow covers for each holiday...until I looked to Pinterest for Halloween inspiration. There were tons of painted pumpkins-and I still may end up doing that-but it kind of has to be a jack-o-lantern to "read" as Halloween for me. And, they all just looked so "cutesy".


And then somewhere along the way (I think in my autumn folder), I saw this.

I found it at fineartamerica.com. In a way, it reminds me of the 4th of July cover I made with the swipes of red, white and blue. It is more what I had in mind and began to wonder what it would look like in orange, black and white. I'm thinking of doing a big block of orange and then putting a jack-o-lantern freezer paper "block" on it and going over it with black and white. Not sure if that is even possible or makes sense but, what have I got to lose but a $2.50 investment for the cover. Let's see how it goes!

I am so flying by the seat of my pants. As I got started on this cover, I realized that making this pillow will involve "blocking" and stenciling the jack-o-lantern. And then, it all turned complicated for me. Once I decided to freehand paint the stem things got a bit clearer but I will admit, as feeble as my quick sketch is, it gave me a reference point as to where the color blocks should be-or, at least a jumping off point because this is one of those projects that I tweak all the way to the end.

I started off here.


Once I knew how much of the bottom right quadrant had to be orange, I went here.


My next step was to cut the jack out of freezer paper and iron him on over the orange. I then started pulling in the black so the orange pumpkin will have definition once I remove the block. I also filled in the eyes with black. I was a bit nervous to pull off the block as the freezer paper didn't adhere as well as it has in the past. I don't know if that is because I was ironing it on to a painted surface or because I had the iron set for steam when I first started. Fingers crossed!


The freezer paper pulled off fine and then the fun began. I just started painting on strips of Halloween color and here is where I am now...after I just free handed the stem.


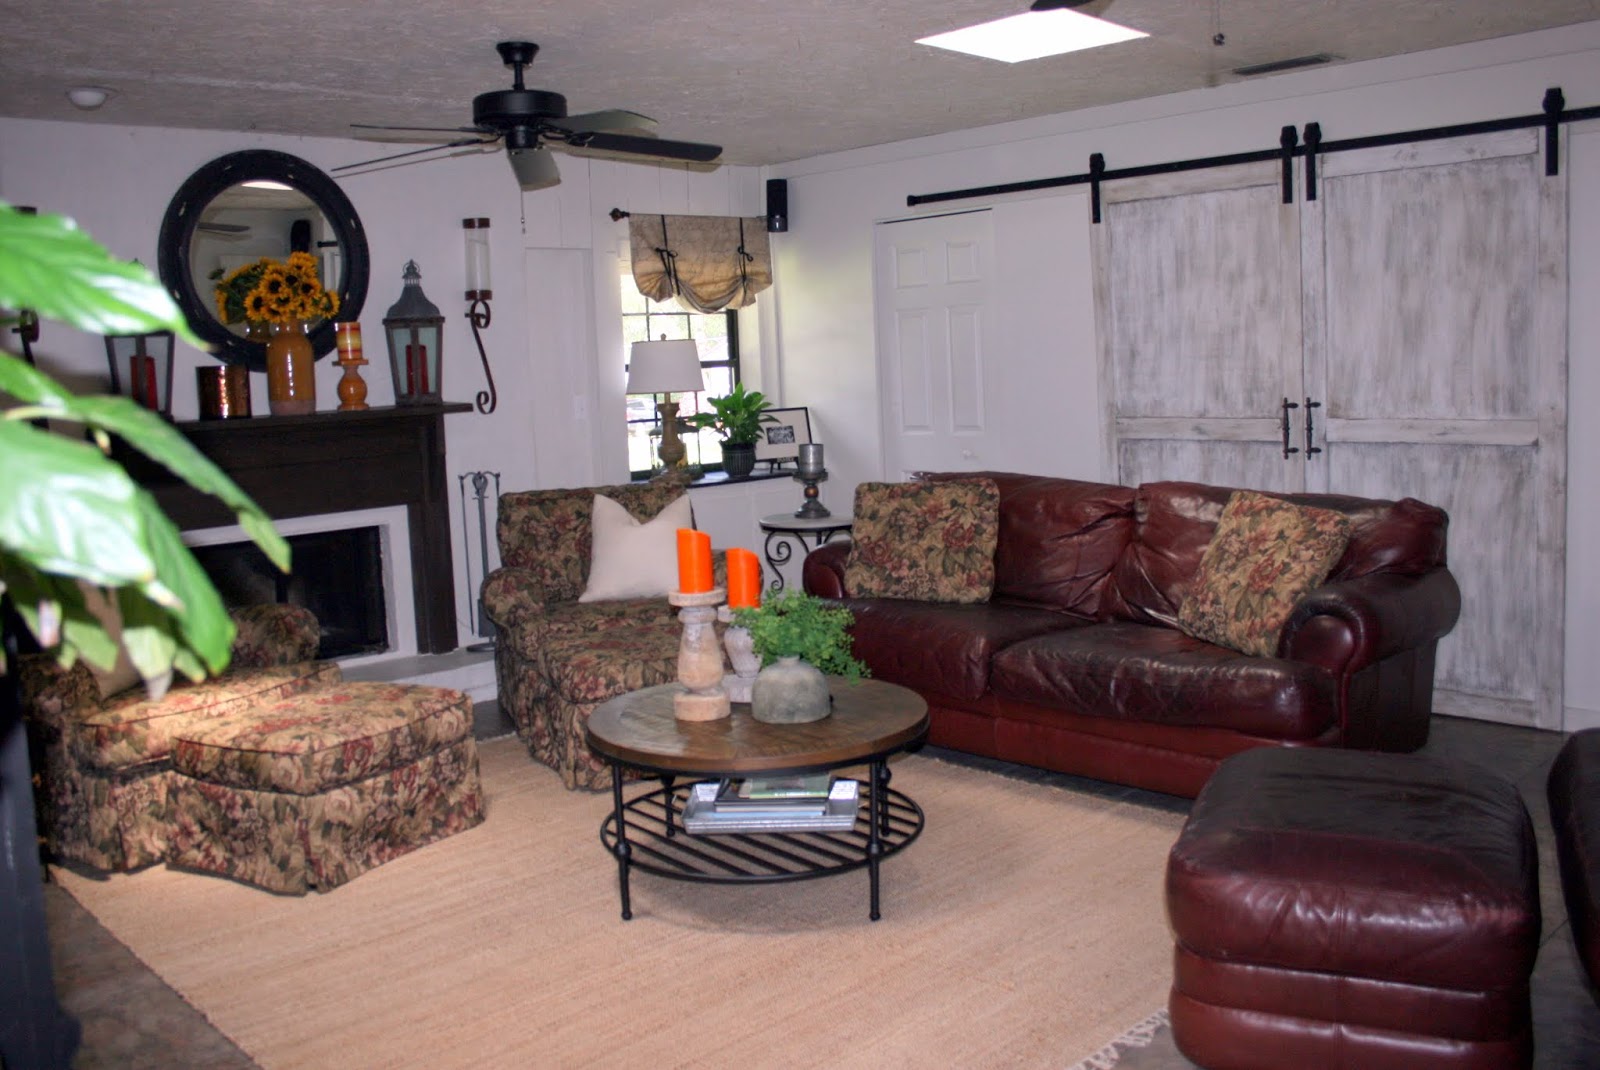
I'm going to wait for it to get totally dry and then probably tweak just a bit more but, to be honest, it is not what I wanted. I didn't want "cutesy" and I couldn't have gotten closer to that if I tried. I think I might be happier if I had just brushed on the strokes of color and left it at that-no jack-o-lantern. This will probably end up in the sunroom where things seem to get a bit cuter because it is where the kids and I gather for crafts, food, games, etc. But, I'm pretty sure I won't be making any more jack-o-lantern pillows this year. Time for "take 2"!

Now that it has a form inside and is a bit fluffed out, I think it may soon be very happy right here. Stay tuned.


Friday, July 26, 2019

Wrapping It Up

I have been so busy lately with my painting and decorating projects that I think I forgot to finish our late summer decor tour...and, since I'm already starting to think about leaves and pumpkins, I might better get to it. So, on to the family room.


This is one of the few times of year that there isn't a string of some kind of lights on the mantle. I do miss them in the evenings when I'm in my chair watching TV but with the amount of candles I now have (and these are just the battery operated ones-Lol), the glow is still pretty.


I wasn't kidding about the planning of my next decor-you know I am always jumping the gun-especially when that means the next change will be to autumn leaves and pumpkins. But, I did have a few small projects to still get accomplished before I could really focus on autumn decor.

And, for some reason, the measurement and leveling gods were with me today. I think we have established more than once that I am not good at measuring! And, in my defense, what with my eyes, my back and only having two hands when four (or six) would really come in handy, things like hanging curtain rods and shelves are a challenge-if I want them level and equal distance-which I do because I'm just a little (OK, alot) OCD when it comes to things like that.

In any case, I really had to do some figuring to decide how I would measure and from where to get the shelf over the bed hung and centered and level. I had to measure from the wall to the right and then do lots of adding and subtracting-don't judge.


I ended up measuring from the ceiling down and knew that was a risk because so many times the ceiling isn't level. But, I just took a leap and, even with all of my convoluted "ciphering", it came out perfectly level-on the first try...and centered. I must be living right. The stuff I have on the shelf is not staying-it's just hanging until I get a better direction of what I want. I'm actually in no hurry for that now that that big wall feels a little more balanced. And, I think the white brackets and wood toned shelf play in just right with the two different colors of furniture in this room.


I'm thinking this bed will probably be used as a day bed as much as a sleeping bed since the kids love to play video games and watch movies in here so I wanted to make sure I left enough room between the pillows and shelf so no heads get bumped. I'm also starting to think maybe a sign with a quote about family would be perfect for that shelf...HL, here I come.

 
I was also stymied as to a valance over the window. The window butts up exactly to the edge of the cabinet so a decorative rod with any overhang is out of the question. I thought about making a wood valance covered with fabric but still wasn't sure I wanted to spend that much time, effort and money for something that still might not look right.

I figured a fabric valance would be OK on a simple metal rod but, the size of the window would have necessitated a seam even with decorator fabric at 54". I had resigned myself to finding fabric that I could run in the opposite direction and buying 2 yards but that also would not be an inexpensive solution to something I still might not like.

In the end, I was strolling through Target when I saw a window valance of the exact size and in a texture that mimics the fabric on one of the pillows. I decided to give it a try. I know it is too long but I'm waiting to hem it until decorator daughter sees it. She may think I just need to raise up the rod? It is NOT perfect by any means but the top of the window is covered and it was a pretty easy fix so it can work until something better comes along. And, I will iron it after I see if it needs hemming or not. It may even look nice with a bit of blush colored trim added-we shall see.


There was one other little project still not done as well...the bar stools and little curtain in the kitchen. My daughter thought the "wrong" side of the fabric would look better because of the love seat at the end of the dining room-and, I agree. Too much green on the "right" side.

It was fun to see that this is the fourth time I redid these stools. I wish I had taken a picture of the first two fabrics because I truly don't know what I was thinking back then! Lol


And, I got the baskets for my office sprayed white-between the rain drops that just don't want to go away.


There is always another project waiting but I think I am going to call it a day for now and sit back and enjoy the rain while watching a movie. It is Friday after all. I hope everyone has a wonderful weekend and I'll be back soon. Stay tuned.


Wednesday, July 24, 2019

And Then I Looked Up!

I am now on Day 4 of my "little" painting project. It took 2 days to paint the walls, baseboards and door jambs of my office. Days 3 and 4 saw me painting the doors but then having to move out into the dining room and into the guest bath because the other side of the bedroom doors are in those rooms. I just might have created a monster as one thing leads to another to another...

I am always amazed at bathroom projects. I always think they will be easy because they are small rooms...but then I remember. You truly have to be a contortionist to get behind the commode to do anything but taping the baseboards and painting them is just a comedy of errors. On one side I literally had to paint with my left hand (and I am right handed) and the brush was flopping everywhere and painting things that were not meant to be painted!

The taping off process took me 3 hours-honest. I figured the more I taped, the easier the painting would be.

So here we are looking from the hall through the bathroom into my office....


 ...and around the commode...


...and from my office into the bathroom.


That was a lot of taping but right about then I was starting to feel pretty good about myself. Until, I looked up. I completely forgot about the crown! It will need to be taped on both sides and definitely will involve the ladder. Since I still had all of the painting to do, I decided the crown will wait for another day!


I now have all of the bathroom painting done as well as the doors into the dining room and hall. I have left most of the tape in place in case I have some touch ups to do tomorrow. I would like to say that I will then head into the guest rooms but that will involve moving some heavy furniture so we shall see. In any case, this side of the house is looking pretty good and since it has been years since I last did this chore, I'm thinking this might just be the last time I have to think about it. And, since I can hardly move, that just might be a good thing! Lol

But, alas, as I look at these pictures, I'm thinking maybe some wall painting might just be in order...oh dear! Stay tuned.

Since I didn't get this posted yesterday, I thought I would show you where I am currently. First of all, what sadist invented these things?


Yep, I'm talking about those 6 panel doors. Those panels are almost impossible to paint without drips...no matter what size brush you use, no matter how little paint you put on that brush and no matter how careful you are. The paint I use is from Benjamin Moore and is nice and thick...and yet, it still finds a way to drip after you are done and are positive there is no extra paint! No matter what I have tried, this is the way it goes so I just give in to it and do the best I can...and clean up the next day-today. There were some drips that I actually had to sand down and paint again but I am now done and not looking any more!

I will say, it is a lot more fun to pull all of that tape off also-and look at that shine on those doors. This is one of those thankless jobs that is SO worth it in the end if you just push yourself to do it. I will NEVER enjoy painting moldings but I am done...at least until I go buy another gallon of paint. On to the fun decorating parts.

I also thought I'd show you the bathroom ready with sunflowers now that it is all bright and fresh-it cleans up pretty well.


Tuesday, July 23, 2019

Jumping the Gun

I couldn't help myself! At least I haven't put it out yet but, just knowing that I could makes me so happy!!

I think I posted that my girlfriend and I were looking for something to do and since I had a pile of pillow covers...and since I am so ready to jump the gun and rush the season...we decided to make autumn leaf covers. I ended up using the pattern I had made last year for my leaf door hanger and just cutting it down a bit.


I traced the pattern on to an 18"X18" piece of freezer paper.


Then I cut out the leaf shape and used the rest of the piece as a stencil instead of a pattern.


I ironed the whole thing on to the cover. It still looked a bit too large to me so I just cut it smaller yet.


I then went in and "pulled" some orange paint from the paper on to the fabric.


When I peeled off the freezer paper, I had a nice, crisp outline of the leaf. This was so much easier than tracing the pattern on to the fabric and then having to paint the shape of the leaf. Sometimes when painting on fabric, no matter how careful you try to be, the brush bristles get caught on the texture of the fabric and you just can't get a clean line. This was genius!


All I did then was paint in blocks of orange, yellow, brown and burnt orange. I was having so much fun that I forgot to take a picture but if you look closely, you can kind of see where I started. I then came back and just kind of blended until I was happy and it looked like a leaf almost completely turned. I am actually thinking that I might come back again with a stippling brush and hit it with just a hint of green and more yellow-we shall see.


And just when I thought the smile on my face couldn't get any larger, this was in my mail box..ahhh
Can't happen soon enough for me! Stay tuned.


Monday, July 22, 2019

Semi-Reveal

The weekend is over and I spent a good part of it in my office/dormitory moving furniture from one place to another, painting walls, baseboards and door jambs and putting everything back. Today I am going to tackle the two doors and set of closet bi-folds that are in this room. Unfortunately, those doors lead to the guest bath and dining room so that means that the moldings and doors in those rooms will no longer match exactly...so, I see the beginnings of a looonnng summer project. Fortunately, with the temps we've been having, I don't mind indoor projects right now!

In any case, here is a quick look at what happened this weekend. Once I actually got going, I didn't think much about picture taking...but then, every painting project is about the same and I know you have all been there.

My last post was short and sweet because I knew the dining room would very soon look like this!


And then the fun began. I chose a color from the Sherwin Williams white collection called "Pure and Simple". In the store, it was white but leaning towards blush and "greige". I know both of my decorator daughters would insist that I paint swatches in many sections of the room to be viewed at many times of the day. Yep, I know that...but, sometimes, I just want to get going and simply don't have time for that folderol. I will say that that might have proven beneficial in this case because the natural lighting in this room is not good. Once I was completely done and the paint was dry, it read as lavender in certain circumstances. But, in the pictures I am posting, I am seeing more of the light blush I was going for so I am happy.


The color scheme for the room came from this bedding. I really had no idea where I wanted to go-just knew I wanted it a bit lighter and more neutral than the green that had been in there forever...and, inexpensive. Plus, I didn't have it in me to run to every store in Ocala that carries bedding to do price comparing...and, I'm not overly fond of shopping online unless I have seen what I am purchasing in person at a store. I like to feel fabric, check fillings and do all of the things you can't do online-but, I digress. Lol I happened to be in Kohls with a 30% off coupon plus a $15 off coupon as well as a $10 off coupon...and everything was already on sale as well. That kind of savings can definitely influence my choices...and so, that is how I arrived at this Lauren Conrad bedding.


I debated going with all white pillows and shams but, since this room is used by grand kids and dogs alike and many of these pillows will be much "loved" with fingers, paws, food, drink, etc., I decided to add in the taupe. I also think it helps balance the dark wood toned furniture on either side. I actually thought of painting those pieces but the larger one is a Habersham Plantation piece so I was actually a bit reluctant. It still may happen...we shall see.

I am planning on painting the storage baskets white and then adding a wood stained shelf on the wall above the bed. I know the stuffed animals are a bit much but they are a hold over from the kids' younger days and about the only ones I still have left. Not to mention that the kids will still occasionally cuddle with them when they're here...so, they stay watching over us all!


I have had these corbels for awhile and I was just waiting for them to tell me where they wanted to be used. I think they have spoken. That shelf will be another tie between the dark wood and the white and I think it will fill up that large wall perfectly.


I also need to make a valance for the window that you see. The other window is a part of all of the built-ins so it was finished with its own "wooden" valance. I'm thinking of going with just a straight, simple valance out of a textured fabric in white. We'll see what I can find.


And now that the room is this far, I am having serious concerns with the carpet in here. It is an off white berber and has seen one too many spill or stain. It is almost impossible to clean any more so I am starting to think about replacement ideas. I will have to consult my "designer" to see what she thinks but I'm kind of hoping it doesn't need to be carpet again. It will bump into the hardwood from the dining room so I know that is a consideration. We shall see. Hopefully the next time you see this room it will be done! Stay tuned.