decorating with dodi

Follow on Bloglovin

Wednesday, July 29, 2020

Be Still My Heart!

I can hardly contain myself!! This is finally happening!!!


Do you see it? The long awaited for meeting is finally happening!!


I have babied these beauties for almost four years waiting for this to happen. The pot on the right doesn't get as much sun...and still hasn't ever bloomed... but it is finally growing and the trellis is beginning to look just like I had always envisioned it to look.


While I'm here, let me give you a quick peek into the guest bath and the sunroom.


Definitely simple and no explanations necessary. I'm off to do some "Christmas". Pictures will be coming soon I'm sure. Stay safe and stay tuned.

Monday, July 27, 2020

Happy Halloween...and Merry Christmas too!

...or it will be when I get these little cuties done. I will say, I have learned some things about myself today - mainly, that I am just not smart enough to truly understand the ins and outs of pattern making. I have made simple patterns before and it has been fine but, for whatever reason, this one nearly did me in. It is a good thing I have become so flexible in my old age...Lol

Here's where I started. I gathered my supplies and then fooled around with a sketch until I liked what I thought would be the finished size.


Then, I cut a pattern 1/4" larger all around for seams and cut out four pieces.


I sewed the first two together and lightly stuffed the shoe.


I say lightly stuffed because I knew the stuffing would reduce the size a bit but, I had no idea exactly how much!


I thought I would be OK with this but after constantly trying to convince myself of that, I knew I wouldn't be. And so, I blew up the pattern 120%. That definitely helped but I don't really think that is what I should have done to get the result I really wanted. The shoe got smaller in some places but not others. I pondered it for a bit and decided that I am just not smart enough to figure out how to remedy the situation so I am just going with the larger ones. Of course, that meant repeating all of the steps up to this point.


Even though these are not exactly what I was going for, I think there will be enough room now on the front of the shoe to sew the buttons and add the laces and any other embellishments that I decide on. I'm going to hold on to the smaller shoe and see if I can't find some way to use it when the decor comes out - maybe in an arrangement of some sort?

I mixed some black acrylic paint with textile medium and gave them a good coat.


When they were dry, I came back and scrubbed in some brown just to make them look a bit scuffed up. At this point I was thinking that I should have just gone with straight acrylic paint because the textile medium made the fabric soft and the brown just kept soaking in. If I ever do this again...LOL NOT!...I will know better.


I sewed on the buttons and laced up the shoes then I "tried" to hot glue them together. Again, the textile medium disrupted the hot glue bond so I ended up using a few stitches to tack them together.


I added a hanger and the tag and, I'm really not sure how, but I like them! I think they will look cute hanging in my witch vignette this year.


Maybe I'll move this picture to the chest and hang the shoes from the knob?!?


We had a fun day this weekend. My two youngest grand children spent the week with my brother and sister-in-law and they culminated the fun with a "Christmas in July". I will admit that I don't have too many good photos because, even though I took my camera, I didn't take any pictures. I kind of thought everyone else was but, I guess I was wrong. In any case, a good time was had by all...even if they don't show up here. Lol


There were lots of cookies. Presley made some rolled sugar cookies and we all helped to decorate them and then there were some yummy Spritz cookies as well made during the week.


And, I loved that the cookies were displayed on the platter that we all made as a memento of our 40th anniversary skiing trip to Snow Shoe Mountain way back in 2005!


We had a wonderful meal and then played a gift swap game and everyone got to pick a hand painted ornament as their party favor. Here are Uncle Joel and Presley making the ornaments...


...and here is the one I chose. There were so many cute ones that it was hard to choose.


And, I wanted to share my beautiful flowers from daughter #2. My girls know me too well...every time they visit, they come with food, wine and flowers. These beauties are still looking great all these days later!


So, another week has begun and there is still not much on the calendar so I guess it is time to start on some more of the Christmas ornaments I've been thinking about. And, I think I have a bit more of the late summer decor tour to share so, stay safe and stay tuned.

Thursday, July 23, 2020

Desperate Times...

...call for desperate measures. I was about out of ideas and supplies when I happened upon a post on a craft site that I follow. Staring right out at me were two pumpkins made out of books. For some reason, it caught my fancy and I looked a little closer. There wasn't really a tutorial...didn't really need one...but the lady said she used old books with the covers removed and that reminded me of the "uncovered" books that I had left over from all of the book bundles I had done.

That pretty much looked like the extent of supplies needed so, I was off and running. I ended up making a few changes on mine and embellishing a bit differently but the idea is so basic that you can really just take the idea and run!

Since I already had the "coverless" book, all I had to do was create a pattern and start cutting. I cut about 12 pages at a time.


Once I was this far, I fanned out the pages and realized that because the pages sit on different parts of the spine, when you fan the book, some pages will fan evenly and others just won't. Being the OCD symmetrical person that I am, I knew this would drive me crazy so I put a drop of Tacky glue every 5-6 pages or so and the book fanned so much better.


Once I got it that far, I thought it was just kind of blah so I decided to give the edges of the pages just a slight hit with a fine, antique silver glitter.


That turned out to be a bit of a process because there is a lot of waiting for glue to dry time...so, while it was, I started thinking about my stem options. At first I was going to go with a cut from a thick branch. Then, I tried a thick cinnamon stick. I kind of liked that but then remembered a pumpkin stem I had seen somewhere made out of twisted Kraft paper. I twisted some paper...which wouldn't stay twisted...so I added some Tacky glue...and it still wouldn't stay twisted. I was about to go back to the cinnamon when I gave it a quick cover with masking tape and then ripped some long, thin strips of the paper and tried gluing again. And, voila, that looked like it was going to work. I still wasn't crazy about the finish on it so I gave it a good coating of Mod Podge and called it a night.


This morning, all of the gluing was dry so I hot glued the stem to the top of the pumpkin. At this point, you can kind of make sure your page bundles are even before you add the stem. Once the hot glue dries on the top, your bundles are pretty much where they will stay.


Of course, that was still leaving me less than impressed so I made a quick bow and found a free autumn tag download. I can't say it is my favorite craft ever...nor can I guarantee that it will be around more than this year, but, it will fill one of the new spots that I have that need filling, it kept me busy for two days and, the price was right, so I am good with it.


I will say that it looks a lot better in real life than it does in these pictures. And, as the old adage goes, "If you give a mouse a cookie"...when I found this tag download, there were three other autumn tags as well. I went ahead and printed them out. Two will return soon but the third was perfect for right now. And so, I was on the search for where it could go and that meant moving some other things as well but, once again, it is keeping me busy!

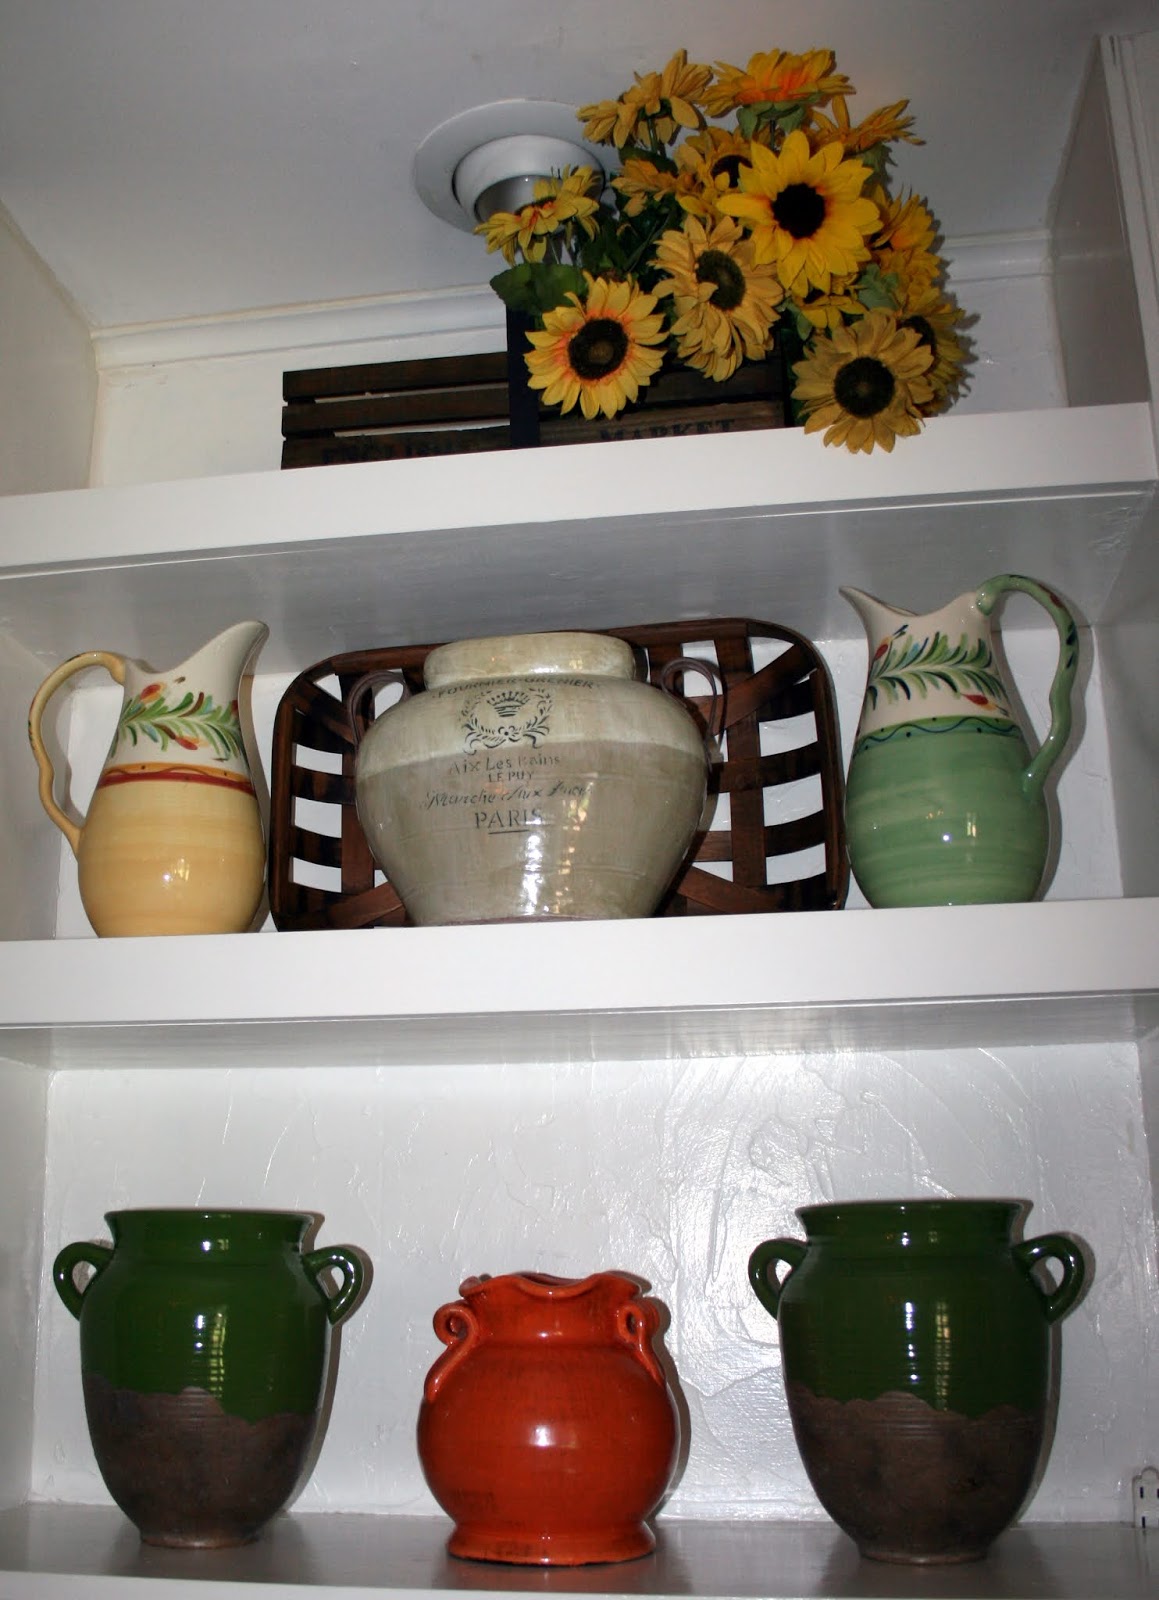
Here is where the sunflower tag ended up.


And, as I was doing that, I remembered this. There are actually most of the supplies for three other projects on that table.


..and, just when you think there is not room for one more sunflower - at least my girls would think that...you would probably never hear those words coming out of my mouth - but, I digress - this happened. 


I had spied these sunflowers at HL when I was there with my brother and sister-in-law but, they weren't on sale. And, I almost never buy anything at HL if it isn't. When I ran it the other day, fall florals were on sale so I grabbed five. I can not even begin to tell you how much restraint it took on my part not to buy them all. These were not inexpensive but they are so much more realistic than most of the faux sunflowers in stores these days. Come to think of it, I might just have to make one more run...after all, one can never have too many sunflowers! Lol


Now that the pumpkin is done, I am on to my next craft. The supplies are on that table and it will be for Halloween...any guesses? I'll be back to share soon. Stay safe and stay tuned.


Friday, July 17, 2020

The Sun Shines On

When I saw today's weather forecast, I knew it was time. We had the most wonderful, lengthy rain yesterday afternoon and evening so, even though there was no rain in the forecast for today, I was happy because my lawn, shrubs and flowers were still happy from yesterday and it also meant I could get back to pressure cleaning. And that is where I have been for the last four hours. I actually got the outside of my fence that faces the circle finally done and what a difference it makes. Now the rest of the fence pretty much matches the new slats I put in a few months ago. It was just another one of those "new eyes" things...it was all fine until one day it wasn't. Lol Now, I'm estimating maybe another 7-8 hours on the rest of the fence inside the yard and I will be done...probably just about in time to start at the other end all over again. Ha-ha

I have a few other things to tend to here in the house but thought I could get the dining room post ready before I start. Things are pretty simple in here although there are a few new treasures.


The muslin sunflowers are still in the large crock. I'm still not 100% sure I love it but, honestly, if I take it all apart and try it in the smaller crock and don't like that any better than I will have to go through getting this one put back together and, frankly, I just don't have it in me right now. Lol And so, the large crock it is!


I still love the pillow cover I made last year. It was one of the easiest ones I have done but I love the pop of color it gives that end of the room.


So that is it for the dining room this year. I think I'll use tomorrow to try to finish this year's pressure cleaning and then daughter #2 is coming for the weekend so I'll be back after that. Stay safe and stay tuned.