
OK. Those of you who know me know that I am not a big fan of crafting with paper, recycled items, etc. If I am going to spend time and money on something, I want it to be something I can store away and use over and over. Of course, there are always exceptions and, this may be one of them. Even though I probably have way more sunflowers in my house than any one person needs, I always like to try to add new, handmade items to the decor every year. I added a few new things already but none of them really moved me, so when I saw these flowers on a recent blog post, I decided to give them a try. I found the on "The Silver Farmhouse". I am changing them up a bit and, because the petals - which are where the paper comes in - are relatively short, I think this one might come off as anything other than paper and store away well.
So here are the supplies needed. You can actually change up many parts of this craft. The blogger used Homespun fabric as her centers but, I didn't want to buy anything other than the paint - can you believe that I didn't have a sunflower yellow paint? -so I am going with brown crushed velvet that I have in my stash.

The longest part of this craft is waiting for the paint to dry. You cut off the bottom of a lunch bag and open it at the seam. Then, you completely cover both sides with the yellow paint...and wait...and wait!

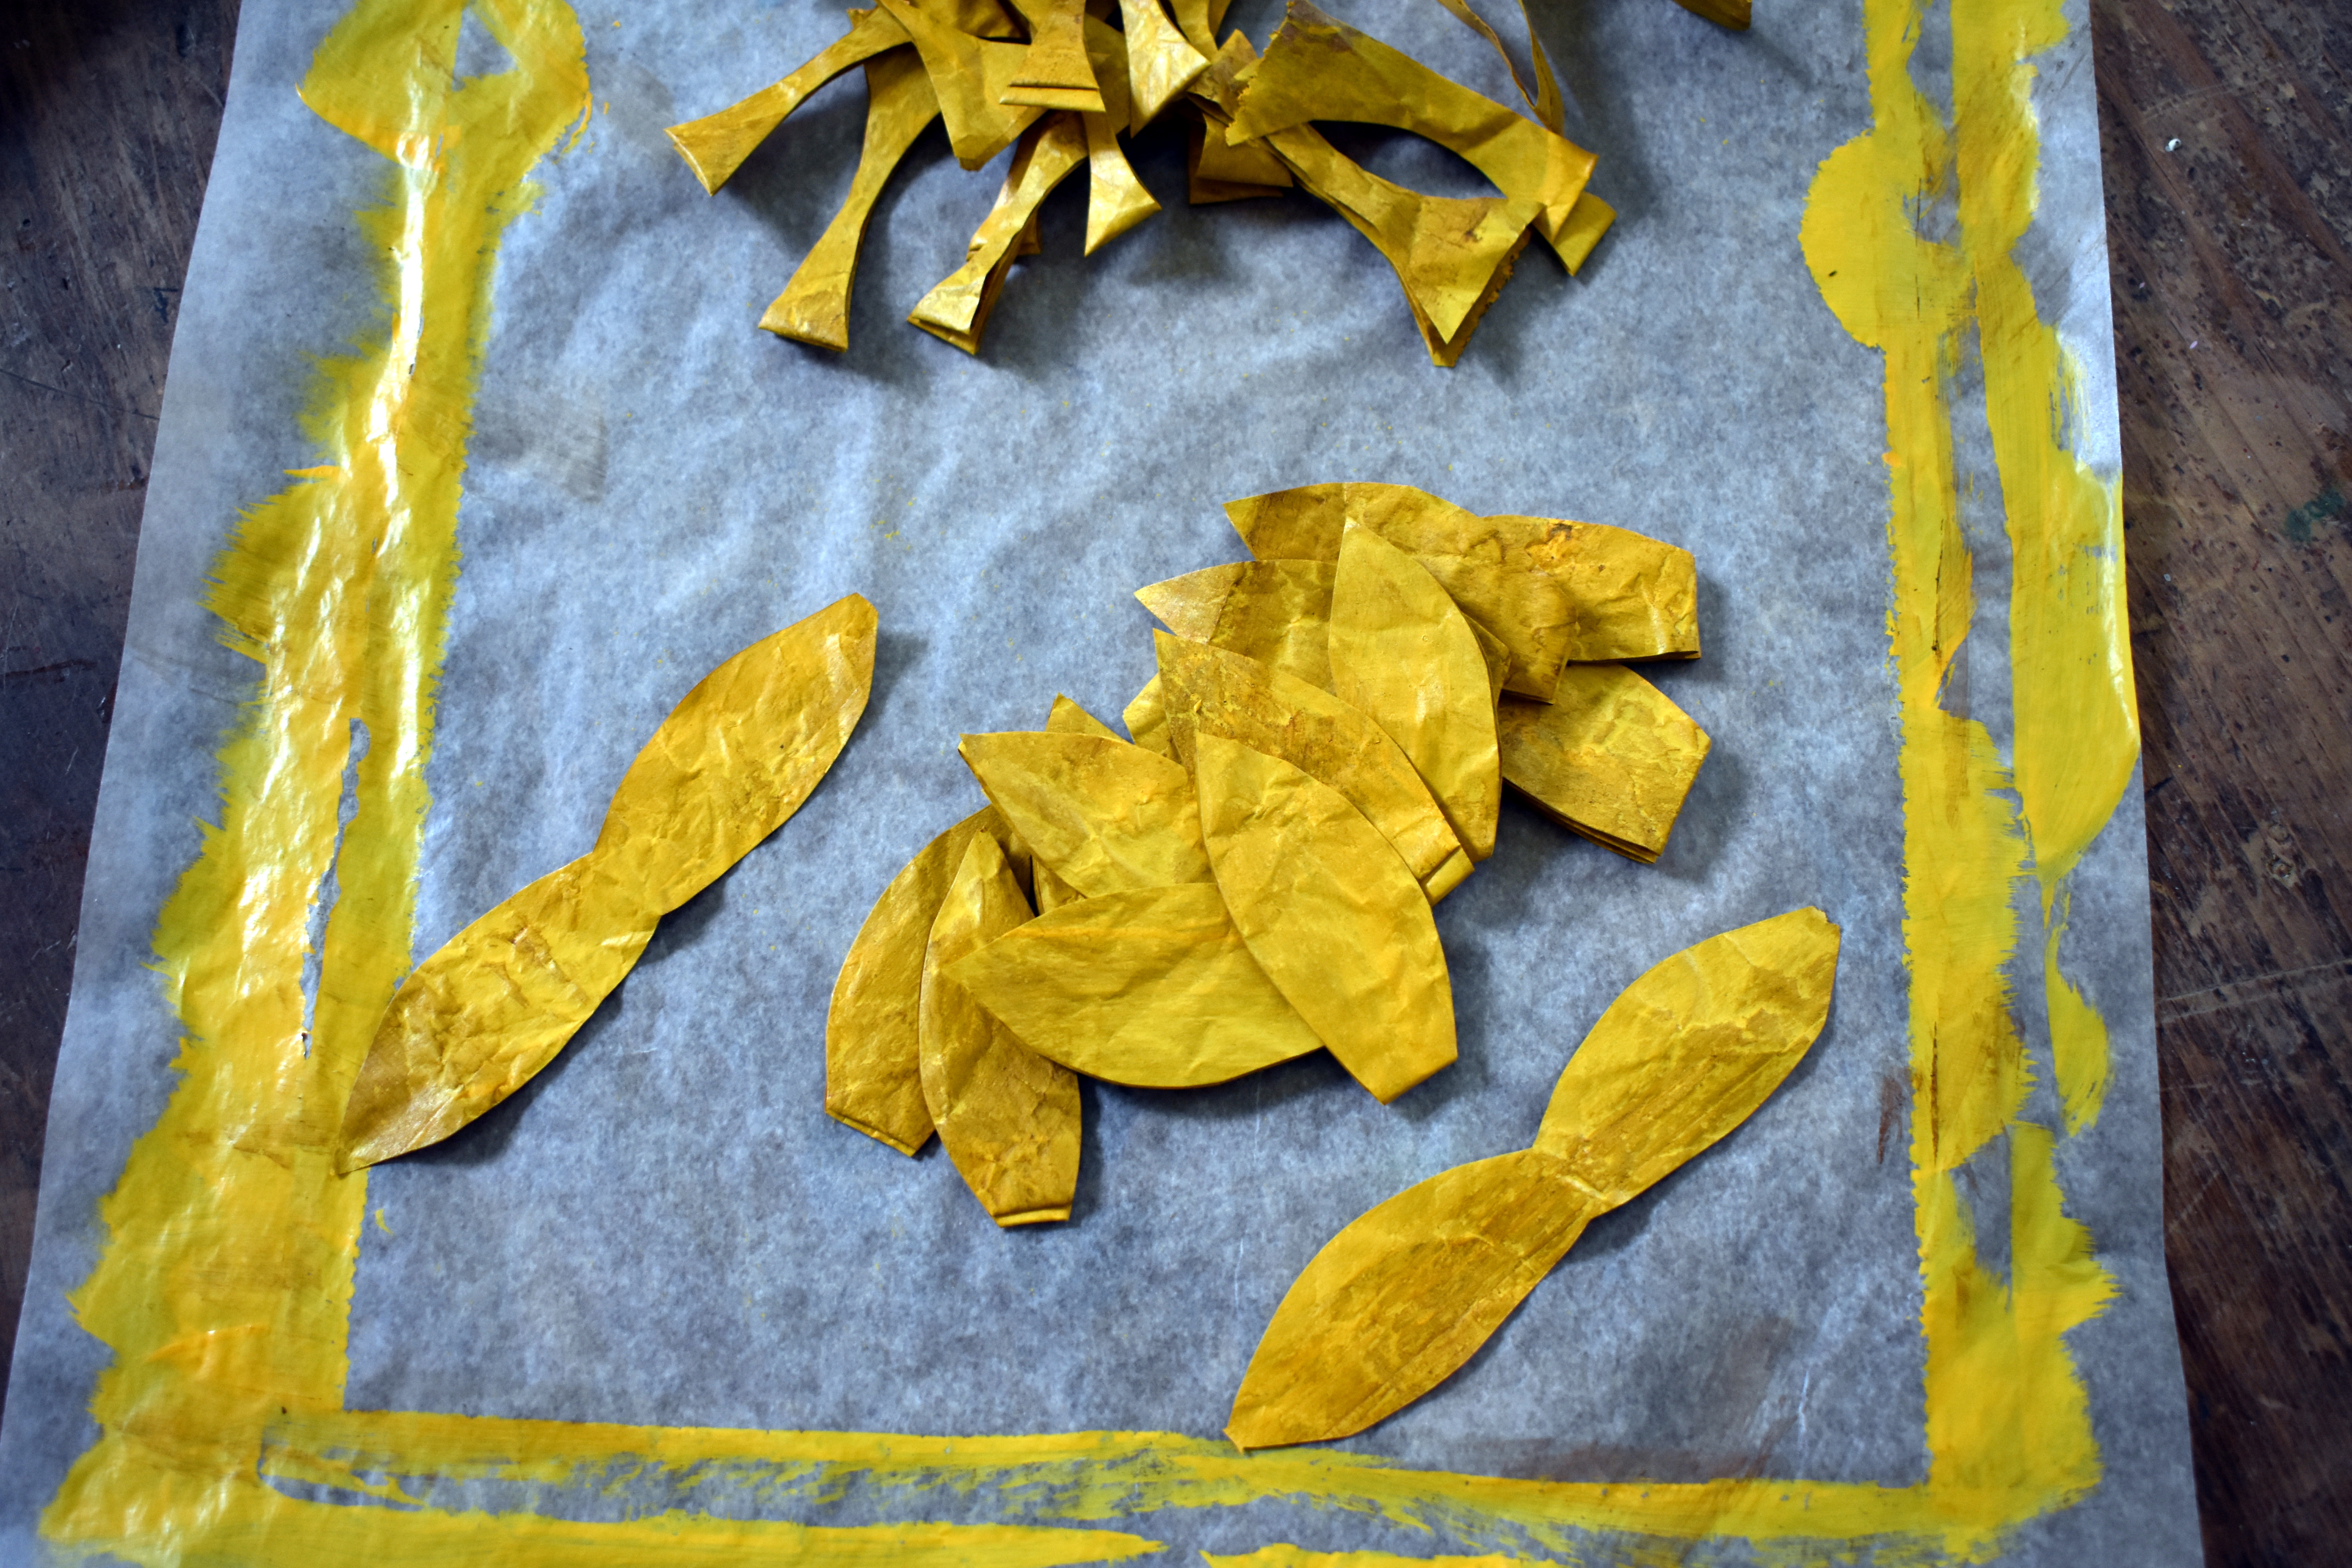
Once the paint is dry, you crinkle the paper up and then smooth it out again. I also went over my paper with some antique wax put on with a wet paper towel. Then you fold the bags and cut out petals. No need to use a stencil. Just cut what you see as a flower petal. You will have enough for one sunflower from each bag.


Then, I cut a 5 1/2" circle out of cardstock for the back of the flower (the blogger used more paper bag but I wanted it to have a bit more stiffness on the back of my flower) and begin gluing the petals around the outside edge of the circle overlapping as you go from the first layer to the second and then the third. As I was laying out the petals, I realized that these were going to be really bigger than I wanted, so I cut the circle down to 4 1/2" and glued away.


When I got to this point, I realized that the flower was still too big for my liking, so I cut the next two circles down to 4" and called it a day. Then, I glued on stems cut from branches from my yard, partially glued on the circles cut from velvet and stuffed them with a little Poly-Fil before gluing them shut.


Before tying on a piece of muslin I had dyed green and had left over from another project, I "roughed up" the petals a bit so they had some dimension.

And here they are. I have tied them together and put them here so I can get a picture but I'm not sure this will be their permanent home. I think they would look nicer laying on something like a bouquet...now if I could only find some place with enough room for that to happen. Lol


Did I need these? Absolutely not. But, they were fun to do because they were something a little different and they helped to wile away a dreary, rainy Saturday so, I an happy that I made them. Stay safe and stay tuned.
No comments:
Post a Comment