
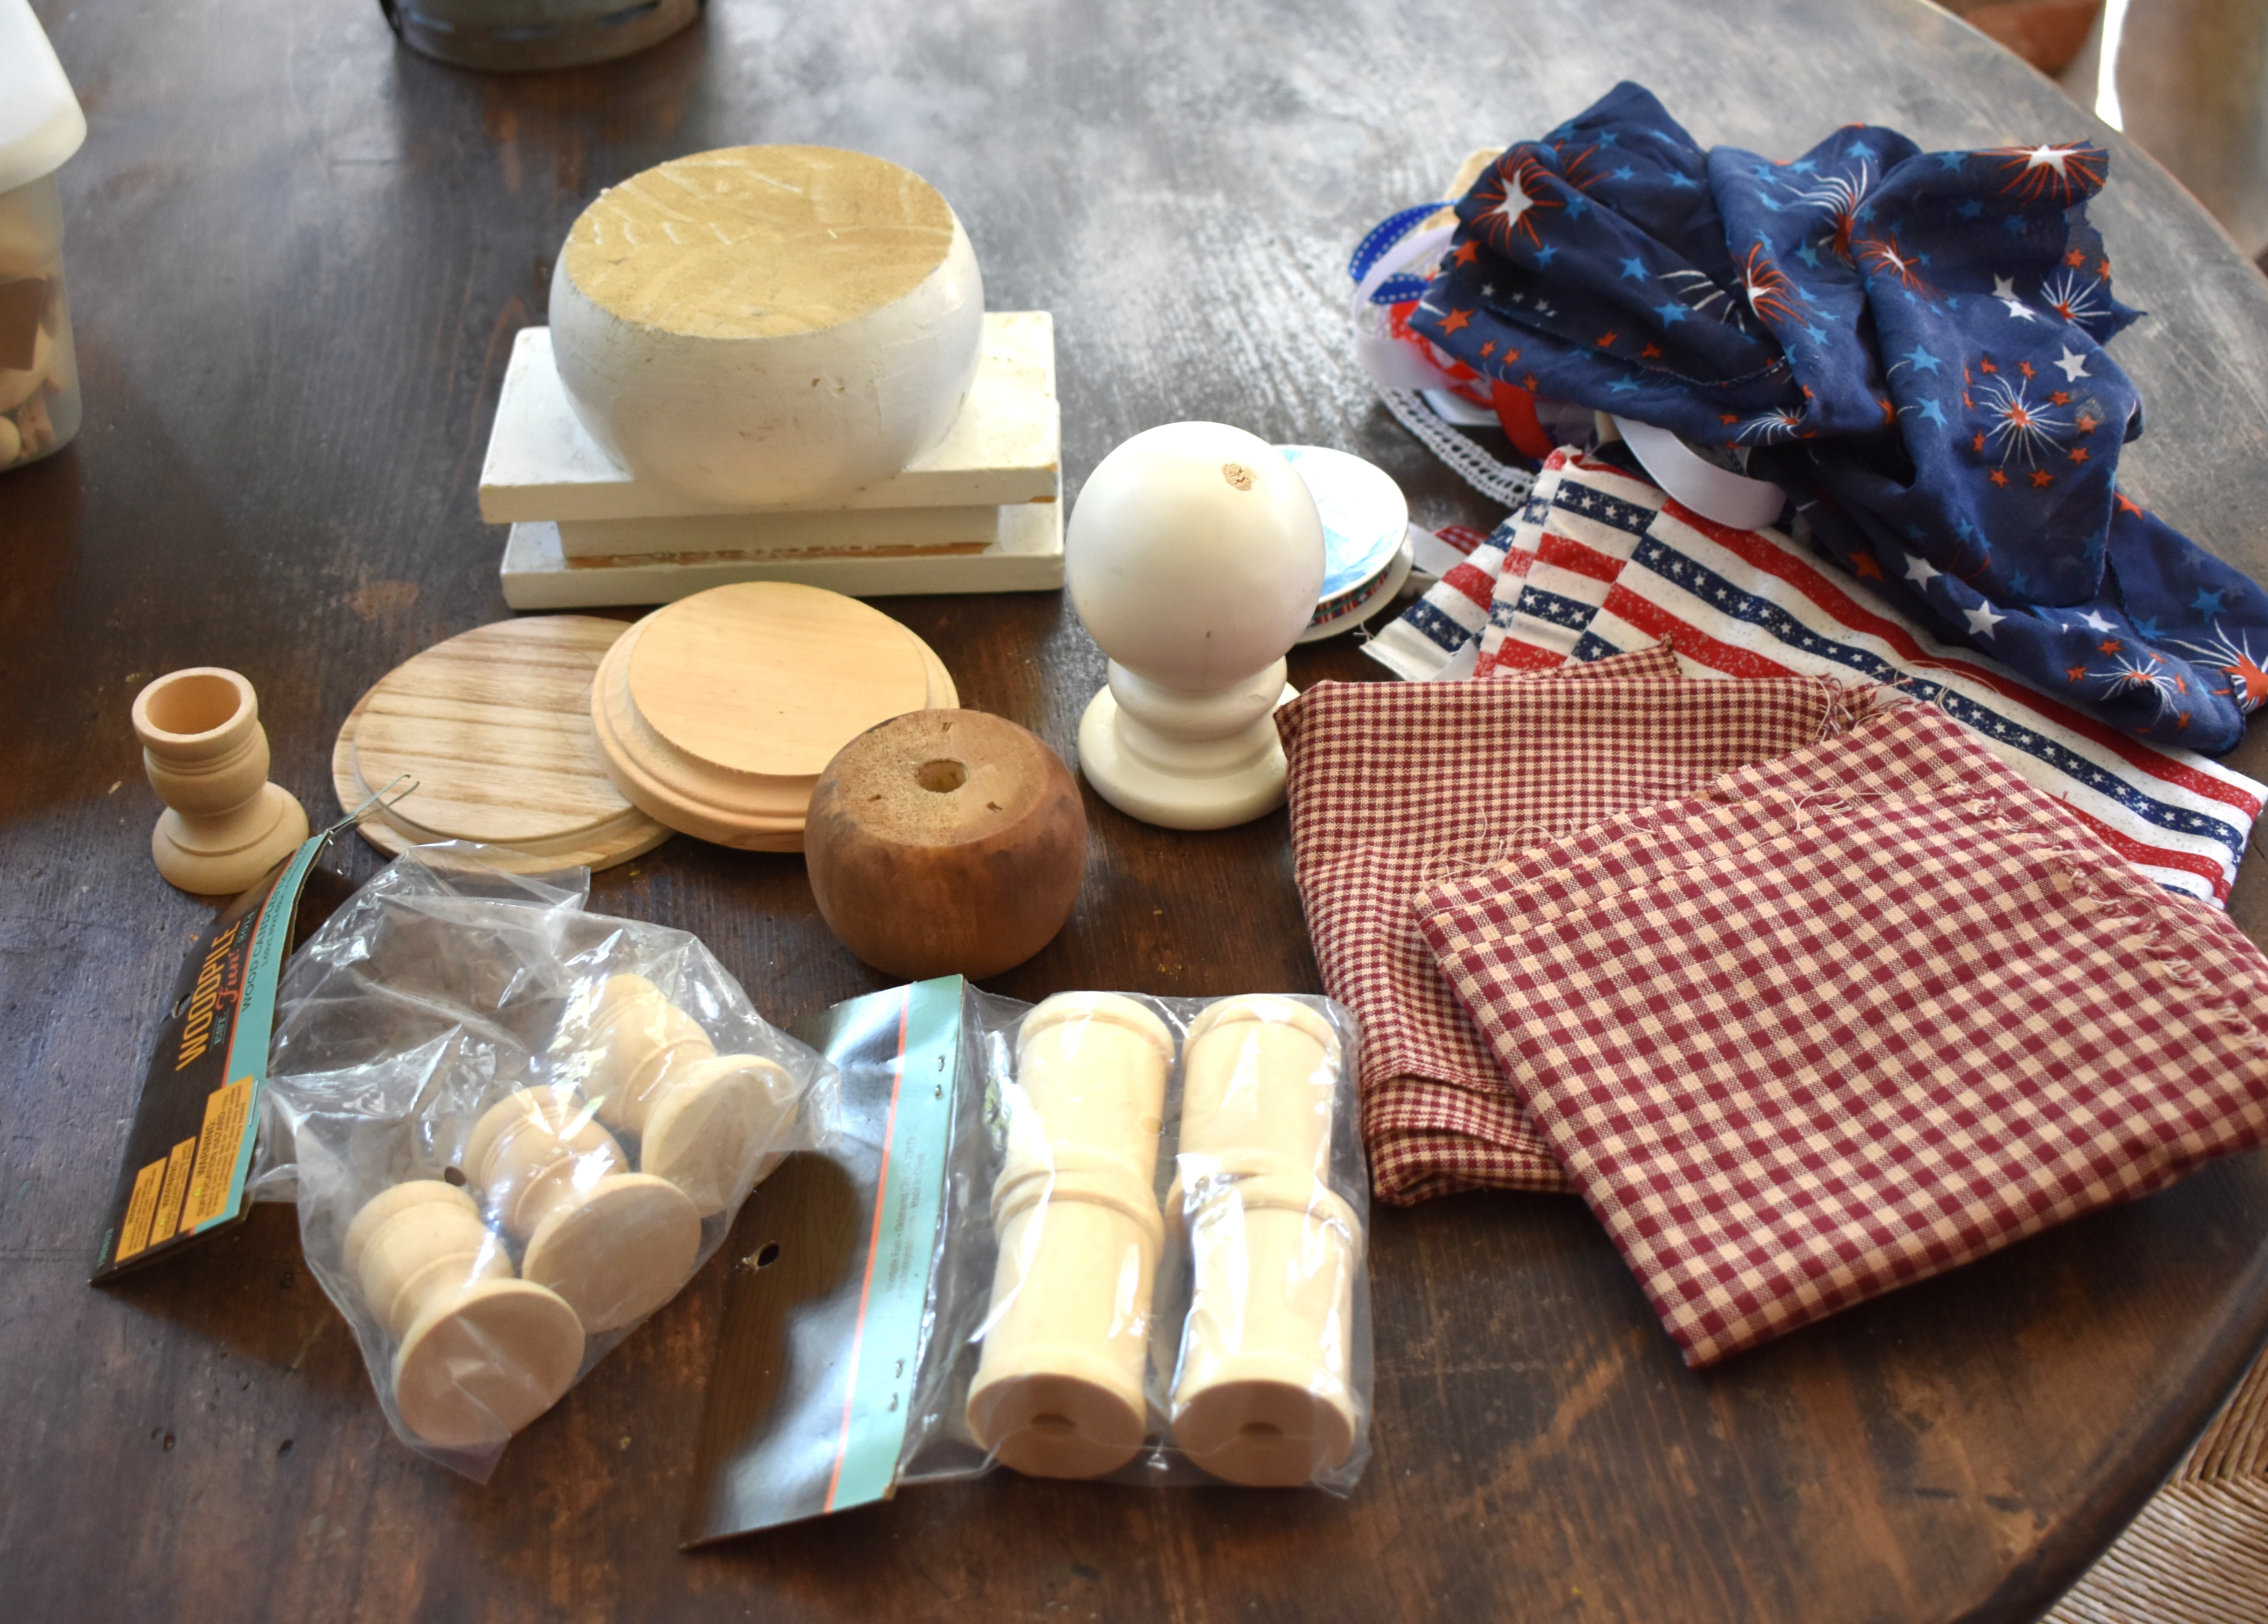
In honor of the day and, in deference to the heat, I am staying inside again and was looking for another red, white and blue idea. I'm not sure why but this popped out at me from my Pinterest scroll. I wish I could give credit to someone but it was just the picture with no link so I'm not sure who it originated from.


I'm going to stop here for the day because tomorrow will involve some fabric coffee staining and a bit of sewing before I can move on. I'll be back.
So here we are on Tuesday morning. I'm ready to start the medallion and, after going back and forth, I decided to make it the size of a thin wood circle that I have in my stash and to use the circle as a base so the fabric doesn't just flop around.

I ripped a piece of fabric the width of the radius of the circle and then did a simple running stitch along the bottom before pulling it into a circle. Over the years, I sewed a lot for my three girls, my first four grand daughters ( and actually costumes for all seven) and lots and lots of doll clothes and, gathering and making ruffles was always one of my least favorite things to do. My machine had a ruffling tool that I NEVER quite caught onto so it was always like this and by hand...and, if I remember correctly, I would often be just about done when the thread would break! But, I digress. Lol This wasn't too bad because it didn't involve much fabric.
I used some hot glue around the middle opening and then just a dot or two here and there for the outer area.


I decided to just do two layers and went with a 4th print I had left over from actually making a 4th of July outfit that I had made for grand daughter #1's doll that I made and dressed for every holiday. Sooo, that means that fabric is about 26 years old!!! Since the fabric is a bit "polished" with a sparkly hint, I went with the watered down antique wax stain instead of just a coffee stain. I didn't think the coffee would penetrate the fabric as well and this seemed to work just fine.
Then, I did the next circle just a bit smaller but the same way.


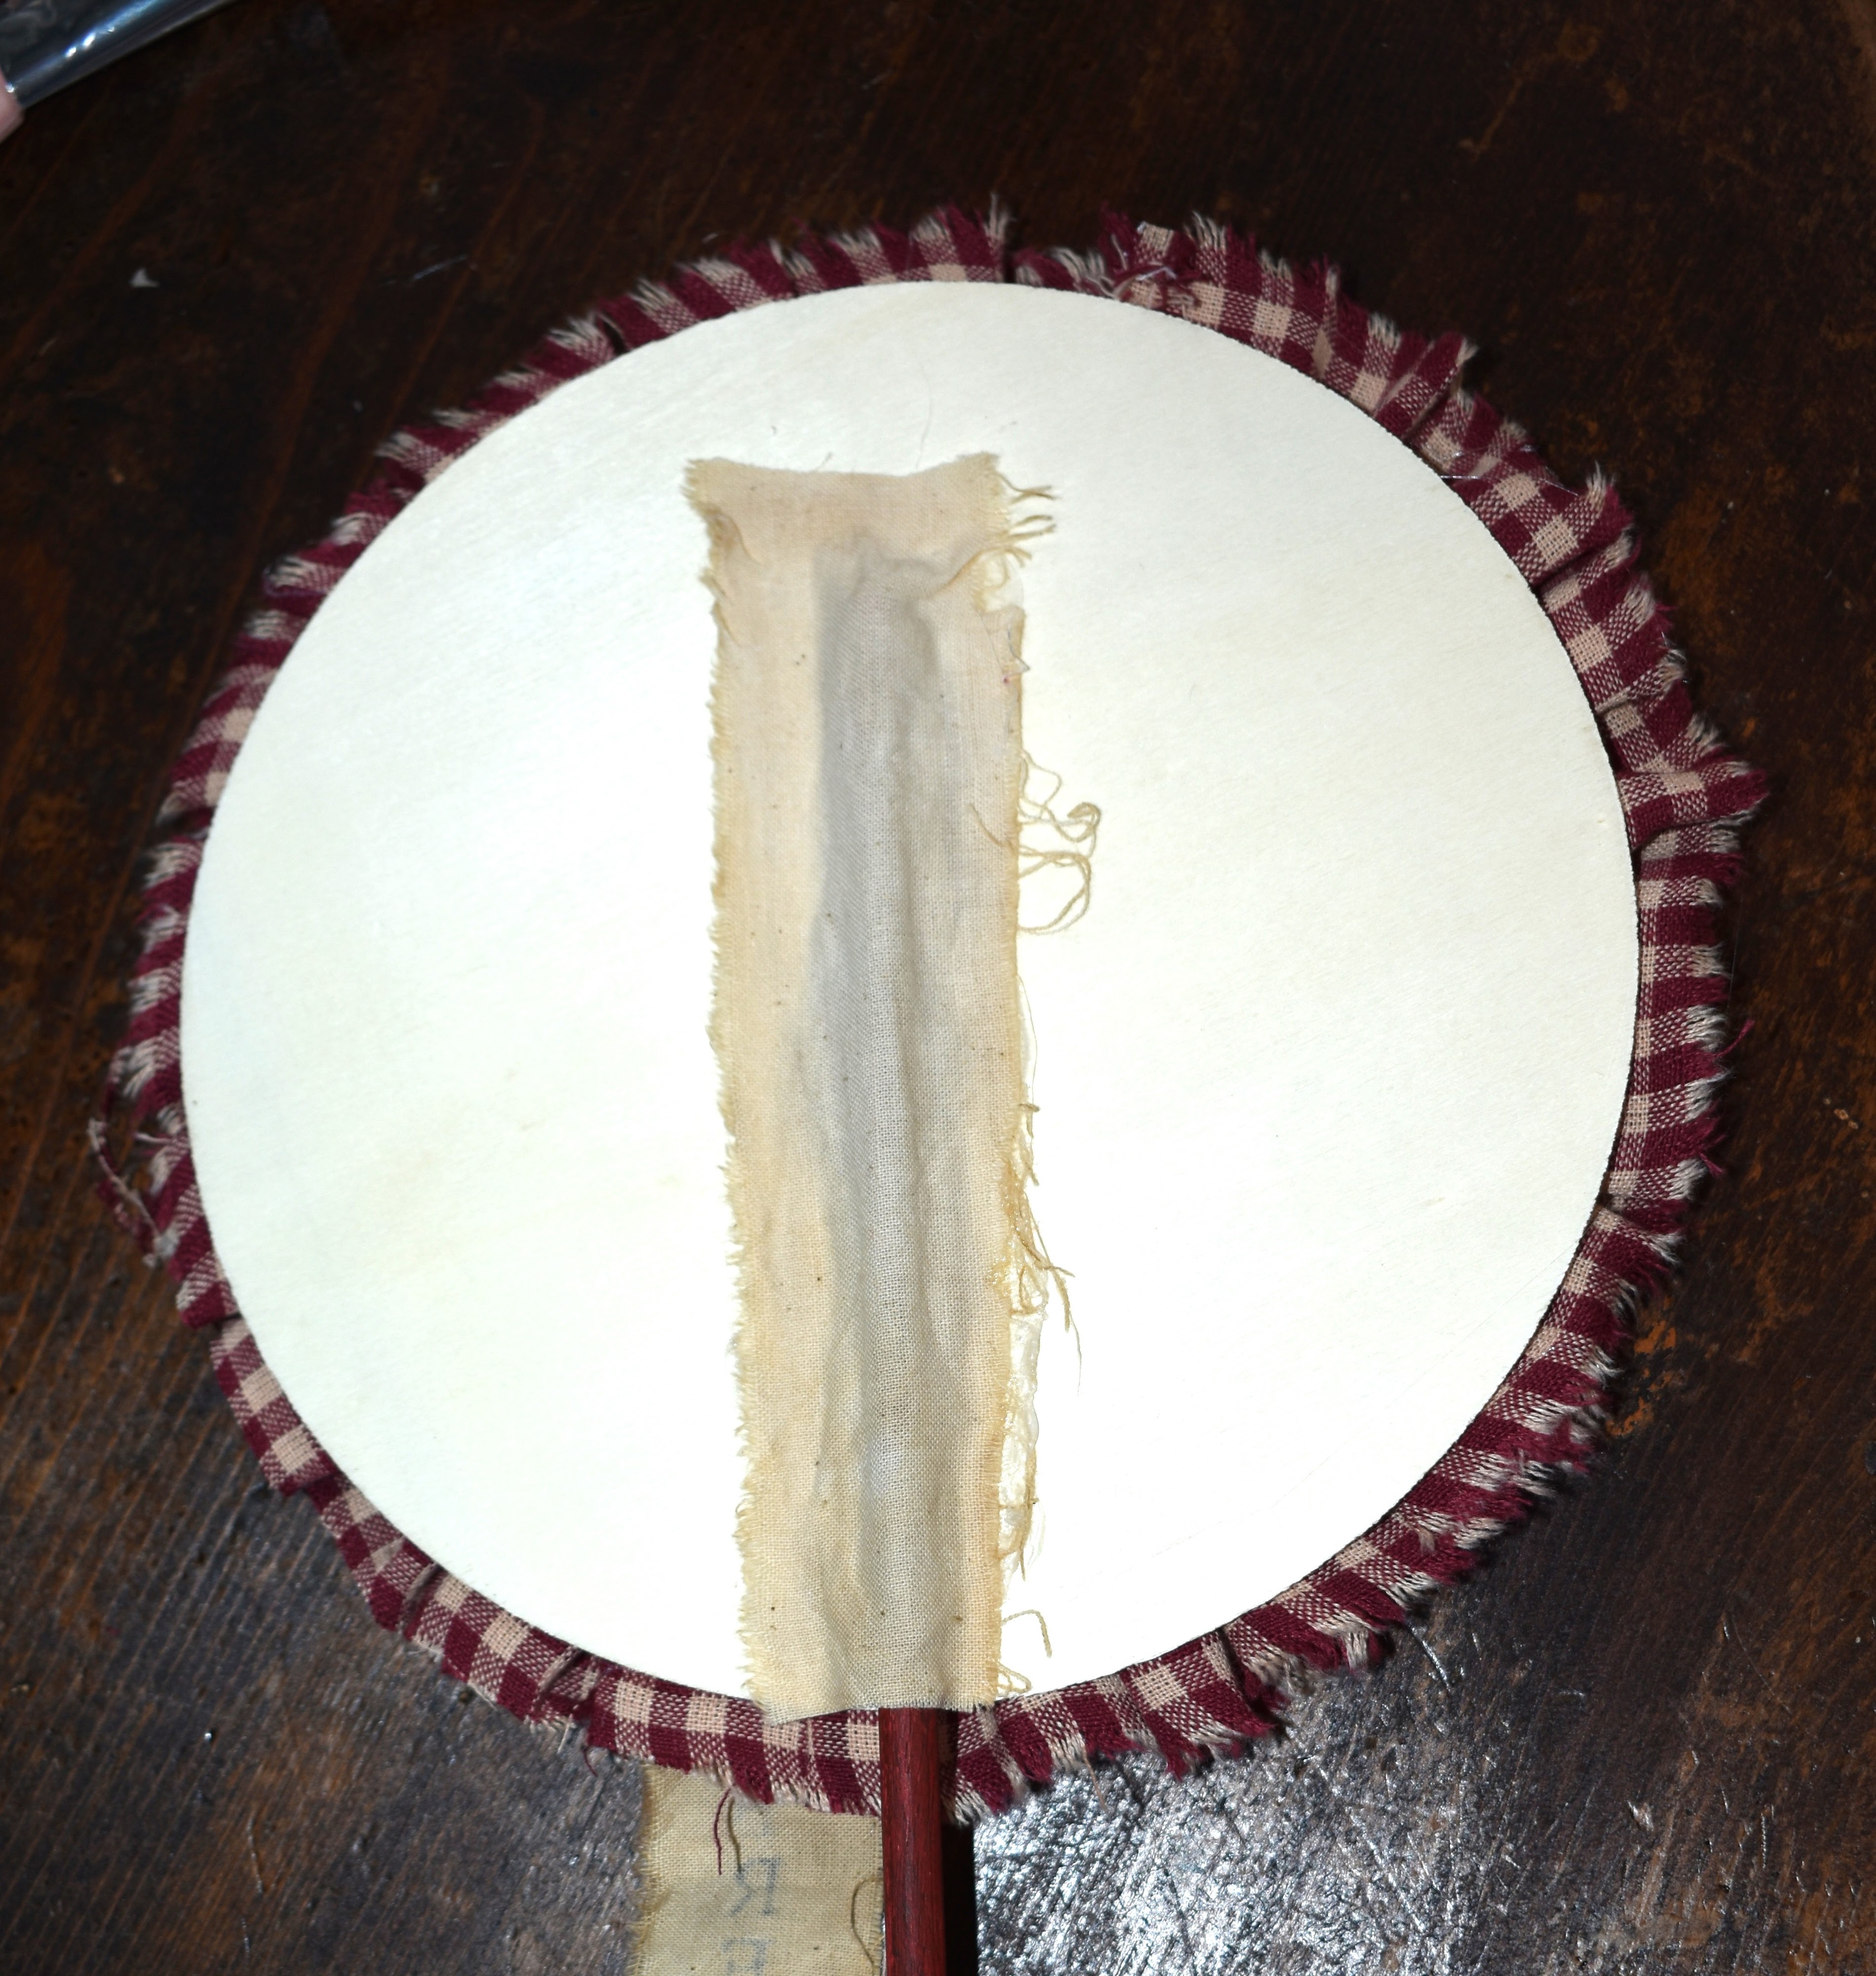
I then hot glued the dowel to the back of the circle and covered the "seam" with a piece of stained muslin.
While that was setting, I painted a small star blue for the middle of the medallion and stamped the word on another piece of stained muslin.


Then came the embellishing-I used pieces of silk ribbon, stained striped ribbon and a small red star that I drilled a small hole into. Then the things that needed it were hit with some distressing ink and the star and "freedom" were safety pinned on using some small rusty pins that I found in my stash.


I am off to clean up, grab a quick lunch and get ready to head to my grand children's lacrosse ceremony. Not sure when I'll be back but the swap will be coming soon...just need to get all of my ducks in a row. Stay safe and stay tuned.
No comments:
Post a Comment