
So this post falls somewhere between "know when to hold 'em" and "dumb luck". If you are a follower, you might remember that back in September - when the entire blog world was going ballistic trying to find some 2022 $Tree calendars...and, might I add, getting downright greedy and needy in their comments to bloggers who were gifting the calendars to followers...I decided that the frenzy was kind of depressing me. It was taking the fun and "niceness" out of people who were all supposed to be gathered together for one purpose - to share their love of crafting. And so, I hit the internet just to see if there weren't images very similar to the calendars floating around out there for free downloading. And, yes there were! There were many for all of the seasons and holidays. I downloaded a few and I did the pumpkin patch sign for autumn. I also downloaded a few for Christmas and, since I already had this image and this extra piece of wood, I thought I would give it a try.

I kind of went into it thinking that I would either use it in the basket of fresh greens that I usually have by my front door...

...or as another filler for those dreaded FR shelves...

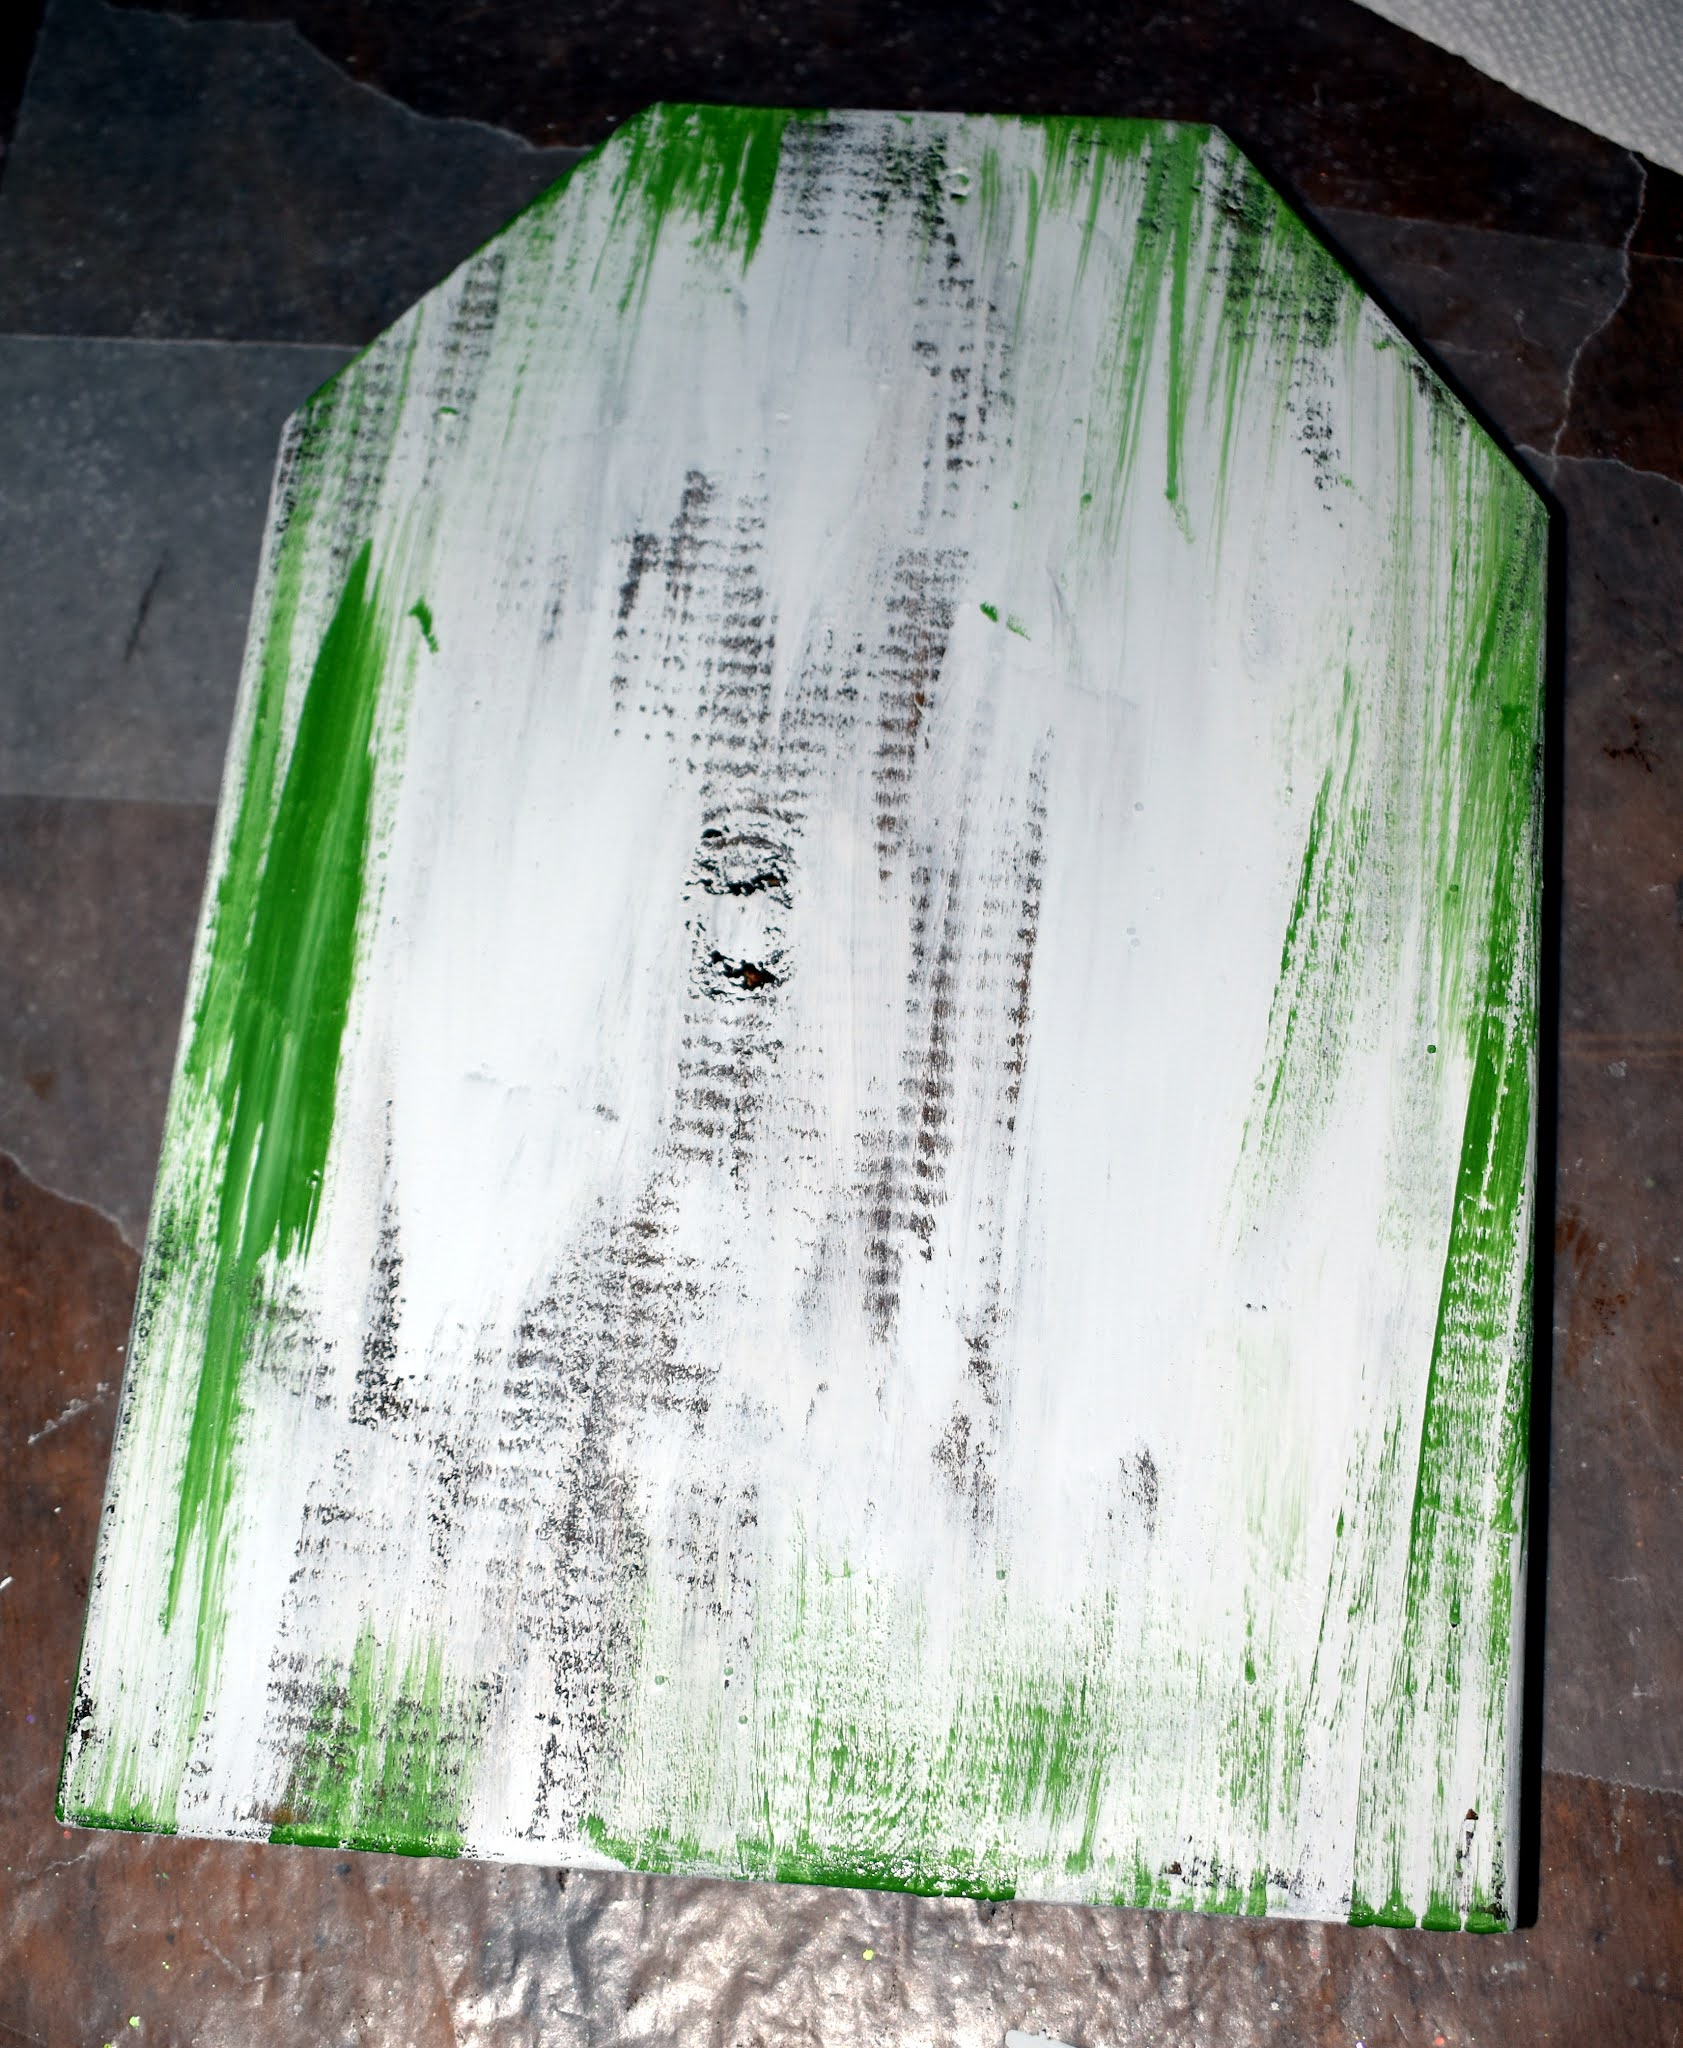
In any case, it was not going to cost anything and it would fill an afternoon so off I went. I truly didn't know how I was going to do it but quickly decided to just give the wood a coat of antique gel, then white paint followed by green and red. I kept the paint kind of streaky because I knew when I sanded it it would appear more like old peeling paint.


At this point I ModPodged on the image that I had ripped to the size I wanted. Once it was dry, I sanded around more of the edges. This is kind of where my "dumb" luck comes in. Awhile back, I bought some recycled computer paper that I very quickly decided I wasn't thrilled with and would only use for "throw away" projects. Somehow, I grabbed that paper by mistake and, when I started to sand the edges, the paper literally disintegrated...which, it turns out is exactly what I wanted and would have been much more difficult to achieve with my normal paper. Lol I did have to be a bit careful because I could just as easily have disintegrated some of the image...which I may or may not have done...but I loved what was happening with the edges.

I was ready to put on a top layer of Mod Podge when I remembered that sometimes the ink would bleed when I did this so I gave it a quick shot of matte sealer before adding the top coat of Mod Podge. The sealer dulled the image a bit but, since I am all about chippy, faded, peeling, etc., I am fine with it.

I was going to drill a large hole in the top center to pull some cords, ribbons, etc, through but, as luck would have it, there is a really tight knot right there and, I know from experience that even if I started with a tiny hole and drilled progressively larger, I could chance splitting the wood. And so, I am waiting for this to dry before I decide what, if anything, I will do. I don't want it to look like a bow so, we shall see. Come back in a bit.
So this is where I ended up. I tied some fibers together and, after playing with their placement a bit, I decided to face the knot up as if it was going through a hole. I think it looks different enough from a bow that I am good with it. I actually have a few more signs I would like to try. Unfortunately, I have no more scrap wood so, until I make it to Lowes, that will be on a back burner.

I'm off to daughter #3's house for a little pre-dance get together with her friends and their parents. Once the girls are at the dance, we will hurry to Harrison's playoff game. Once again, my daughter and SIL are hosting a tailgate so another fun...and hopefully winning...night is in store! Stay safe and stay tuned.
No comments:
Post a Comment