
Yay! Once I realized that I would never learn how to use my new miter saw by just reading about it and I brought it in to try to actually see where the parts and thingamabobs were, I did much better. Between my eyes and the way the manual was written, it was a challenge. I needed "Miter Saws for Dummies"...Lol
In any case, I figured out most of my cuts. Unfortunately, I couldn't figure out the angled cuts. I truly think that was more because I really didn't like geometry in school and promptly forgot everything I learned after taking the final exam. I know there was an easier way to accomplish what I wanted but, because once I make up my mind I go for it (and, the angle part of my old saw had been broken for so long that I had figured out other ways to do things and knew it could be done). Now, I will not say I did it in the safest way. I did count my fingers more than once just to be sure but, in the end, I got the result I wanted...and I had my three wood carrots....and ten fingers last I checked.
The first cut on the saw was just a straight cut to make sure I had all of my bases covered. And, I decided that this might be a project that I should do standing rather than kneeling on the garage floor which is my usual spot. I knew it would shoot sawdust out everywhere but I'm glad I did what I did because I had a bit more control over the wood as the saw kicked it back now and then.
I have needed to shorten my porch leaner for awhile, so that is where I started...and had perfect success!

Then I was on to the carrots. They were not as easy but done none-the-less.

Of course, there was much to clean up before the next step but my handy dandy Dust Buster and cordless Dyson made quick work of it. I gave the raw wood carrots a good coat of the antique gel. I was using an old fence post as the background and I love the patina it has. All I did was even up the top and bottom and hit the knots with a dry brush of the gel.

Then the carrots got dry brushed with orange chalk paint and the background got a few swipes of celery green chalk paint.

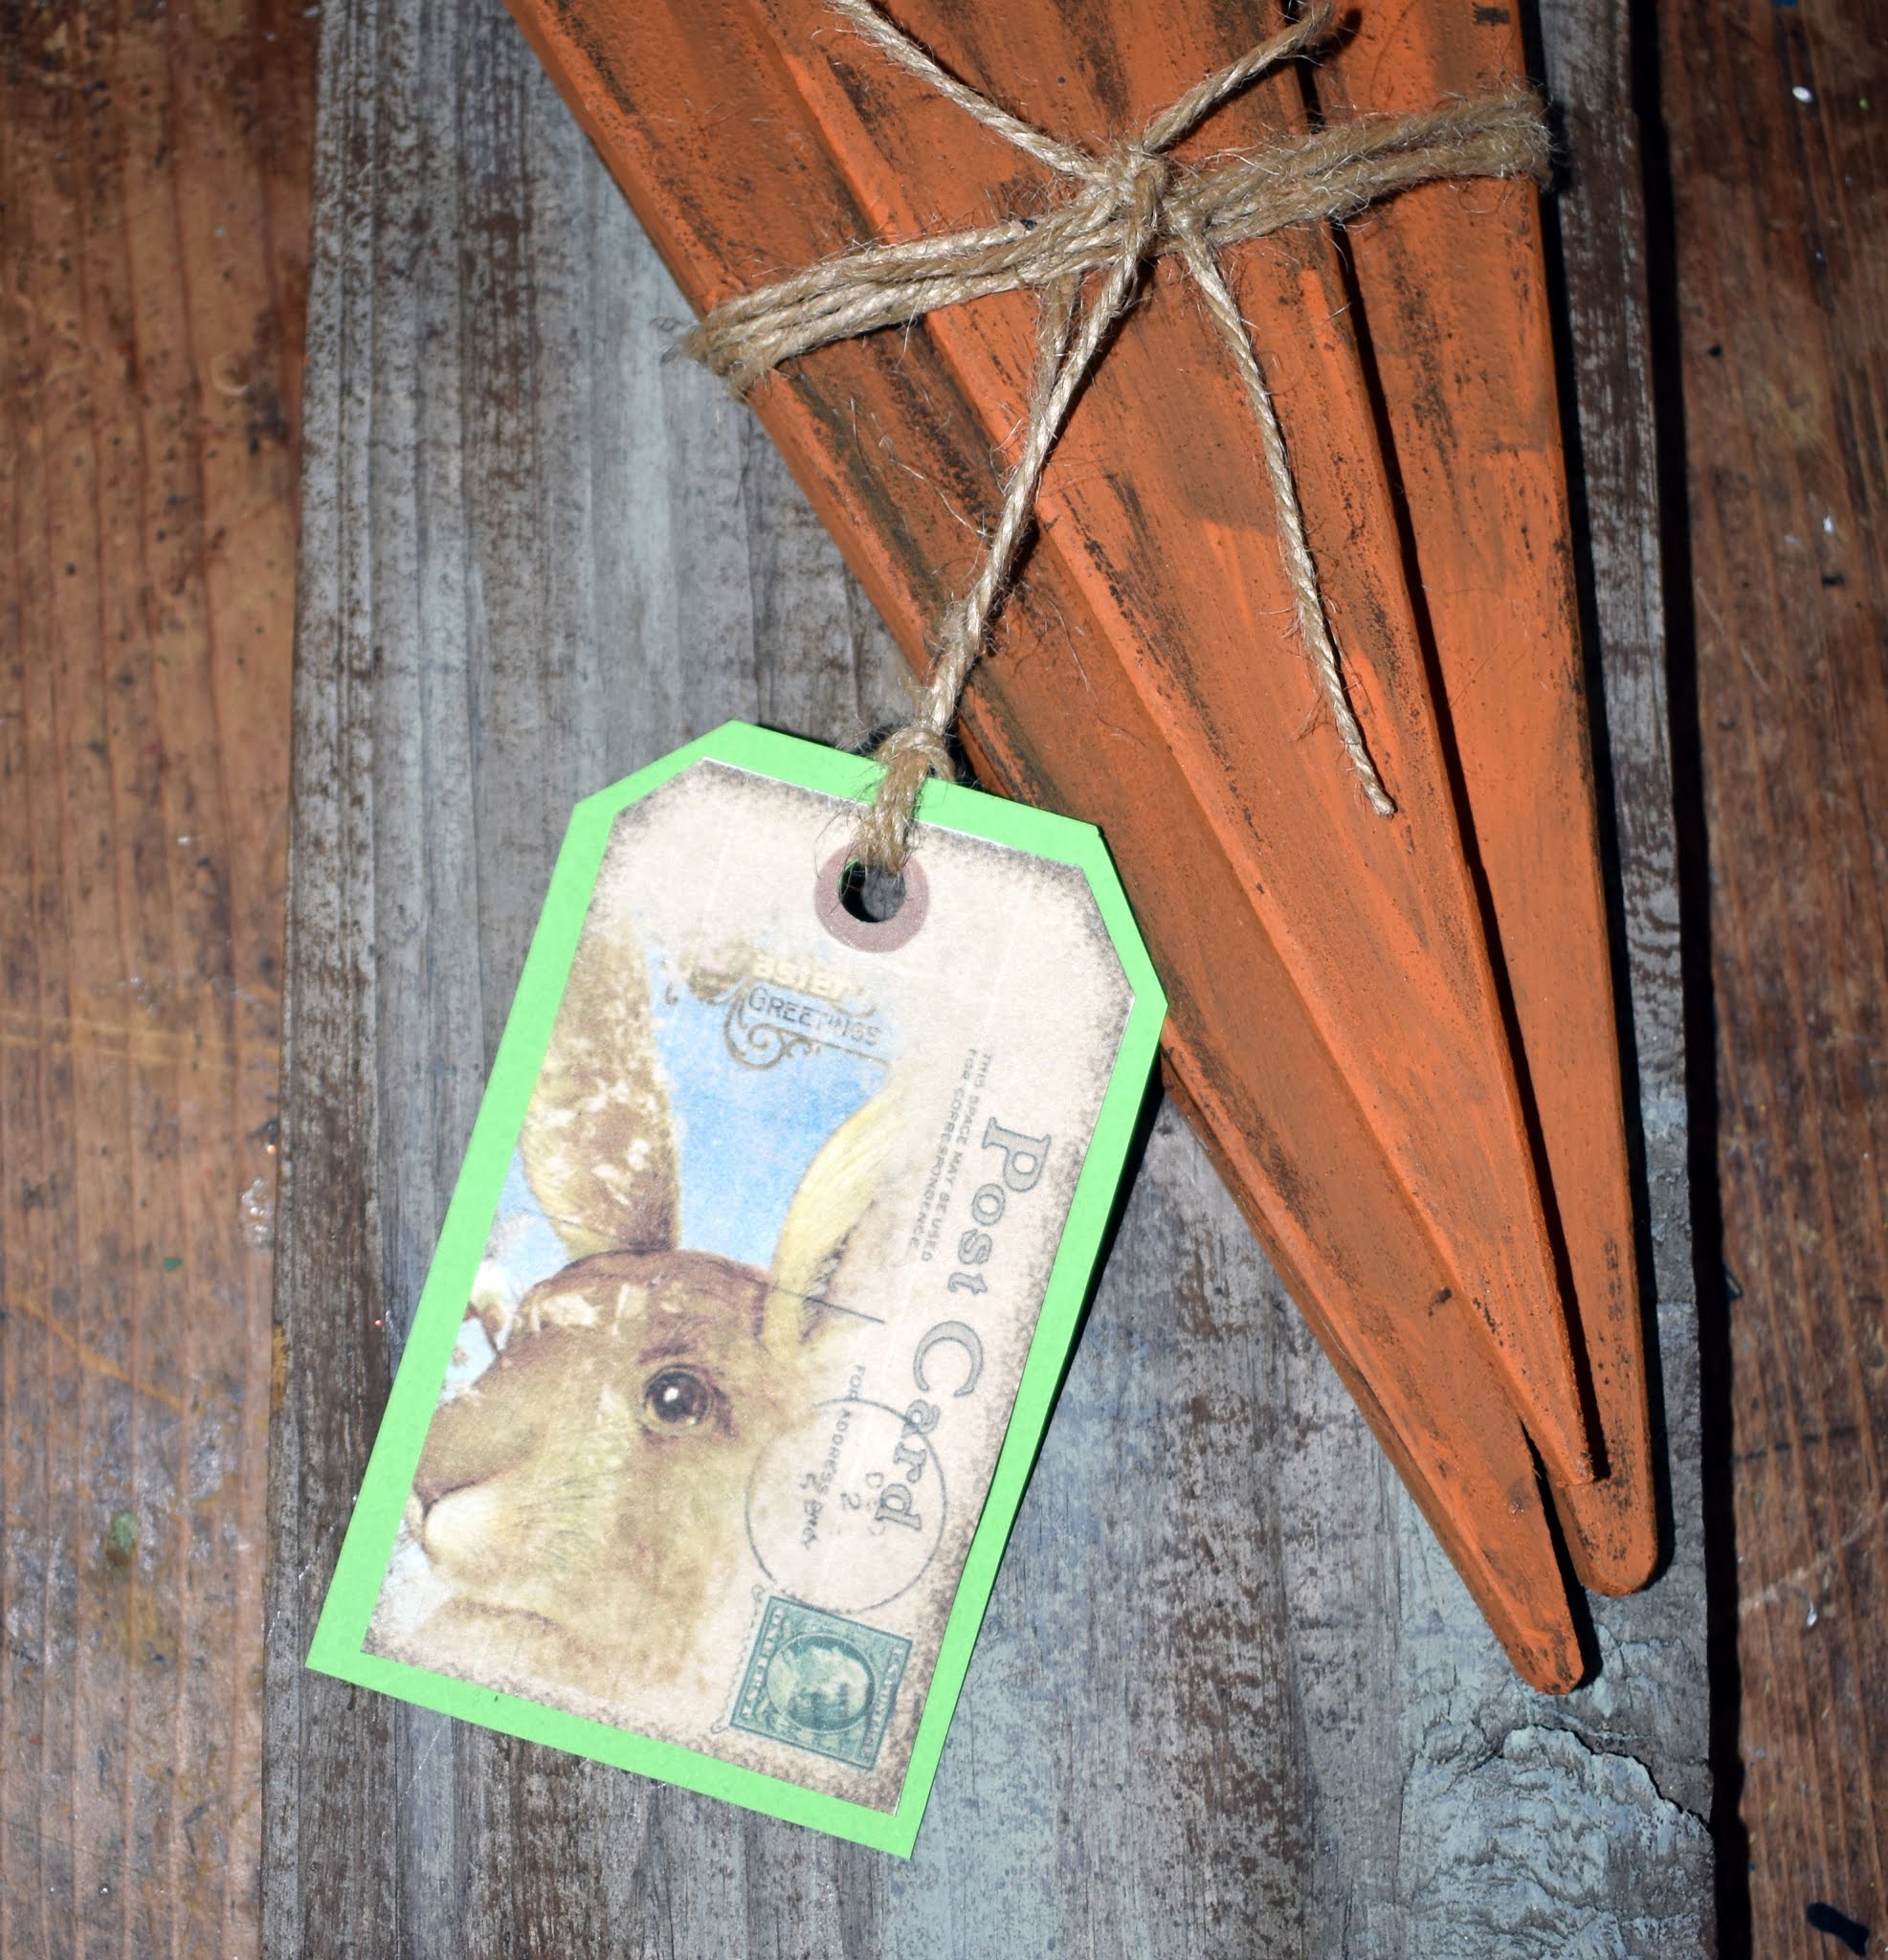
I used hot glue to put on some greenery and then tied the bundle of carrots together with twine and adhered them to the background board. I felt like it needed something in the bottom left corner so I made a tag.


And, I was happy until I saw some vintage Easter tags in my file. So, knowing how much I love words, postcards, etc., I knew I had to change up that tag. Take 2...


I loved the feel of the vintage tag but my eye needed the pop of green from the other one to pull it all together. That brings us to Take 3...

And yay...we have a winner! It's the best of both worlds!
And while I was at it, I planned to paint a wood carrot tag. But, when I realized that I made 8 of those little twine carrots the other day and would only use an odd number in any way I used them, I decided to try just painting the tag and gluing on the extra carrot...and, I think I'm OK with it.

And that, along with some watering outside and a few other little chores is how you make a day disappear. I just looked at the clock and realized I had better start to think of something for dinner tonight. I have a bit more St. Pat's to share so I will be back. Stay safe and stay tuned.
No comments:
Post a Comment