decorating with dodi

Follow on Bloglovin

Sunday, February 11, 2024

Hippity Hop

 If you're ready, we will head back to re-address a post from a few days ago when I had to stop a bunny project I was working on and didn't have everything I needed. I made another run to HL and I am ready for "take 2".

But, before we go there, let me fill you in on my weekend so far and show you the beautiful surroundings I am working in. Yes, I am still at home but, when my brother and sister-in-law arrived on Friday afternoon, they came bearing gifts-for no reason at all! They know how much I adore spring flowers so they brought me bouquets of irises, daffodils and pussy willow that I added to my tulips and then they took me out to dinner and brought my favorite flavor (raspberry) Valentine's Day cookies for dessert. What a lovely, unexpected day. This is how the flowers are during the day as I'm moving about but, in the evenings when I head to the family room, those daffodils and irises come with me. This is one regret I have about my life in Florida-I can't grow most of those beautiful spring bulb flowers!


 They also helped me check everything off of my "list" that I keep running for them. They are so much more knowledgeable about technology so anything I get stumped on, I wait for them to come help "dig me out" and, they also provide those extra hands on things that I can do but just not alone.

Saturday morning saw us up and out early and we were greeted by the MOST beautiful day. My brother ran a race at Silver Springs State Park and my sister-in-law and I enjoyed cheering him on and all of the nature around us.

It was a wonderful two days and I'm always sorry to see them leave-sure wish we lived in the same city.

So now, back to the bunny. I sort of had an idea but not really anything definitive. I knew I wanted some spring floral paper and had planned to buy just a few sheets but when I saw this Paper Studio book full of one sheet prettier than the next-and on sale this week-I had to get it. I'm pretty sure it will supply me Easter and spring paper for many years to come.


 I chose a print with a dark background and as little yellow as I could. And then, this was really simple-almost so simple that I'm kind of embarrassed to share but I know you were all on the edge of your seats waiting to see how I finished the $Tree bunny. Lol

I traced the bunny onto the paper, cut it out and ModPodged it on.


Because this paper is so heavy, it stuck perfectly and I didn't even go back over it with another coat of ModPodge to seal. I used my little Gator sander to knock off some off the edges of the paper and then, of course, I came back and distressed the sides of the wood bunny and the edges of the paper.


Lastly came the embellishing. I played around with adding some ribbons swirls but decided that since the other Easter things I have done have ribbon, I would just go with florals on this guy.

I don't even have my St. Pat's out yet and I can't believe how many Easter things I have completed. I really hope I don't get any other ideas because I don't have a clue where these will all end up. And, as I was taking this picture, I realized that three of these things are pretty tall and won't fit in many shelves that I have...might be a problem. Lol I bought the Easter bottle brush trees when I saw them because I thought I had an idea on how to use them but, if I did, I don't any more. I'll probably just add them to some vignette.


I'm off for some lunch and then to do a few odds and ends before the new week arrives. I have a "window guy" coming tomorrow to fix a spring that sprung in my front window and then the rest of the week will see me outside beginning to rake the million leaves that have already fallen and that the lawn guy seems to just blow into the gardens and against the fence. Then, as soon as I have celebrated Valentine's Day, the red will be gone and the green will come out. Guess I've got a busy week ahead of me but I'll be back to share. Stay safe and stay tuned.


Thursday, February 8, 2024

Best Laid Plans

 When last I posted, I was off to a lacrosse scrimmage game for grand daughter #5. And then, we were entertained with with another game where mothers and fathers of the girls took to the field for another game. It was supposed to be men vs women but it was definitely weighted for the women when they put some obvious ringers onto their team. The poor dads were like the "bad news bears" and I don't think my daughter and I-along with the rest of the crowd-have ever laughed so much! My son-in-law went in as goalie. He was definitely not ready as he came wearing his good pants, a nice shirt, pullover sweater and loafers. It didn't take long for us to realize that he REALLY would have benefited from some cleats. Every time he made a quick move he slipped and slid and actually hit the ground a few times...but then, so did many others on that team. Lol They almost never got their sticks on the ball and when they did, they were usually floundering and sending it high into the air. It was hilarious and a good time was had by all-well, at least those of us who weren't on the field. In the end, everyone was able to walk off the field with no injuries but I'm guessing some of those dads may be feeling it a bit today.

In any case, I had planned to get some pictures after both games with Presley and her dad but, first of all, by the time the games were over, it was cold and secondly, there were so many people coming up and talking with them afterwards that I figured I would wait until the "real" season and she was in uniform...there will be lots of opportunities for photos to come.

I did kind of snap one of my son-in-law just as he took his position and a far away shot of Presley and her scrimmage teammates.

It was a late night-at least for me- so it was home to grab a quick bite and off to bed.

This morning I woke up looking forward to making my new candle...until I remembered that I might not have any wicks left. And, I was correct so I will now need another trip to HL before I can finish this project.

But, that was OK because I figured I could go on to the bunny. My plans had been to just cover him with more of the faux tiles and add flowers around the neck. But then I decided that I really didn't want to do another tile project and I pivoted to finding some pretty floral paper...which, I remembered that I don't have either. And so, all I could really do today was get it prepped by removing the bow, "wood word", pompom tail and hanger. Usually, these things on anything from the $Tree pull off very easily...not this time. Occasionally there will be something that you might have to use the heat gun for and then it will pull off easily...not this time! I don't know if this is because the bunny is one of their "upper end" products at $3 instead of $1.25 (LOL) or not but whatever glue they used to hold said items was STRONG and the hanger was actually embedded into the wood with two of the strongest staples I have ever seen. But, I persevered and got it done. And that's as far as I will get today except to write another list for my return trip to HL tomorrow before I hit the grocery store.


I decided to play around with the flowers a bit to see what I might like until I realized that until I know what paper I find I have no clue what flowers I might need. And so, once again, I'm at a standstill. We'll see what tomorrow brings.


 To Be Continued..... 

We interrupt this craft to bring you an entirely different one. Lol And this one I could do before my trip to HL...almost.

As very often happens with me, I had my plans all figured out and was finishing my second cup of coffee before getting ready to head out to run my errands and get what I needed to finish this bunny. As I was sipping my coffee, I was scrolling craft blogs and happened upon one new to me. I looked at a few of her things and I knew right away that I would find some fun ideas on her blog. The first I saw was a "running" bunny made out of cardboard. Now let me just say that I am usually not a cardboard craft kind of girl but, something about this bunny talked to me...and, I actually had most of what I needed to get started-almost.

The only corrugated cardboard that I had was from my Christmas tree box but I don't think it will miss a flap-more about that cardboard later. The blogger used joint compound-which I did not have but, I had spackling paste and I figured they are pretty close. And so, I started this project before I ever left the house this morning.

The blogger provided a copy of her pattern so I just printed it and got going. It traced the pattern onto the cardboard and started cutting.


 If you notice on that picture, I had the corrugation running the correct way. Somehow I turned the pattern before I cut it out so it no longer runs the correct way-or, at least the way I would have preferred. I guess there really isn't a right or wrong way but I think the longer way might have looked better. I actually thought about doing a second one but, since I didn't discover my mistake until I had finished cutting it out and the cutting is truly the hardest part of this project, I decided to go with what I had.

I initially started cutting the bunny the way I cut foam board-down on a cutting mat and using an Exacto knife. But, my cardboard was VERY strong and that was wearing me out so I discovered that if I lifted the cardboard, pierced it with the knife and kind of sawed, it went so much quicker and through the whole thing with one cut.


Then I covered the back with a thin coat of the spackle.

When that was dry, I flipped it and gave it a light spray with water and peeled off some of the top layer. This is when I again realized how strong my cardboard was as usually when trying this step, pulling any of the top layer off is a struggle but in this case, I had to be very careful or the entire top layer would have come off in one piece.

Next came a thin layer of a caramel paint mixed with the spackle and, after that was dry, a layer of truffle paint mixed with the spackle-I forgot to get a picture of that.

The top layer is an off white mixed with the spackle and scrapped on so that there is some of each of the other colors still visible as well as some of your corrugation.


 Lastly was some distress ink around the edges and across the bunny to hit the high spots of the dried spackle.

I ended up finishing it nothing like my original idea which was in an old copper pot with Spanish moss-not my favorite but close to my inspiration. I think it was a happy accident that I thought the proportions of the pot to the bunny weren't right and I just grabbed a flower pot I already had out of desperation. And then I decided to stick in the greenery that I bought the other day.

The bunny got glued to a dowel and, when I returned from my errands I had bought some ribbon that I thought might look cute as a bow and then I added one of the small roses I also bought the other day. And, I think I'm done...maybe. I am going to try adding some flowers to the greenery and we shall see. But, this is where we are right now...and the wood bunny will just have to wait because my brother and sister-in-law are coming for a few days and I'll be having fun with them. Looks like I know what I'll be doing next week. 


Stay safe and stay tuned.

What do you think? Flowers or no flowers-that is the question!


Tuesday, February 6, 2024

Can You Guess?

 I had a wonderful visit with a long time friend yesterday so my week was off to a great start. Today looked to be empty so I thought I would run a few errands. I hit my new $Tree Plus, Target and Hobby Lobby. This was the week that Hobby Lobby actually had a lot of the things that I needed on sale so I figured while I was there I might as well think a bit ahead and maybe save myself another trip or two. Can you tell what I was thinking by what I bought?

First of all, it is pretty evident that I am nothing if not predictable. My favorite colors to use for spring as complements to the tons of green that I always use for spring and Easter would be pink and violet. I know you will see lots of blues and yellows out there as well, but they are just not my favorites so I will use them very sparingly-you might see a yellow forsythia here and there though. Lol

I found a nice greenery garland for the mantle-I might even use it for St. Pat's-as well, as the green candle ring. And, while I was at it, I grabbed a few more greenery picks. And then I also got a few more of the flower picks from $Tree. I'm not usually a fan of their florals but these are actually not too bad and I might be able to use them to add to some things for Easter. It is kind of hard to do a good job shopping when you don't really know what you are going to need because you don't really know what you are going to make...but, I know what I like so I kind of guessed.

Then, I have been using a lot of the smaller flowers and was running low so while they were on sale I grabbed some of them as well as always needed things like brushes, knife blades, ModPodge and distress ink. I would rather be ahead of the game instead of not having something when I reach for it.

I also bought a bag of wax chips and that will probably be tomorrow's project. I have a "tulip" Yankee candle jar that is almost out. It always sits in front of my vase of fresh red tulips for Valentine's Day and I love it...except that Yankee Candle no longer makes that fragrance. Truth be told, it isn't even the fragrance that I love so much-it is the label on the jar that fits so perfectly into my vignette. And so, I am just going to refill the empty jar with new wax. I have candle dye and fragrance oil already so once the wax crystals went on sale, I was good to go.

I also grabbed some Spring labeled dish detergent and hand soap and that bunny you see. The bunny is a $Tree Plus item and I am going to find some way to make him over. I probably would have started that right now but daughter #3 just called and a lacrosse game scheduled for Saturday is now happening tonight so I will be off to that very soon. This is the beginning of the season for my grand daughter who has chosen to play girls' lacrosse and I'm excited to see how it goes. Since she goes to a private school that does not have a girls' ream, she is eligible to play for a public high school that does and that is what she has chosen to do. It should be a busy season!

I'll let you know as today's treasures find their way into my decor in the next few months. Until then, stay safe and stay tuned.


Saturday, February 3, 2024

Thanks Phil!

 I enjoy all of the pomp and circumstance of Punxsutawney Phil and whether or not he will see his shadow. When I was teaching, Groundhog's Day was one of my favorites with all of the things we did with shadows and sun. But that being said, I enjoy hearing what Phil's outcome was and then that is about it. But this year, when he said "early spring" I had no idea how early he meant. Our weather is absolutely gorgeous outside and I knew I could not stop myself from heading out into the gardens. And just as quickly, I realized how soon I needed to stop myself and get indoors.

I did stay out there about two hours and got a lot of the things that were bothering me the most done but then, as predicted, I started cutting back the things that took a hit in our last kind of cold spell. We may have hit freezing one night for maybe an hour so there were some things that were looking sad but, unless Phil really knows something, winter isn't over just yet and I have actually killed things that would have come back by cutting them down too soon. And so, I brought myself back into the house. You would think that I could just enjoy being out there and ignore what was around me  but, alas, that is just not in my DNA. It has to "look" pretty before I can rest. And so, I thought I would show you my latest REALLY simple project and then we can finish up our Valentine tour.

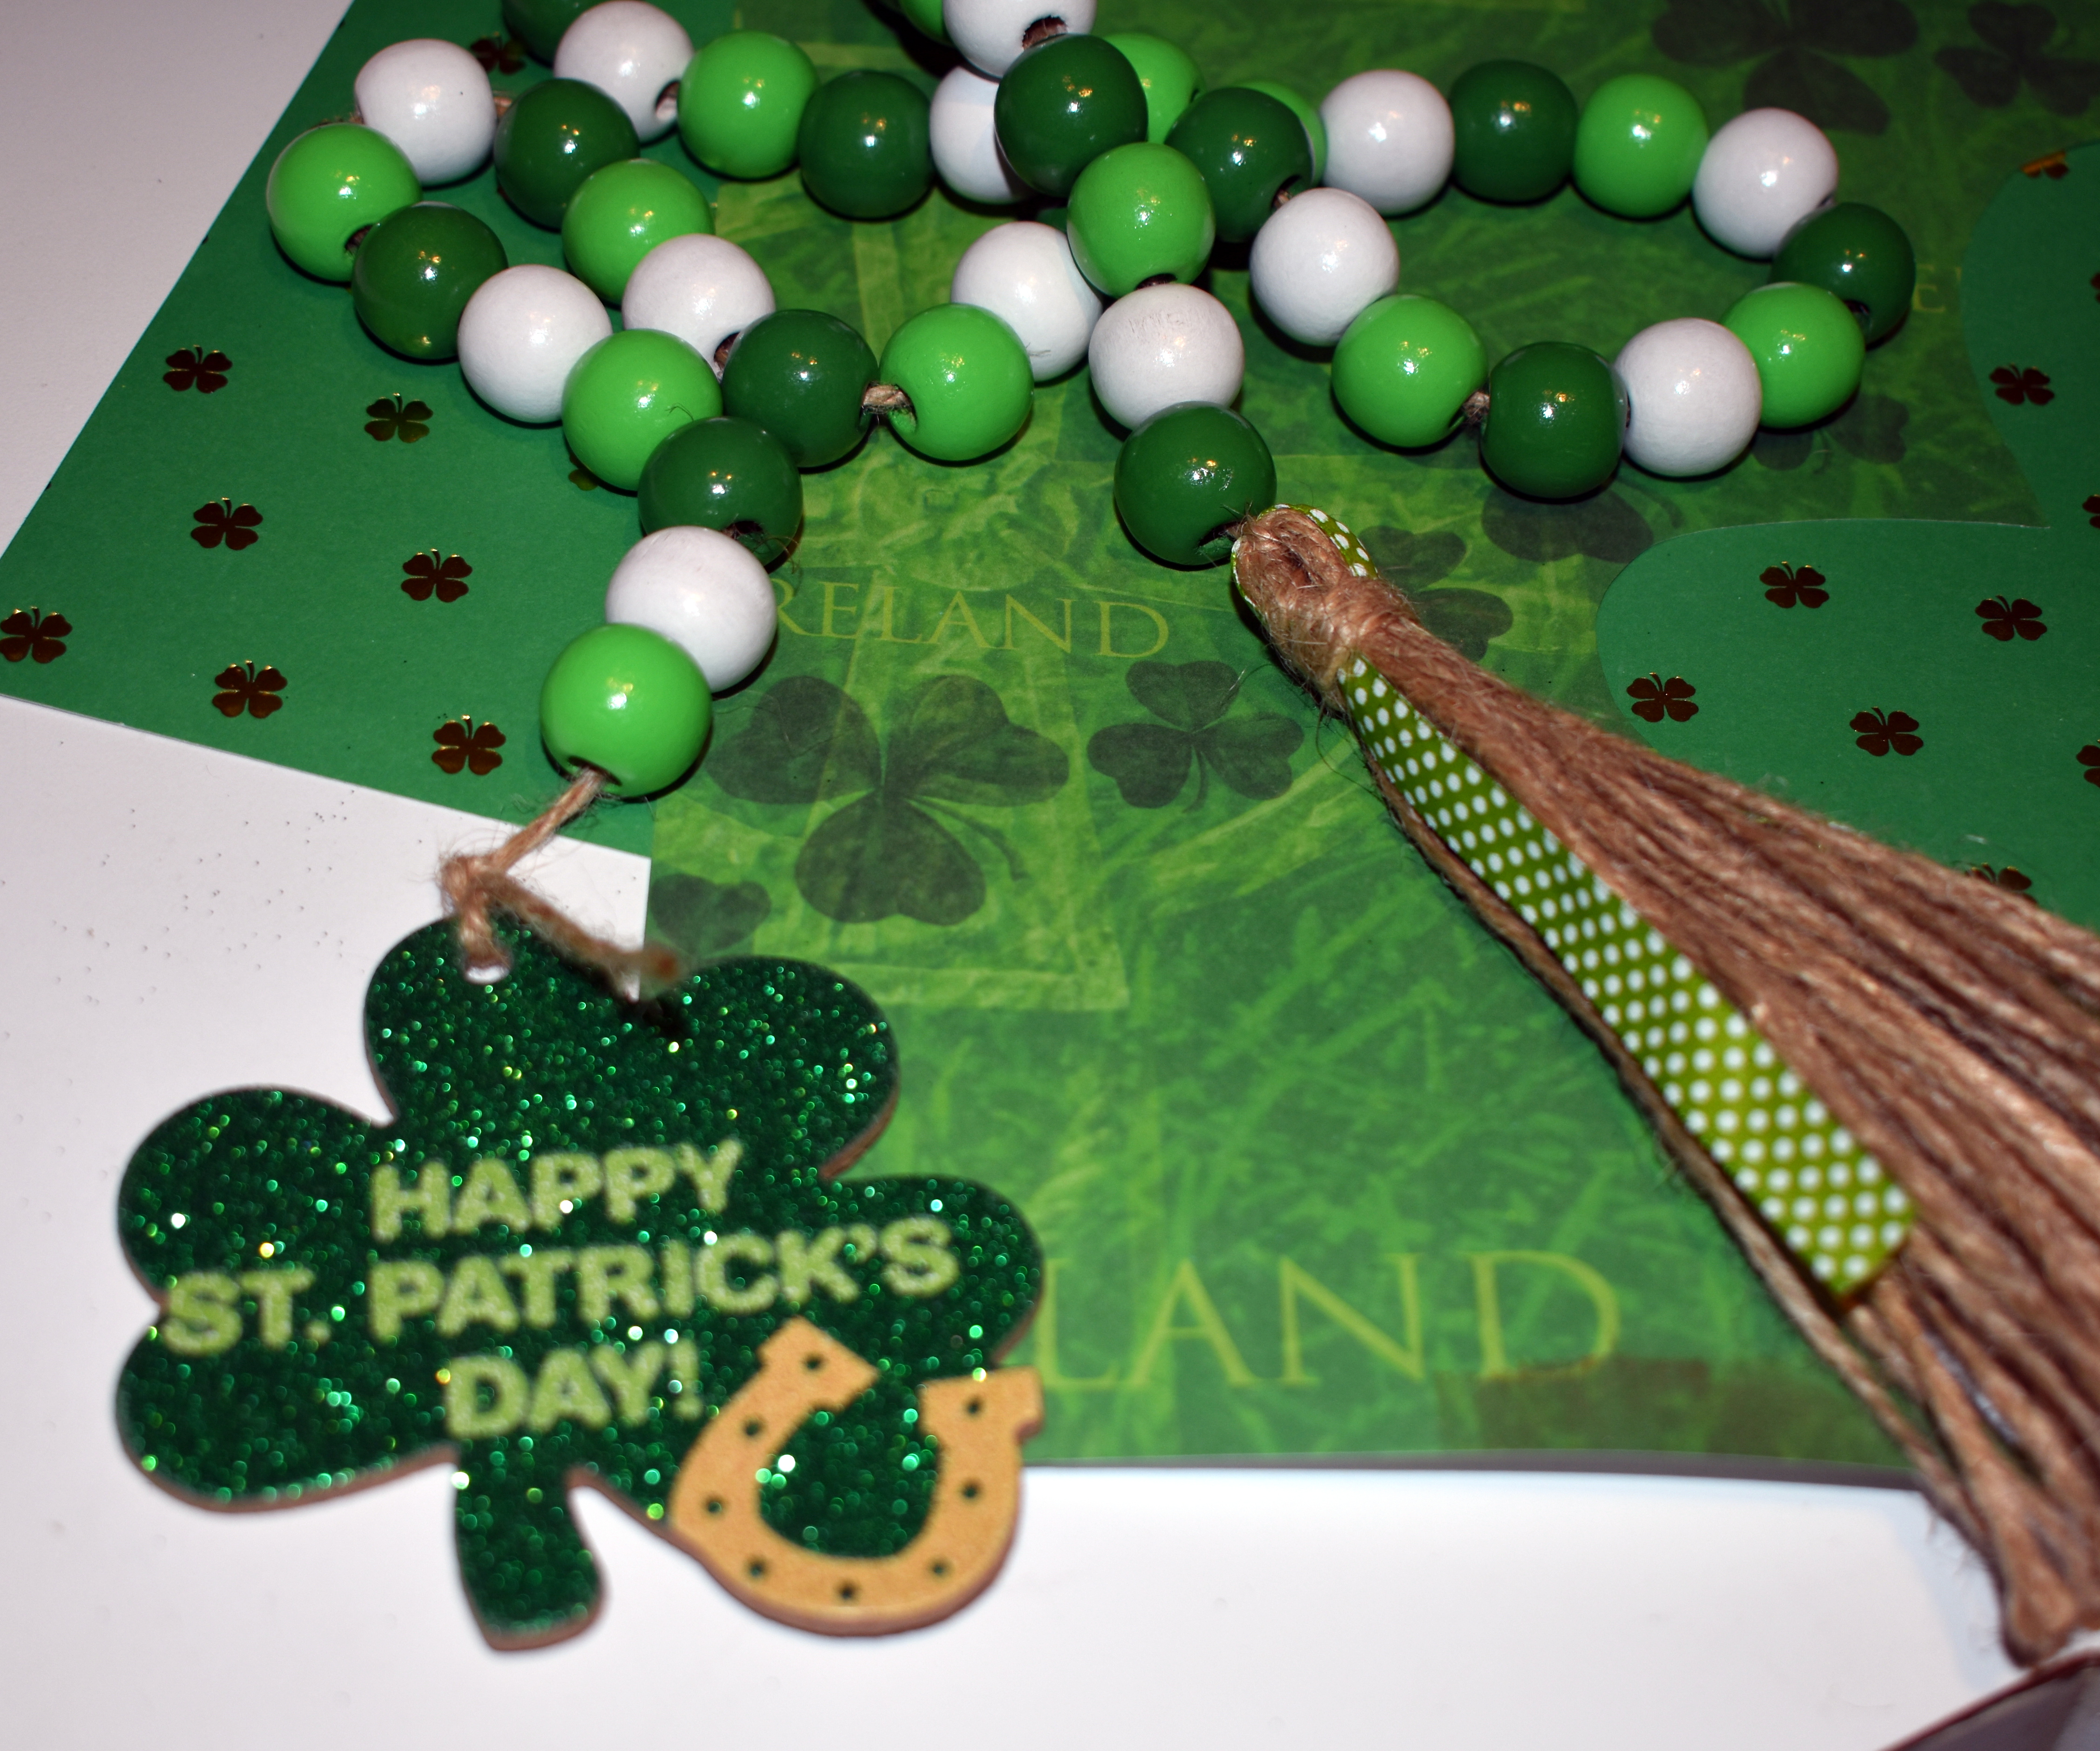
When I popped into the $Tree the other day, I grabbed a St. Pat's wood bead string. I have one already that I made when I made all of my book stacks and matching bead strings but, for $1.25 I figured even if I just used the beads, it was worth grabbing. As I was sitting and looking at it, I decided to give the glittered shamrock a make over and see what it looked like. Pretty self explanatory but I did take a few pictures along the way.

I just cut out the shape from a piece of St. Pat's scrapbook paper. I did use an unfinished wood shamrock I had so I didn't even have to deal with sanding off the glitter. I may even use the leftover shamrock nestled in my dough bowl-we shall see.


I glued that on the front and then painted the back and, when the front was dry I edged it in a bit of gold paint.


Then I got out my trusty Dremel and drilled a hole and reattached the beads. I'm not sure if it will find a home but I'll let you know soon.

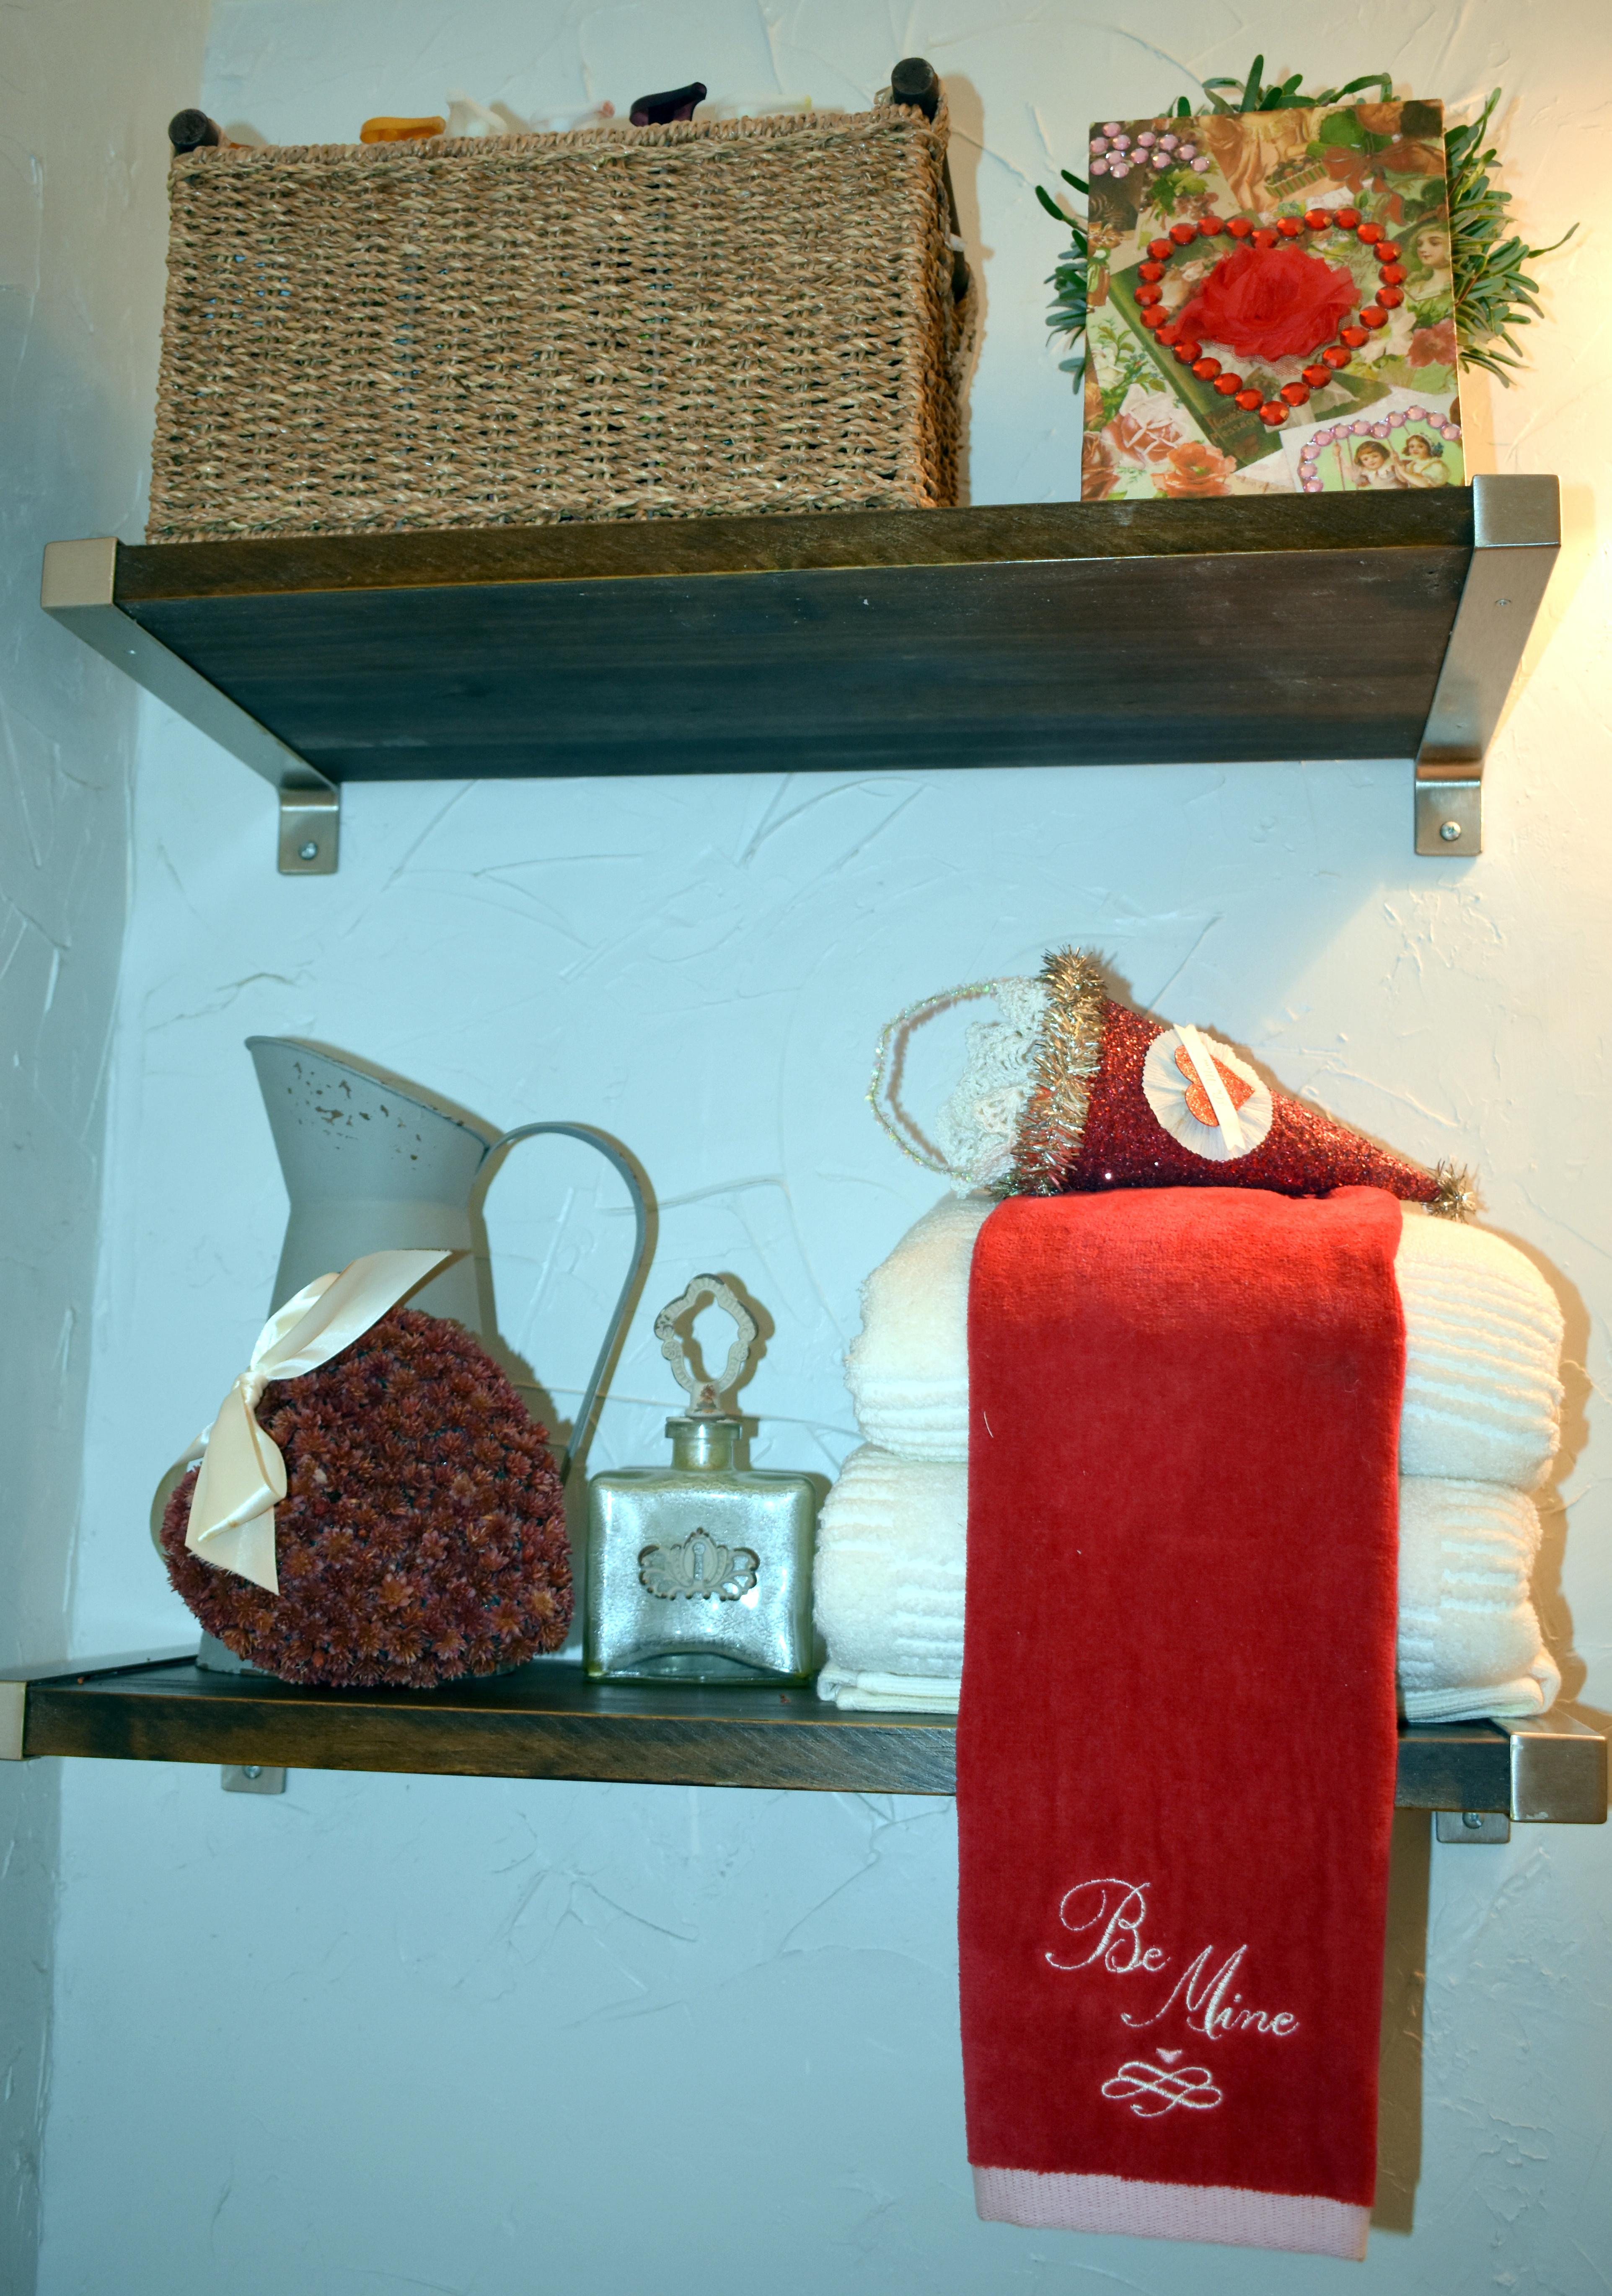
I actually think we have toured all of the house except the bathrooms so let's do that now.


And a nod in the master...


And, a few of the extra photos and flower pots that the kids made over the years.

So that's all I've got for now. My girl friend is coming over for the day on Monday so I'm thinking there might be a bit of cleaning I should get to before then...not as much fun as crafting or decorating but something I guess I can't avoid any longer. Lol 

I'll be back...and I'll let you know if Phil knew what he was talking about. Stay safe and stay tuned.


Friday, February 2, 2024

Channeling My Goldilocks

 So, I'm at it again and feeling just like Goldilocks-this one is too small, this one is too big and this one is JUST right!

Might I just say that I am IN LOVE with this face. I wasn't sure which size I would use so I printed all three. In the end, I am going with the middle one. I thought I would want the whole bunny-hence the smallest option- but, there was a bit too much empty space if I went that route and I just want that sweet face to be as large as possible without losing the details that tell you it's a bunny-like his ears-hence why the largest lost. Lol I am definitely saving the other two and I will find something to do with them!

Was there ever a doubt that the Easter "faux tile" craft would be coming? I will say that I had not planned on doing this today. My goal had been to get to $Tree or HL to see if I could find a thin wood egg shape but, this is day #13 that I have been at home. I haven't left my house in almost 2 weeks. I think I am feeling better. Most of my cold symptoms are gone but I just haven't felt like getting dressed and heading out in our chilly weather and so...this wasn't supposed to happen. But then I decided that I wanted to craft and I knew I had a piece of foam board that I could cut into the shape I needed and that was all it took. I do live by the old "where there's a will, there's a way" adage. You wouldn't believe what things I have gotten myself into thinking this way but, I digress. My husband could have filled a book with our adventures that almost always included him agreeing to my hair brained schemes just because he wanted to keep me happy. LOL

I cut a pattern to what I thought resembled an egg shape keeping it as large as I could to utilize as much of the tile as I could.

I had to mix my own paint. I wanted a soft green but the only lighter greens I had were the "yellowy" greens so, a bit of the green chalk paint mixed into the white and I was good to go. I did have to use two coats this time which is pretty unusual for chalk paint but I did have to add some water to my white to get it more spreadable so that might be why.

While that was drying, I cut the foam shape.


 I will say that cutting foam board is "iffy". If the edges of your project are going to show, you are definitely better cutting your whole shape without ever lifting your knife. I have found that that is almost impossible on a large project and every time you even slightly move the blade, you're likely to get an uneven spot on your edge. I did OK but thought that maybe I could lightly sand the few areas I wasn't happy with. I am going to say that that is probably not a great idea because the inside of the board is made of compressed styrofoam beads and if you "pull" against them rather than cutting through them, you are likely to have some of the inside come out and you are left with a gap. If it is something you simply can't live with, you can always add a border-in this case, maybe a braid-but that is not my favorite so I am reserving judgement until I am finished.

I gave the edges of the egg a good coat of paint and a second coat on the tile and left them to dry.

While that was happening, I played around with the candle holder I was going to use-another from my stash that I just had to repaint-and the ribbons and florals. I wanted the flowers to kind of resemble the flower crown the bunny is wearing. Once again, I'm lucky that I'm a hoarder saver because I had just what I wanted in my stash.

Next I did my distressing with Waverly antique wax and Tim Holtz Distress inks and then ModPodged the bunny to the backing and glued the two pieces together. And I wasn't happy with how the edges looked. I first thought of gluing on a narrow ribbon either in the color of the distressing or the bunny background of white but honestly, that still didn't cover what I didn't like. I knew it had to be a braid and since I didn't have any of the correct color, I almost made a trip to HL. But, HL and I have a love/hate relationship and I have a hard time paying full price for anything in that store and, of course, ribbons and braids weren't on sale this week.

But, I did have a very metallic braid just about the right thickness and I thought it might work perfectly. I experimented with painting it the same color as the egg and it looked like it might work.


I glued it on and actually wasn't sure I would even want to paint it-the gold looked pretty nice. But then, in the end, I decided I wanted to stay with the cooler colors and gold reads warmer to me, so I painted the braiding.


Then it was a simple matter of just touching up the distressing along the edges and putting it all together. I affixed the egg to the candle holder the same way I did the heart-a little floral foam in the hole of the holder and 2 small dowel pieces glued on the bottom back of the egg and inserted into the foam. After that, she just got gussied up with the ribbons and flowers and I really like how she turned out. I'm not at all sure where she will "live" once I decorate for Easter because she is pretty large, but I know I'll find her just the right place-she's just so pretty.


And, before I go, an update on my other bunny. She now looks like this.

I tweaked this a bit because after posting it on a craft blog that I belong to, several people made what I thought were good suggestions and I actually do like it a lot better now. And, it is almost famous! For some reason, it has already received 945 "likes" or "hearts" and has so many comments that I can't even begin to count them...who'da thunk?

And so, it is afternoon of the most beautiful day! It's a bit too late for me to start work in my garden so I am going to putter away the rest of Friday and just take it easy today. The yard will be there tomorrow. Stay safe and stay tuned.