
Boy did I miscalculate! When last I posted I think I said that I was tied down with a hair appointment but, on the first day after that I was heading out to tackle a LOT in the yard that kind of got ahead of me during all of our rainy days. And, that was my plan! Until today dawned beautiful and I headed out only to be reminded that in a very short time, perspiration would be running off of my head. On normal days, I just pin it up and keep going...and maybe walk into the pool to cool down every now and then. But I couldn't do that today.
I too soon remembered that since my hair had just gotten colored less than a day ago, I wasn't supposed to wash it and I knew I couldn't cope with that feeling until tomorrow so...I did a bit of trimming and weeding in the front yard then came in to see what I could find to do-that I WANTED to do-inside. Once I figured that out, I have been going back and forth and getting little bits of lots of things done in both locations!
So the first thing I tackled is the yellow frame on the sunflower picture...you knew I would, didn't you? Here's the after and I like it so much better. I used my antique wax so it gave it more of a translucent finish and there is just a bit of the yellow peeking through. It actually looks so much like the brown on the picture that I thought I had dripped some and it was the bee's wing.


My next inside project is actually another easy one although I hope it ends up giving me some "bang for my buck". I think I may have shared that I bought a 4' X 5 1/2'' X 1/4" piece of craft wood at Lowes awhile back. I had been looking for an idea just to change things up a little bit. I didn't want a huge project-just a little one with an impact.
I have posted about the kitchen reno I did many, many years ago. It is one of my favorite projects of all time. It was also one of the most difficult and more than once, while in the middle with no turning back, I questioned my sanity on starting such a task. But, I persevered and I am so glad I did.
At the time, I added ball feet to give the cabinets more of a furniture feel and also a wood swirl accent on the wood valance over the sink. I think I was going for more of a French country feel...or whatever?! lol I also added some wood corbels over the stove. Then, I added more and more wood cutting boards and one day, not too long ago, I walked into the kitchen and decided it needed a change. I had already removed the ball feet because I was "over" them but this time I decided I needed to bring in just a bit more wood.
My two daughters (the designers) use wood as accents in a lot of the kitchens they do to warm up all of the cold feel of the stone that people are doing these days. Oh that I wish I had that problem...and the cold stone...but, I digress. Lol I decided I could easily bring in the warmth of the wood with a piece across the valance over the sink. Daughter #3 actually did just that when she redid her own kitchen a few years ago. You can see it in this picture although the picture is definitely not one really meant for sharing-haha...it's horrible and I will apologize right now to everyone in it but, it is the only one I can find since she added the wood. Can you see it running along the bottom of her very large range hood?

So, this is where I started.


I remember when I put those swirls up that I used wood glue which is so strong I swear you could build a house with it. I was pretty sure it would be easy to slip a putty knife under them to pry them off but I was also pretty sure they would break so there would really be no going back if I didn't like my plan. But, much to my surprise, they popped off easily and in one piece. There is just a bit of glue left that I can sand off and reapply these cuties if necessary.


On to cutting the wood. Normally I would do this in the garage but it was too hot so, with just one quick cut to do and knowing it wouldn't produce too much saw dust, in came my chop saw and I was good to go.

Since this is craft wood, it is finished rather nicely. It only required a light sanding on the surface and then a bit around the edges. I had 3 stains to choose from and knowing that I love dark wood that is the one I tried first but it looked almost black on this wood so I went to my second choice...which I was happy with until I wasn't. Right before I was ready to put it up, I looked at it and it was reading too orange for me. So, I went over the walnut stained wood with dark walnut stain and wiped it off right away until I got what I was happy with.


The 1/4" thickness of this wood fit perfectly under the lip of the crown molding. I was going to have it the exact width of the valance that is there but when showing designer daughter #3 her mother's next hair brained scheme, she suggested that I bring it out over the cupboard edge about 1/2" so it didn't look like I was just gluing something on...and boy was she right! What a difference it made! I guess that's why designers get the big bucks! Lol
I taped it up real quickly to see if I was going to like it before applying the wood glue-any plenty of it at that!

I then used lots of tape to make sure there was contact in all areas...and now I wait. I will probably leave it like this for 24 hours before I mess with it.

But, even in this state, I can tell I'm going to like it! Now my eye flows effortlessly around the room bouncing from the shelf to the valance to the cutting boards to the carpenter's box, etc.
Of course, every time I do something it always leads me to something else. When taking pictures for this post, I took a close-up of the wood corbel to show you why I was wanting more wood...and this is what I got.
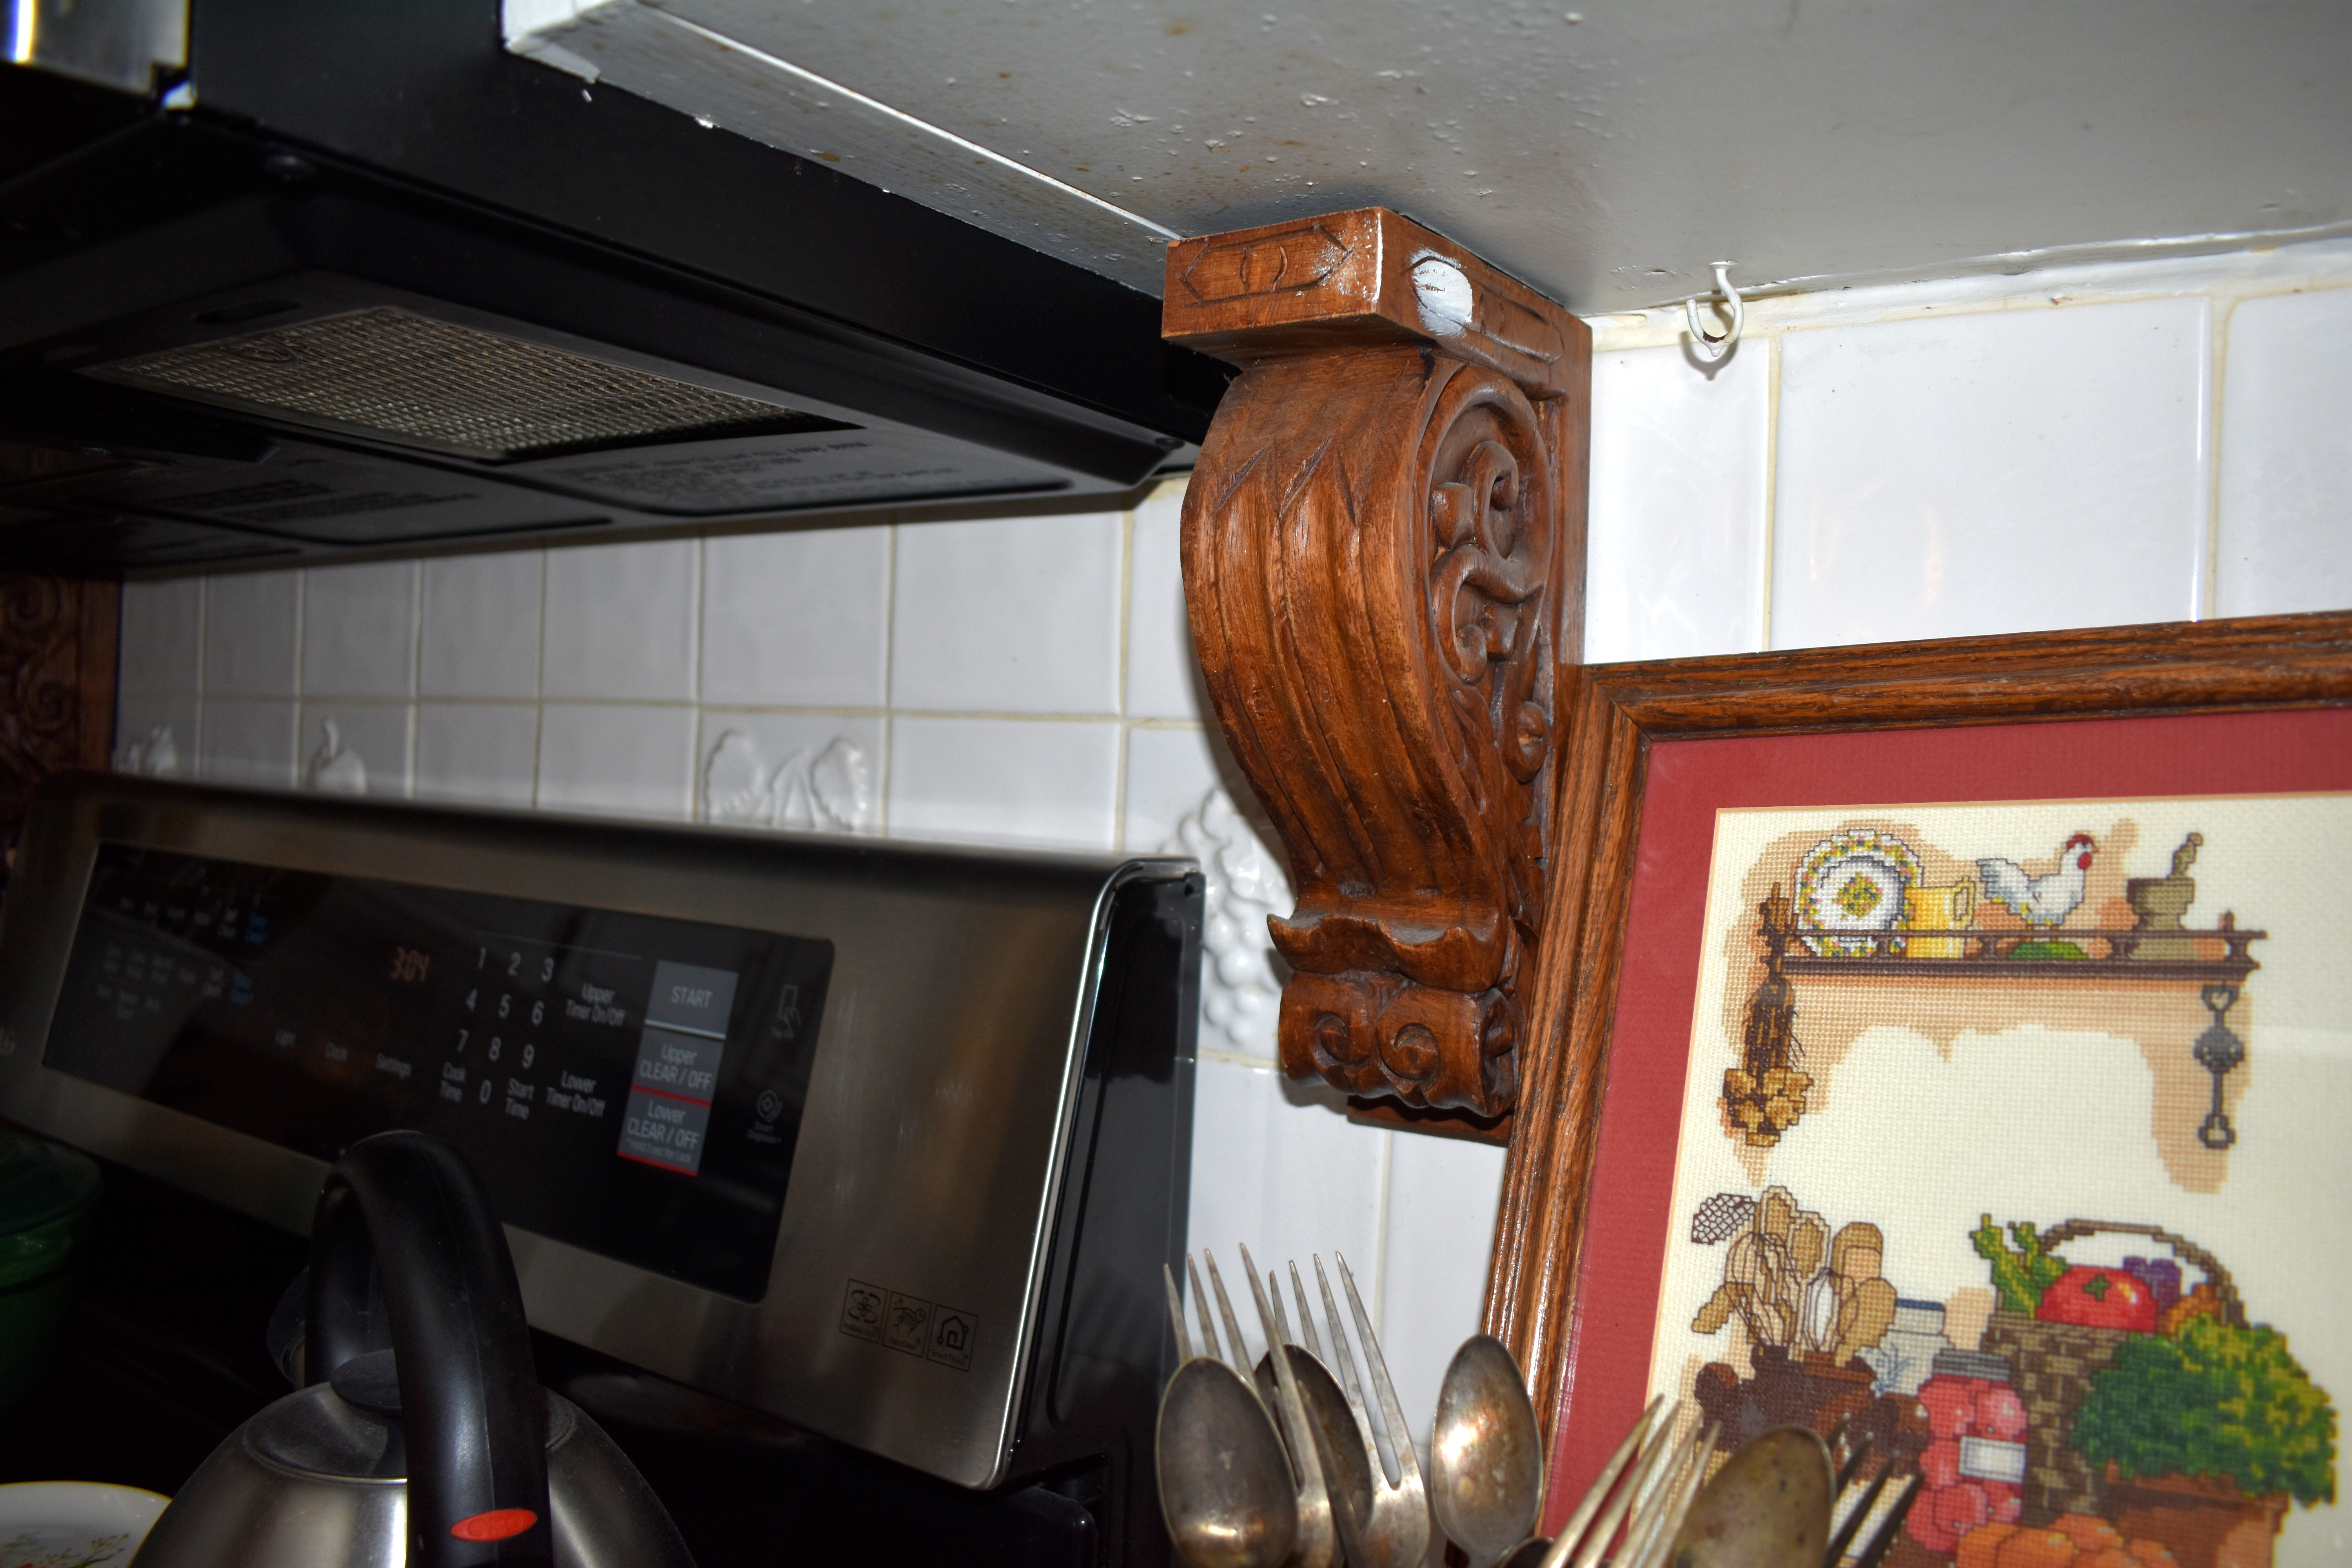
Somewhere along the way, I had gotten white paint on it and scratched a lot of paint off of the under side of the cabinet. I knew that was going to drive me crazy so then this had to happen-plus some stain over the paint. Now, in ten years when I next look under the cabinet again, I will be fine.

And just as I was finishing that up, another thought came to me. The pass through in the kitchen allows the valance to be seen from the dining room. More often than not, no one is looking in there but, if one were to decide to take a peek, this is what they would now see.

If I had thought about it earlier, I wouldn't have done the stain samples there...but, I didn't. And, if I wanted to be really accurate, I could make a template and cut a piece to fit perfectly in there and paint it white. But, believe me, it doesn't bother me quite that much so, when I take down all of the tape, I think I will just get in there and paint it out with white chalk paint. It might take an extra coat or two to cover the stain but it will be fine for me!
And then, out I went to do a bit more in the yard and while I was there I realized that I never shared my latest garden toy. I had purchased a very large garden bowl to use at the base of a very large bubbler fountain many years ago. I could never get it leveled and balanced correctly and I just kind of gave up on the idea. I am still using the bubbler as the world's most expensive plant stand but the bowl has just been upside down in an inconspicuous spot in the yard...until the "new eyes" spied it and I decided that it was silly to just leave it like that. Long story short, I went from using it as another fountain with just a pump to seeing this cute little birdbath fountain bubbler on Amazon...and, just like that, it was here and my brother and sister-in-law helped me put it together. It was only $15 so I'm like really expecting a long life but for now I love it. It brings some interest to the terraced garden and keeps the water moving to discourage the pesky mosquitoes! And, it's solar powered so I didn't have to mess with electricity allowing me to put it anywhere I wanted.

And now I'm debating whether I should get back out there to water the 4th of July plants I got in the ground or hold off and see if the thunder I am hearing brings more rain. Gotta love summer in Florida!
So that's it for today. I'll be back to show you the kitchen when it's all put back together. Until then, stay safe and stay tuned.
No comments:
Post a Comment