
Those of you who know me know that I am not very good at "prep" work. I will admit it! To me it almost seems like a waste of time because I almost always know how I want to do something and just want to get going. And, those same people know that many times that mindset does get me in some hot water!
And so, the other day when I decided to get going on some Christmas ornaments, for what ever reason I surprised even myself when I decided to make a prototype first. I thought I knew what I was going to do but there was a bit of a question so I got going on just one.
I actually didn't take any pictures because I was pretty sure I would be coming back doing the same thing 12 more times-but, I was wrong.
When I did the first one I painted both sides of my wood piece with ivory colored chalk paint. It was EXACTLY the same color as the wood but I still thought the wood needed a finish of some type. After I ended up doing it the way I ended up doing it, there was actually no wood left showing and so the painting step was no longer necessary-yay me! One extra step averted. I just ModPodged the images I had downloaded and printed on to the wood.

Next came covering the edges with a silver champagne fine glitter that I already had. I like this color because it just reads as a bit more vintage to me than a harsh gold or silver.

Another change in plan-my original idea had been to use my Dremel and drill holes at the top and the bottom-one for the hanger and one for the crystals. But, the crystals had to be strung on fishing line to dangle correctly and I didn't think I would like the look of the knot that would be necessary. And then, I found some of my antique silk ribbon that I wanted to use as hangers and couldn't use a hole in the wood large enough to accommodate that. So, this is when I decided to use my Gorilla clear grip adhesive and glue the crystals and then the hangers to the back of the ornament. I needed to be sure to keep them relatively flat because now the back would need to be covered with decorative card stock. While the glitter was drying, I strung the beads and ironed the ribbon.

Then I glued on the beads and hangers.

And then put on the backing paper.
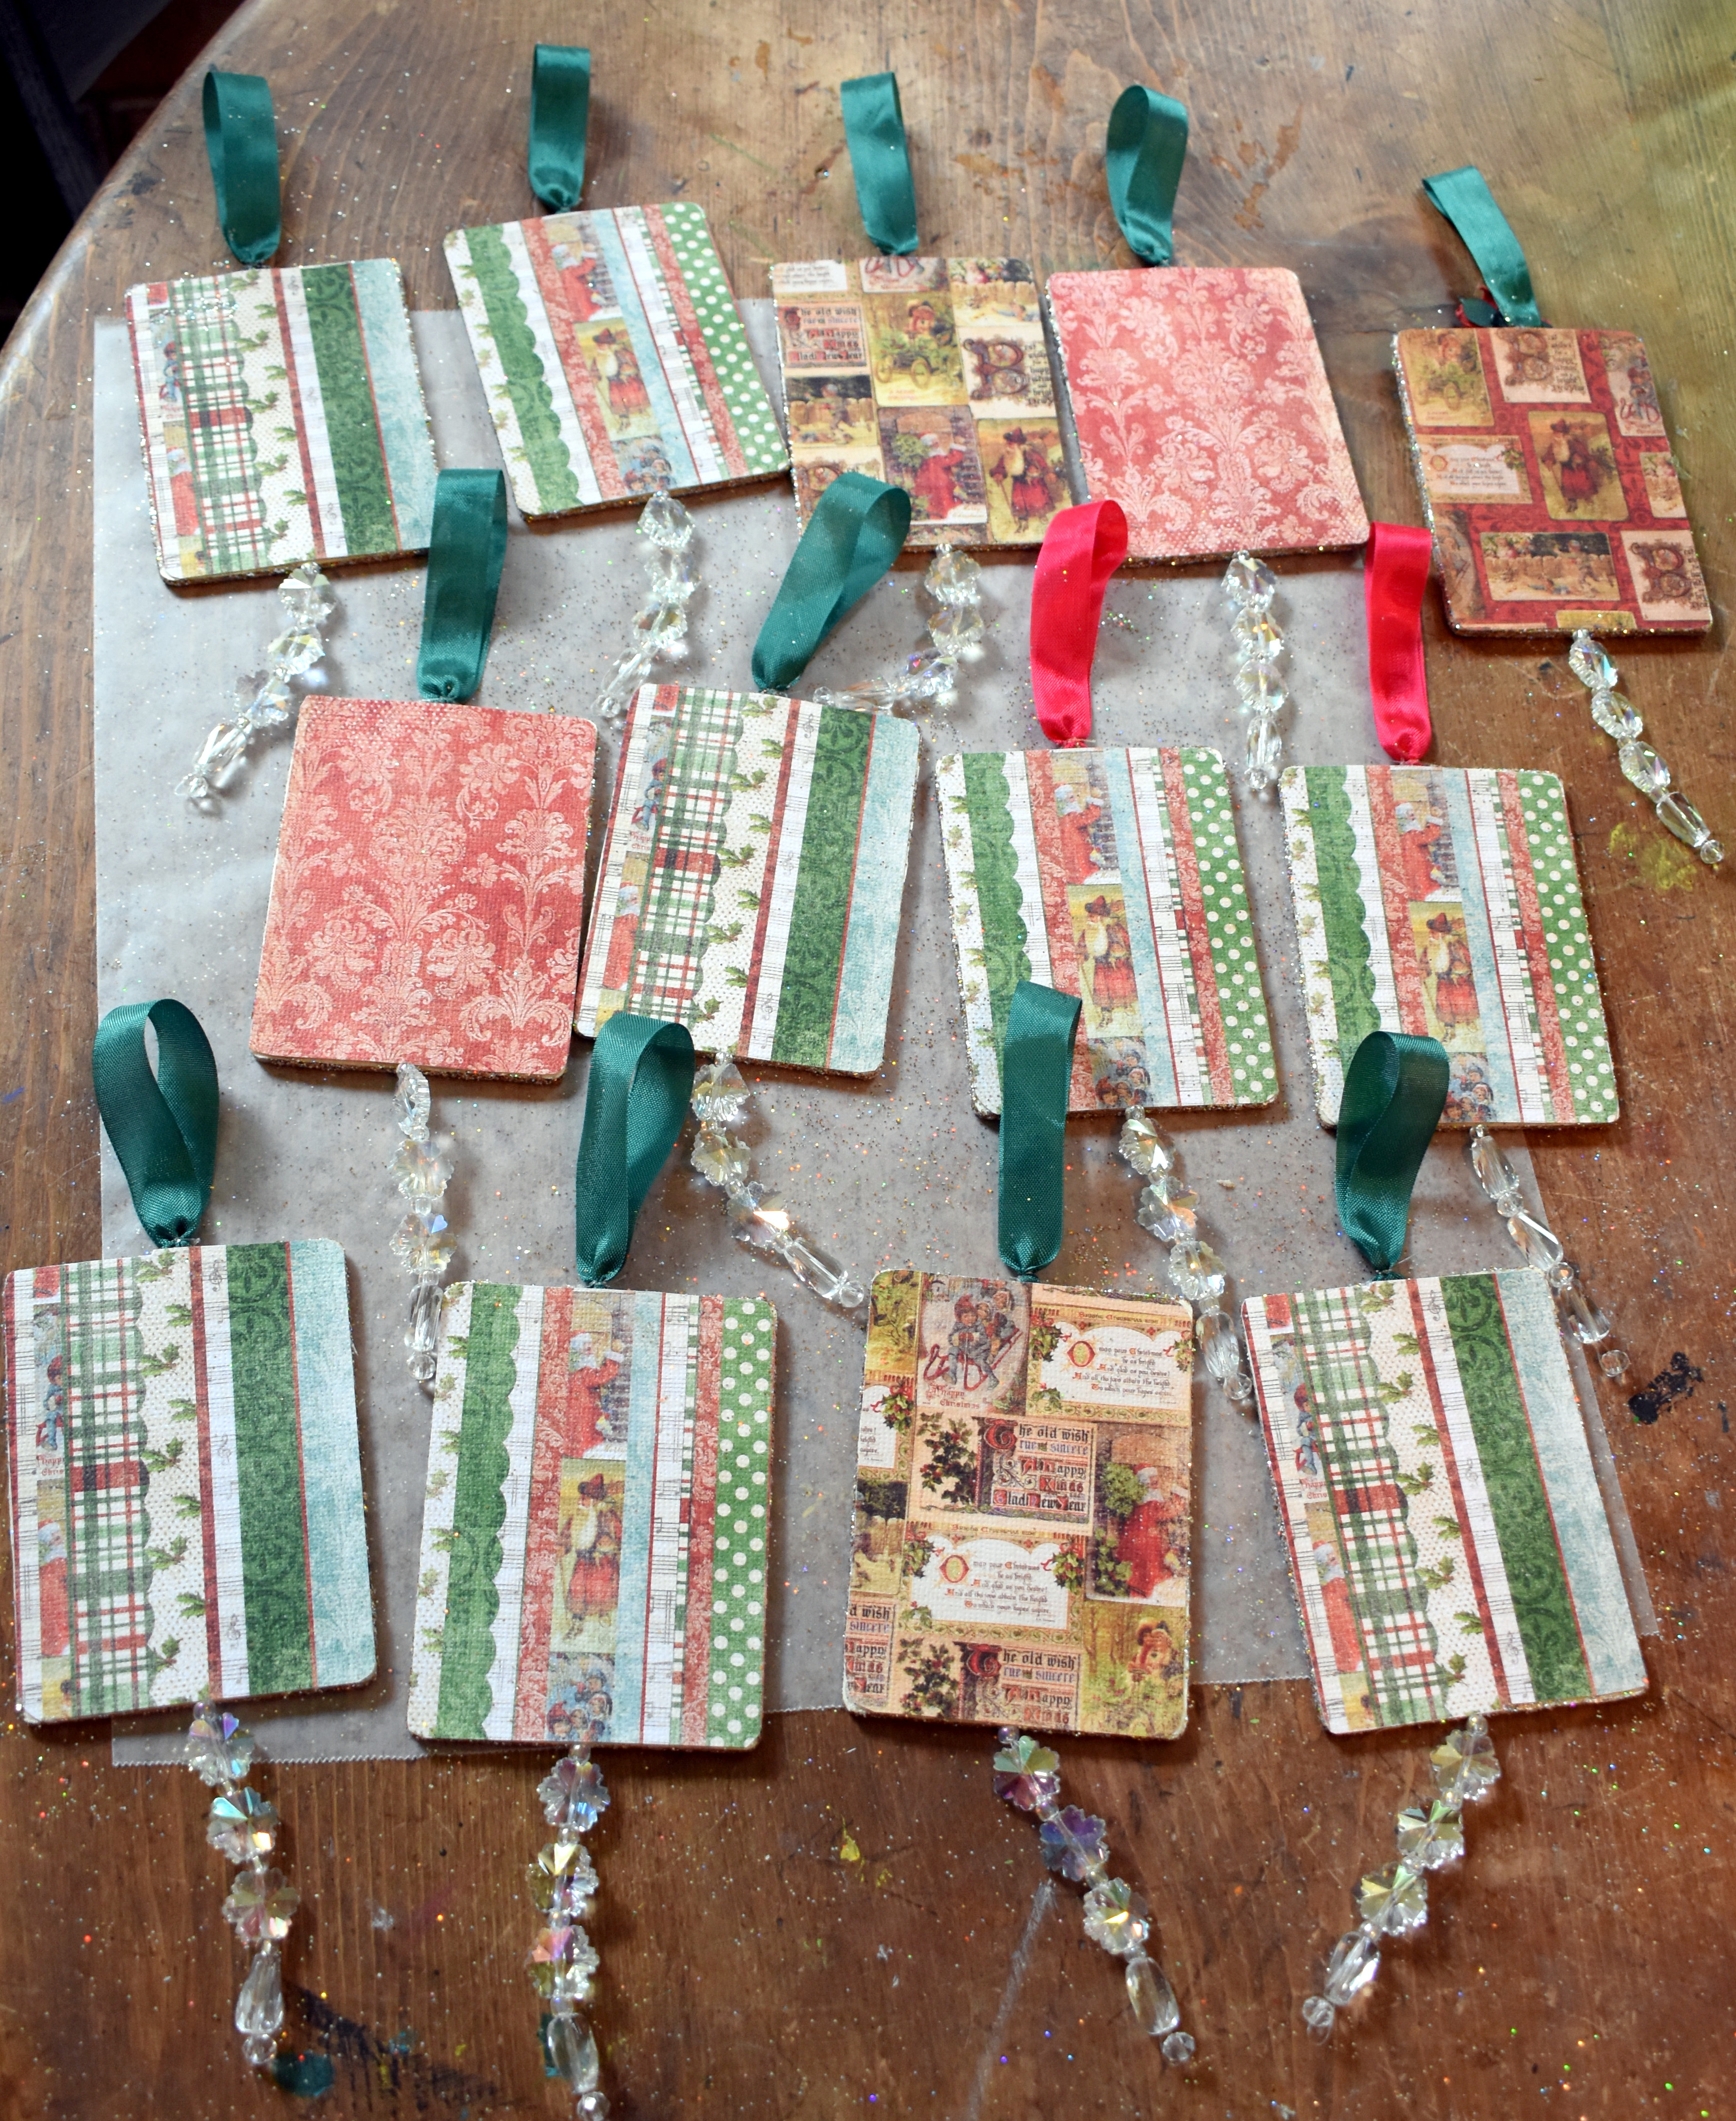
And that was looking a little boring to me so I went back and glittered the edges of the back as well. And, let me tell you that not only will my home, but my body as well, probably "wear" this glitter for a long time to come. I have found that even scrubbing may not always get rid of all of the remnants of fine glitter!

Lastly, for now, I glued on the poinsettia. This is where I start to question whether I really like this ornament. I will live with it for awhile-I DO have 3 months to decide so, no hurry-lol...and we shall see.

Now that I'm looking at the holly on the two with red hangers-because I didn't quite have enough green ribbon-I'm thinking I need to find some darker leaves. I didn't like the red poinsettia against the red ribbon either so, we shall see.
Ask and ye shall receive-lol. I just gave them a quick coat of paint. Definitely not perfect but it will do for now just in case I can't find anything better. I also added a small gold pine cone-it just seemed to add a finishing touch.

And on that note, I will sign off. Not sure where the week will take me but I will be back. Stay safe and stay tuned.
No comments:
Post a Comment